How to Fix a Leaking Ice Maker Line
Stop an ice maker supply line leak by identifying the failure point, replacing the tubing or fittings, and restoring a watertight connection.
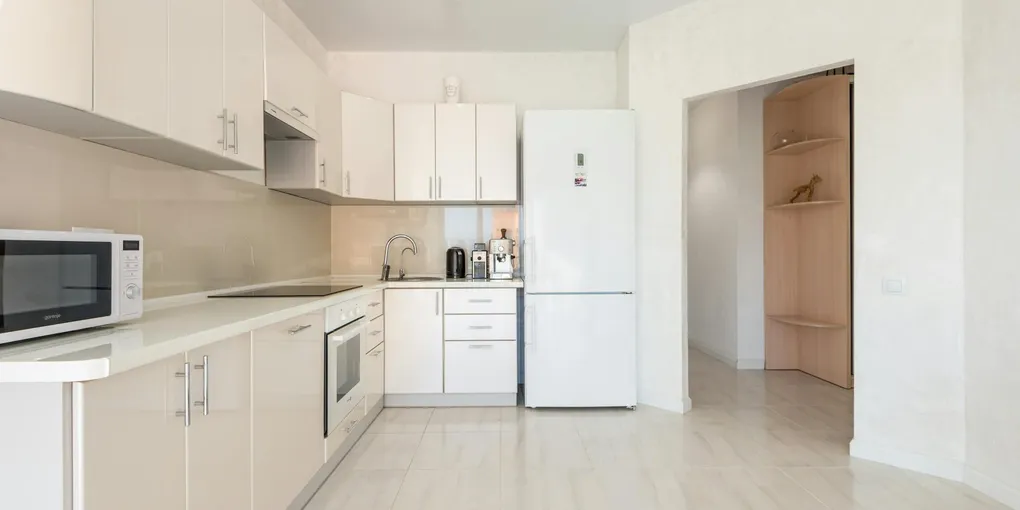
A leaking ice maker supply line is one of the most common sources of hidden water damage behind refrigerators. Left unaddressed, even a slow drip can warp flooring and rot the subfloor over months.
A leaking ice maker supply line is one of the most common sources of hidden water damage behind refrigerators. Left unaddressed, even a slow drip can warp flooring and rot the subfloor over months. The repair is straightforward once you identify the source, and the whole job usually takes less than an hour.
Locate and Confirm the Leak
Pull the refrigerator away from the wall to expose the supply line. Have a flashlight handy. Look for water stains, wet spots, or visible drips at these three locations:
- The wall fitting — where the supply line connects to the saddle valve or shutoff valve on the wall
- The line itself — along the length of the tubing, especially near any bends
- The refrigerator inlet — where the tubing connects to the back of the refrigerator at the water inlet valve
Dry everything with a towel, then watch closely as you restore water pressure briefly. This helps pinpoint the exact drip point.
Shut Off the Water Supply
Turn the saddle valve (or dedicated shutoff) clockwise until it stops. If there is no dedicated shutoff, close the supply valve under the kitchen sink or shut off the main. Disconnect the refrigerator from the wall outlet before doing any work — the inlet valve is electrical.
Release any remaining line pressure by dispensing water from the refrigerator door (if it has a dispenser) or by holding a cup under the disconnected fitting end.
Fixing a Loose Compression Fitting
Compression fittings are the most common leak point. Each end of the supply line has a compression nut that squeezes a brass or plastic ferrule (ring) onto the tube to create a watertight seal.
- Tighten the compression nut at the leaking end with an adjustable wrench — no more than one-quarter to one-half turn past hand-tight.
- Restore water and check for drips. If it continues to leak after tightening, the ferrule is deformed and must be replaced.
- To replace the ferrule: disconnect the nut completely, slide off the old ferrule, and install a new compression nut and ferrule set. These are available as 1/4-inch compression fitting repair kits on Amazon.
Replacing the Entire Supply Line
If the tube is cracked, kinked, or stained with mineral deposits, replace the whole line. This is the most reliable fix.
What you need:
- New supply line (braided stainless steel recommended — see Watts 1/4-inch Stainless Ice Maker Connector on Amazon)
- Adjustable wrench
- Teflon tape (for tapered fittings only — not compression)
- Bucket and towels
Steps:
- Disconnect the old line at both ends — at the wall valve and at the refrigerator inlet.
- Note the length you need. Measure the distance from the wall valve to the refrigerator inlet plus 2 feet of extra length to allow the fridge to be pulled out without stressing the line.
- Thread the new line onto the wall valve hand-tight first, then snug with a wrench — one-quarter turn past hand-tight. Do not over-tighten compression fittings.
- Run the line to the refrigerator, looping any slack loosely rather than coiling tightly.
- Connect the refrigerator end the same way.
Replacing a Faulty Saddle Valve
Saddle valves are notorious for leaking over time — the needle that punctures the pipe can corrode and drip at the handle. If the saddle valve itself is the leak source:
- Close the main water supply.
- Drain the line by opening a faucet downstream.
- Remove the saddle valve clamps and pull the valve off the pipe. The puncture hole in the pipe is very small and self-contained once the valve is off.
- Install a proper push-fit or compression tee fitting with a dedicated shutoff valve in its place. This is a much more reliable long-term solution.
Test and Monitor
Once everything is reconnected, slowly open the supply valve and watch all connection points for 5 minutes. Dry the area completely beforehand so any new drip is immediately visible. Plug the refrigerator back in, allow 24 hours for the ice maker to cycle, and check the floor behind the fridge once more.
Related guides
- How to Fix a Leaking Refrigerator Water Line — repair the main supply line running to the refrigerator
- How to Fix a Refrigerator Ice Maker — diagnose ice maker that won’t produce ice
Going forward, pull the refrigerator out once a year to inspect the supply line. A 5-minute visual check can prevent hundreds or thousands of dollars in water damage repairs down the road.
- Locate and Confirm the Leak
Pull the refrigerator away from the wall to expose the supply line. Have a flashlight handy. Look for water stains, wet spots, or visible drips at these three locations:
- Shut Off the Water Supply
Turn the saddle valve (or dedicated shutoff) clockwise until it stops. If there is no dedicated shutoff, close the supply valve under the kitchen sink or shut off the main.
- Test and Monitor
Once everything is reconnected, slowly open the supply valve and watch all connection points for 5 minutes. Dry the area completely beforehand so any new drip is immediately visible.
Free: 10-Point Home Maintenance Checklist
Prevent costly repairs with this seasonal checklist. Save hundreds every year by catching problems early.
Your checklist is ready!
Open Checklist →Something went wrong. View the checklist here.