How to Fix a Leaking Garden Hose — Fittings, Cracks, and Splices
Step-by-step instructions for repairing a garden hose leak at the fitting, through the hose wall, or mid-hose using a mender coupler or splice kit.
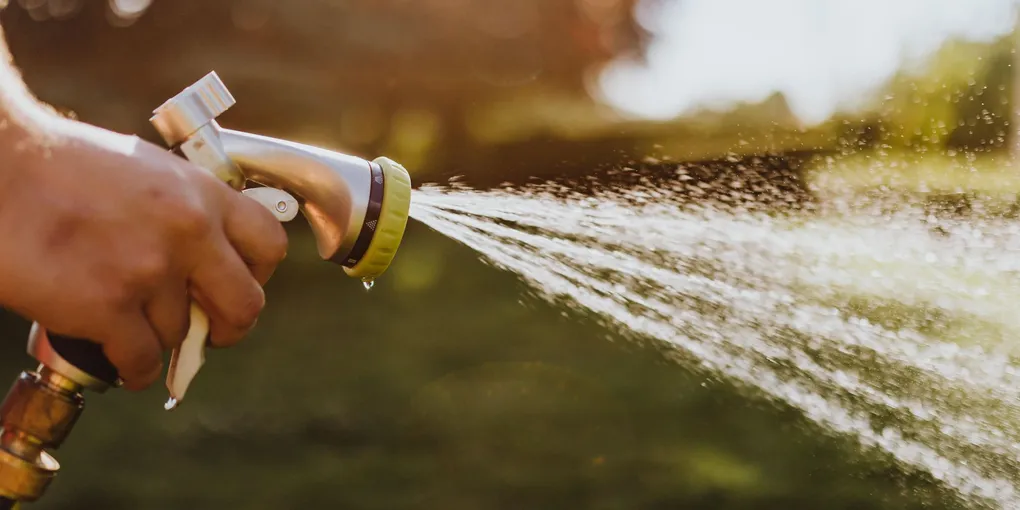
A leaking garden hose is one of the most annoying outdoor problems — water sprays everywhere except where you want it, water pressure drops, and you end up with a soggy mess around the spigot. The good news is that hose leaks almost always fall into one of three categories, each with a simple, inexpensive fix.
A leaking garden hose is one of the most annoying outdoor problems — water sprays everywhere except where you want it, water pressure drops, and you end up with a soggy mess around the spigot. The good news is that hose leaks almost always fall into one of three categories, each with a simple, inexpensive fix. You don’t need any special skills or tools to handle any of them.
What You Need
Stock these items and you can handle any garden hose repair in minutes.
- Replacement hose washers (bulk pack) — the single most common fix; keep a bag on hand
- Hose repair mender coupler kit — for mid-hose cracks and punctures, fits 5/8-inch and 3/4-inch hoses
- Replacement hose end fittings (male and female) — for repairing or replacing leaking couplings
- Self-fusing silicone repair tape — quick fix for pinholes and small cracks
- Hose clamps (worm-gear style, 1/2-inch to 1-inch) — used to secure mender couplers and replacement fittings
- Utility knife or hose cutter — for making clean, square cuts when installing mender couplers
Diagnosing the Leak
Before reaching for any parts, identify exactly where the water is coming from. Run the hose at full pressure and watch closely:
Leak at the spigot connection: Water sprays or dribbles around the threaded connection where the hose attaches to the outdoor faucet. This is almost always a failed rubber washer inside the female hose end.
Leak at the nozzle or sprinkler connection: Water sprays from the male fitting at the far end of the hose where your attachment connects. Again, check the washer in the attachment first; if the male fitting itself is the source, the fitting needs to be replaced.
Leak mid-hose: Water spurts or drips from a point along the length of the hose. This indicates a crack, puncture, or abrasion hole in the hose wall.
Leak at the collar (just behind the metal fitting): Water leaks from the spot where the metal fitting meets the hose body. The hose has separated from the fitting internally, and the coupling needs to be replaced.
Fix 1 — Replace the Rubber Washer
This is the most common garden hose repair and the easiest to do. The rubber washer sits inside the female (threaded) end of the hose and creates a watertight seal against the spigot’s smooth face.
- Unscrew the hose from the spigot.
- Look inside the female coupling — you’ll see a flat rubber disc seated in a small groove. If it’s cracked, deformed, missing, or hardened, that is your problem.
- Pop the old washer out with a flathead screwdriver or your fingernail.
- Press a new washer firmly into the groove. The washers from a bulk pack are made in standard sizes; the most common is 3/4 inch to fit the standard US garden hose thread.
- Reconnect the hose to the spigot — hand-tight plus a quarter turn. Over-tightening damages both the washer and the spigot.
- Turn on the water and check for leaks.
This fix takes under two minutes and costs pennies. A pack of 25 replacement washers is around $3 and should last for years.
Tip: If you find the washer is fine but water still leaks from the threads, wrap the male spigot threads with two layers of PTFE (Teflon) tape before reconnecting the hose.
Fix 2 — Replace a Leaking or Damaged Hose Fitting
If water leaks from just behind the metal coupling — at the point where the fitting meets the hose body — the hose has pulled away from the fitting internally, or the crimp has failed. In this case, you’ll replace the entire fitting.
- Use a utility knife to cut the hose cleanly about 1 inch behind the leaking fitting. Make a square, straight cut — a diagonal cut makes it harder to seat the new fitting.
- Inspect the cut end of the hose. The inner wall should be smooth and round. If the hose is kinked or oval at the cut, trim back another inch until you have clean, round hose.
- Slide a hose clamp over the cut end of the hose.
- Push the barbed end of the replacement fitting (male or female, matching whatever end you are replacing) firmly into the hose. Twist as you push to seat the barbs fully.
- Slide the clamp up to sit just behind the outermost barb — about 1/2 inch from the end of the fitting.
- Tighten the clamp with a screwdriver until snug. Do not over-tighten; the goal is to compress the hose against the barbs, not to crush the hose.
- Reconnect and test under pressure.
Replacement fittings come in both plastic and solid brass. Brass fittings cost a dollar or two more but last far longer and are less likely to crack in freezing temperatures.
Fix 3 — Repair a Mid-Hose Leak with Silicone Tape
For a small pinhole or hairline crack in the hose wall, self-fusing silicone tape provides a quick, waterproof repair that holds up well in outdoor conditions. Unlike standard electrical tape, silicone tape fuses to itself under tension and is fully waterproof.
- Turn off the water and allow the hose to drain and dry at the leak site. Silicone tape does not bond well to wet surfaces.
- Start wrapping 2 to 3 inches before the leak site, stretching the tape firmly (about 50% elongation) as you wrap.
- Overlap each wrap by half the tape width as you work toward and past the leak.
- Continue 2 to 3 inches past the leak site, then wrap back over the repair in the opposite direction.
- Press the tape end firmly to fuse it.
- Allow 5 minutes for the tape layers to fuse together, then test under pressure.
This repair holds well for minor damage but is not ideal for long tears or multiple cracks close together. For those situations, use the mender coupler method below.
Fix 4 — Splice a Broken Section with a Hose Mender
When a section of hose is badly cracked, kinked beyond recovery, or has multiple leaks close together, the cleanest fix is to cut out the damaged section and splice the two good ends together with a barbed hose mender coupler.
- Cut the hose on both sides of the damaged section, making clean, square cuts. Remove and discard the damaged section.
- Slide a hose clamp over each cut end.
- Push each end of the hose onto the barbed ends of the mender coupler, twisting to fully seat the barbs.
- Position the clamps just behind the outermost barb on each side.
- Tighten both clamps firmly.
- Test under full water pressure.
The finished repair is slightly stiffer than the original hose at the splice point, but fully functional. The hose will be a few inches shorter, but that rarely matters in practice.
Choosing the right mender size: The package should list the hose inner diameter it fits. Most US garden hoses are 5/8-inch inner diameter. If in doubt, measure across the inside of the hose at the cut end.
Fix 5 — Address Tree Root Kink Damage
If your hose runs through a garden bed, tree roots can grow up around it and kink or crush the hose over time. This creates a weak spot that eventually cracks or splits. The fix is the same mender coupler approach, but you should also re-route the hose to avoid the root zone going forward.
After splicing the damaged section, use hose guides or stakes to keep the hose in a clear path that avoids roots, rocks, and sharp garden edging.
Preventing Future Leaks
Most hose leaks are caused by two things: UV degradation and improper storage. Here’s how to extend the life of your hose:
Store the hose properly: Coil it loosely and hang it on a hose reel or hook. Tight coils stress the hose wall and fittings. Leaving it kinked in the sun is the fastest way to shorten its lifespan.
Drain before winter: Water left inside a hose freezes and expands, cracking the hose wall and splitting fittings. Always drain and store your hose indoors before the first freeze.
Don’t run over it: Vehicle tires crush hose fittings and crack the hose body. Keep hoses away from driveway areas, or use a buried hose connection if you need to cross a driveway.
Inspect washers every spring: A quick visual check at the start of the season catches cracked or missing washers before they become a soaking problem.
Buy quality hose: Rubber hoses and reinforced expandable hoses last far longer than inexpensive vinyl. The extra $15 to $25 upfront saves multiple repair sessions over the years.
When to Replace Instead of Repair
Some hoses are not worth fixing:
- The outer jacket is cracked, peeling, or brittle throughout — the hose is past its service life
- There are more than three or four leak points along the length
- The hose is a very inexpensive vinyl type and the damage is near both ends — parts cost more than a replacement at that point
- The inner lining is collapsing (the hose kinks easily even when the outer jacket looks fine)
In those cases, buy a replacement — preferably a rubber or high-quality reinforced hose — and use the old one for practice on the repair techniques above.
Related Reading
- How to Fix a Cracked Concrete Walkway
- How to Clean Gutters and Downspouts
- Spring Home Maintenance Checklist
- Fix 1 — Replace the Rubber Washer
This is the most common garden hose repair and the easiest to do. The rubber washer sits inside the female (threaded) end of the hose and creates a watertight seal against the spigot's smooth face.
- Fix 2 — Replace a Leaking or Damaged Hose Fitting
If water leaks from just behind the metal coupling — at the point where the fitting meets the hose body — the hose has pulled away from the fitting internally, or the crimp has failed. In this case, you'll replace the entire fitting.
- Fix 3 — Repair a Mid-Hose Leak with Silicone Tape
For a small pinhole or hairline crack in the hose wall, self-fusing silicone tape provides a quick, waterproof repair that holds up well in outdoor conditions.
- Fix 4 — Splice a Broken Section with a Hose Mender
When a section of hose is badly cracked, kinked beyond recovery, or has multiple leaks close together, the cleanest fix is to cut out the damaged section and splice the two good ends together with a barbed hose mender coupler.
- Fix 5 — Address Tree Root Kink Damage
If your hose runs through a garden bed, tree roots can grow up around it and kink or crush the hose over time. This creates a weak spot that eventually cracks or splits.
Free: 10-Point Home Maintenance Checklist
Prevent costly repairs with this seasonal checklist. Save hundreds every year by catching problems early.
Your checklist is ready!
Open Checklist →Something went wrong. View the checklist here.