How to Fix a Leaking Gas Fireplace Valve
Learn how to safely inspect, diagnose, and address a leaking gas fireplace valve before calling a technician or replacing the component yourself.
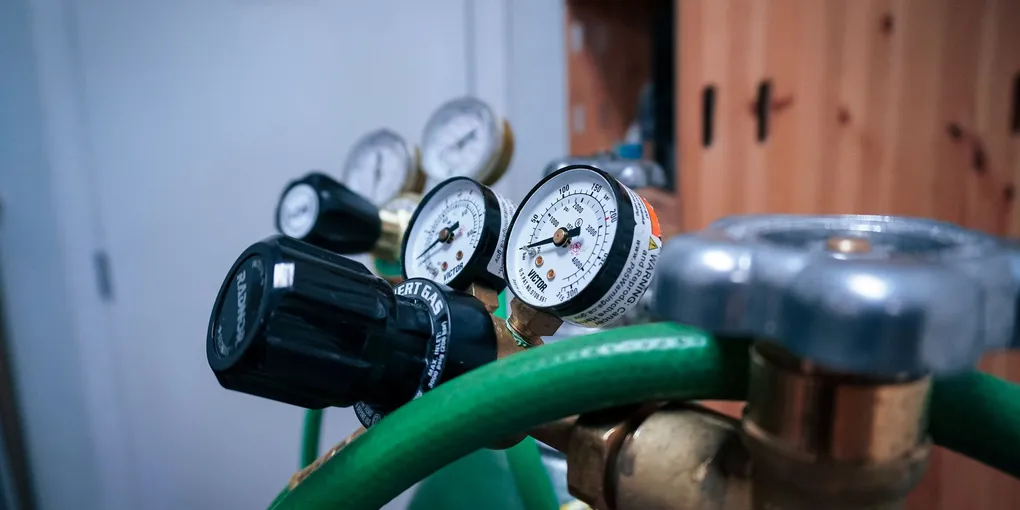
A gas fireplace adds warmth and ambiance to any room — but a leaking valve turns that comfort into a safety hazard. Even a small gas leak demands immediate attention.
A gas fireplace adds warmth and ambiance to any room — but a leaking valve turns that comfort into a safety hazard. Even a small gas leak demands immediate attention. This guide walks you through how to safely inspect your gas fireplace valve, identify the source of a potential leak, and understand what you can address yourself versus when to call a licensed technician.
Important Safety Notice
If you smell a strong gas odor at any point, do not attempt any inspection or repair. Leave the house immediately, leave the door open behind you, and call your gas utility company from outside. Do not flip any switches, use your phone inside the house, or re-enter until emergency personnel clear the area.
A faint sulfur smell during inspection warrants caution — but a strong smell is an emergency.
Understanding the Gas Valve System
In a gas fireplace, the valve assembly controls gas flow from the supply line to the burner. It typically includes:
- The main shutoff valve — a manual lever or knob on the supply line
- The control valve or gas valve — often part of a millivolt system controlled by the wall switch or remote
- Threaded fittings and connectors — where leaks most commonly originate
Most residential gas fireplaces operate on either natural gas or propane. Both require the same inspection approach.
Tools and Materials You Will Need
- Liquid dish soap or commercial gas leak detector solution
- Small paintbrush or spray bottle
- Adjustable wrench
- Yellow gas-rated PTFE tape
- Gas-rated pipe dope (pipe thread sealant)
- Flashlight
A gas leak detector solution is more sensitive than soap and water and gives you greater confidence in your inspection results. Keep a quality adjustable wrench on hand for tightening fittings without damaging them.
Step 1: Turn Off the Gas Supply
Locate the manual shutoff valve on the supply line feeding the fireplace — usually behind the fireplace panel or on a nearby wall. Turn it to the off position (perpendicular to the pipe). Do not proceed with any work until the supply is shut off.
Step 2: Inspect the Valve and Fittings Visually
With a flashlight, examine all visible fittings, unions, and connections around the valve assembly. Look for:
- Corrosion or rust at joints
- Cracked or brittle flex connectors
- Any visible scoring or damage to the valve body
- Discoloration that may indicate heat damage near fittings
Loose-looking threaded connections or corroded fittings are strong candidates for the source of a leak.
Step 3: Perform the Soap Bubble Test
Turn the gas supply back on at the shutoff valve — but keep the fireplace control switch off. Using a small brush or spray bottle, apply soapy water or commercial leak detector to every fitting, union, and connection you can access. Watch carefully for 30–60 seconds. Bubbles forming at any point confirm a gas leak at that location.
Mark any problem areas before shutting off the gas again.
Step 4: Address Leaking Fittings
Shut off the gas supply again before any repair. For threaded fittings that show minor leakage, you may be able to resolve the issue by:
- Carefully disassembling the leaking connection
- Cleaning the threads thoroughly
- Rewrapping with yellow gas-rated PTFE tape (3–4 wraps in the direction of thread engagement) or applying gas-rated pipe dope
- Reassembling firmly with an adjustable wrench — snug plus approximately 1–2 turns
Do not over-tighten, as this can crack fittings. After reassembly, perform the soap test again to confirm the leak is resolved.
Step 5: Know When to Call a Professional
If the leak is at the valve body itself — not at a threaded fitting — the valve needs to be replaced. Gas valve replacement requires disconnecting and reconnecting live gas lines and must be performed by a licensed gas technician in most jurisdictions.
Similarly, if your fireplace uses a millivolt control system or an electronic ignition gas valve, replacement involves both gas and low-voltage electrical work. A certified chimney and gas appliance technician has the equipment to pressure-test the entire system after any valve work, which is the only way to be fully confident in the repair.
After the Repair
Once all leaks are resolved and confirmed with a final soap test, restore power and test the fireplace through one full ignition cycle. Monitor the valve area for the first 10–15 minutes of operation. If the soap test showed no bubbles and the fireplace lights consistently, your repair is complete.
Schedule annual service with a qualified technician to keep the system operating safely for years to come.
- Turn Off the Gas Supply
Locate the manual shutoff valve on the supply line feeding the fireplace — usually behind the fireplace panel or on a nearby wall. Turn it to the off position (perpendicular to the pipe). Do not proceed with any work until the supply is shut off.
- Inspect the Valve and Fittings Visually
With a flashlight, examine all visible fittings, unions, and connections around the valve assembly. Look for:
- Perform the Soap Bubble Test
Turn the gas supply back on at the shutoff valve — but keep the fireplace control switch off. Using a small brush or spray bottle, apply soapy water or commercial leak detector to every fitting, union, and connection you can access.
- Address Leaking Fittings
Shut off the gas supply again before any repair. For threaded fittings that show minor leakage, you may be able to resolve the issue by:
- Know When to Call a Professional
If the leak is at the valve body itself — not at a threaded fitting — the valve needs to be replaced. Gas valve replacement requires disconnecting and reconnecting live gas lines and must be performed by a licensed gas technician in most jurisdiction...
Free: 10-Point Home Maintenance Checklist
Prevent costly repairs with this seasonal checklist. Save hundreds every year by catching problems early.
Your checklist is ready!
Open Checklist →Something went wrong. View the checklist here.