How to Fix a Leaking Dishwasher Door Seal
Learn how to identify a failing dishwasher door gasket and replace it yourself to stop leaks and water damage to your kitchen floor.
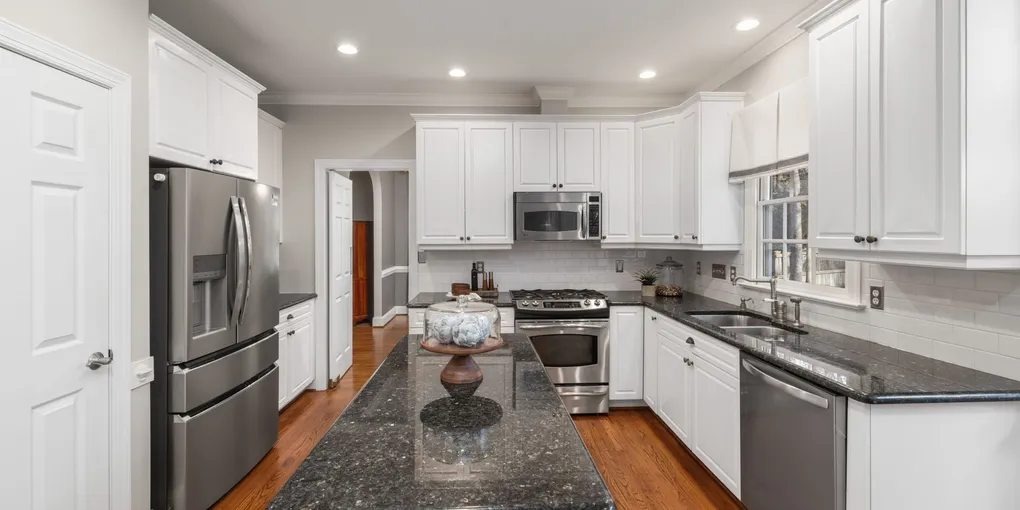
Water pooling on the kitchen floor after a dishwasher cycle is always alarming, but when the source is the door seal — also called the door gasket or door boot — the repair is one of the easiest appliance fixes you can make. A new gasket costs between $15 and $40, and installation requires no special tools.
Water pooling on the kitchen floor after a dishwasher cycle is always alarming, but when the source is the door seal — also called the door gasket or door boot — the repair is one of the easiest appliance fixes you can make. A new gasket costs between $15 and $40, and installation requires no special tools. This guide walks you through diagnosing the leak, sourcing the right gasket, and fitting it correctly so the seal holds for years.
What You Need
- Replacement dishwasher door gasket — order by dishwasher brand and model number
- Food-safe silicone grease or petroleum jelly
- Flathead screwdriver
- Needle-nose pliers
- Mild dish soap and warm water
- Clean towels or rags
- Flashlight
Step 1 — Confirm the Gasket Is the Problem
Before ordering parts, confirm the door gasket is actually the leak source. Run a short wash cycle and stand by the dishwasher with a flashlight and a dry paper towel pressed along the door edges. If the towel gets wet along the door perimeter, the gasket is the culprit.
Also open the door mid-cycle (most dishwashers pause when opened) and look at the gasket itself. Run your finger around the entire perimeter. The gasket should feel supple and slightly springy everywhere. Hard, brittle, cracked, or flattened sections confirm it is time to replace it.
If the leak appears to come from underneath the door at floor level but the gasket feels fine, inspect the float switch, the spray arm, and the door latch alignment before replacing the gasket.
Step 2 — Order the Correct Replacement Gasket
Open the dishwasher door and look for the model number label. On most brands it is a sticker or stamped plate on the inner door frame — check the top edge, the left side edge, and inside the door panel itself. Write down the full model number.
Search for a replacement gasket using your model number. OEM (original manufacturer) gaskets are the best fit but typically cost more. Quality aftermarket gaskets from appliance parts suppliers are a reliable, less expensive alternative. Order from a reputable supplier and verify the part number matches your model number before purchasing.
Step 3 — Remove the Old Gasket
Turn off power to the dishwasher at the circuit breaker or unplug it. Open the door fully.
The gasket sits in a channel that runs around the inside perimeter of the door opening — either on the tub itself (the inner cavity of the dishwasher) or around the door panel. Most modern dishwashers have the gasket in a U-shaped channel on the tub.
Starting at one corner, grip the gasket with your fingers or needle-nose pliers and pull it out of the channel. It should come out with steady pulling — no cutting required. Work your way around the entire perimeter. On some models, the gasket has integrated tabs that snap into the channel; use a flathead screwdriver to gently pry these free without bending the channel.
Once the old gasket is fully removed, clean the channel with a damp cloth and mild dish soap to remove any residue, mold, or debris. Dry thoroughly.
Step 4 — Prepare the New Gasket
If the new gasket arrived coiled or folded, soak it in warm water for 5 to 10 minutes to make it more pliable. A stiff gasket is harder to seat properly and more likely to pull out of the channel in corners.
While the gasket soaks, rub a thin film of silicone grease or petroleum jelly along the channel to help the gasket slide in and seat evenly.
Step 5 — Install the New Gasket
Most gaskets have a center mark or a notch at the top that indicates where installation should begin. If yours has such a mark, align it with the top center of the door opening. If not, start at one of the top corners.
Press the gasket lip firmly into the channel with your thumbs, working in short sections. Do not stretch the gasket — work it in without pulling it taught. At the corners, gently fold the gasket into the curve and seat it completely before moving to the next straight section.
Continue around the perimeter until the gasket is fully seated. The visible face of the gasket should be flush and even. If the ends of the gasket need to overlap or meet, trim the excess with scissors so the ends butt together cleanly without overlapping, which would create a bump that prevents the door from closing flat.
Run your finger firmly around the entire gasket one more time to make sure every section is fully seated in the channel and no sections have popped out.
Step 6 — Test the Seal
Restore power to the dishwasher. Close the door and run a short wash cycle. Stand by and watch the door edges throughout the cycle. A properly seated gasket should show no drips or seepage anywhere along the perimeter.
If you notice a small leak at a specific spot, open the door and press the gasket more firmly into the channel at that point. In rare cases, a section of the channel may be bent or damaged — use needle-nose pliers to gently straighten the channel before reseating the gasket.
Ongoing Gasket Maintenance
The best way to extend the life of your new gasket is regular cleaning. After each week of use, wipe the gasket down with a damp cloth and a small amount of dish soap. Pay special attention to the bottom of the door where food debris and moisture accumulate. Leave the dishwasher door slightly ajar when not in use to allow the gasket to dry, which discourages mold and mildew growth.
Every six months, apply a thin film of silicone grease to the gasket to keep the rubber flexible. This simple step prevents the cracking and hardening that leads to future leaks.
Related Reading
- How to Fix a Garbage Disposal
- How to Replace a Kitchen Faucet
- How to Unclog a Kitchen Drain
- Step 1 — Confirm the Gasket Is the Problem
Before ordering parts, confirm the door gasket is actually the leak source. Run a short wash cycle and stand by the dishwasher with a flashlight and a dry paper towel pressed along the door edges.
- Step 2 — Order the Correct Replacement Gasket
Open the dishwasher door and look for the model number label. On most brands it is a sticker or stamped plate on the inner door frame — check the top edge, the left side edge, and inside the door panel itself. Write down the full model number.
- Step 3 — Remove the Old Gasket
Turn off power to the dishwasher at the circuit breaker or unplug it. Open the door fully.
- Step 4 — Prepare the New Gasket
If the new gasket arrived coiled or folded, soak it in warm water for 5 to 10 minutes to make it more pliable. A stiff gasket is harder to seat properly and more likely to pull out of the channel in corners.
- Step 5 — Install the New Gasket
Most gaskets have a center mark or a notch at the top that indicates where installation should begin. If yours has such a mark, align it with the top center of the door opening. If not, start at one of the top corners.
- Step 6 — Test the Seal
Restore power to the dishwasher. Close the door and run a short wash cycle. Stand by and watch the door edges throughout the cycle. A properly seated gasket should show no drips or seepage anywhere along the perimeter.
Free: 10-Point Home Maintenance Checklist
Prevent costly repairs with this seasonal checklist. Save hundreds every year by catching problems early.
Your checklist is ready!
Open Checklist →Something went wrong. View the checklist here.