How to Fix a Leaking Bathroom Faucet Base
Replace worn O-rings and deck gaskets on a deck-mount bathroom faucet to stop water from leaking around the base and protect your vanity top.
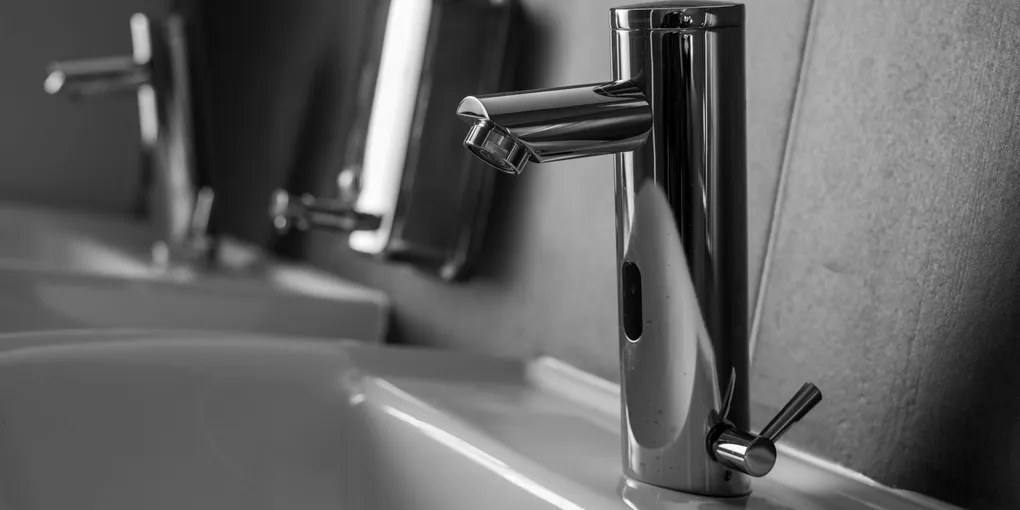
A puddle around the base of your bathroom faucet is easy to dismiss as splashed water, but if it reappears consistently after you wipe it up, the culprit is almost certainly a failed deck gasket or O-ring. Water migrating under the faucet body will eventually rot your vanity top and damage the cabinet below.
A puddle around the base of your bathroom faucet is easy to dismiss as splashed water, but if it reappears consistently after you wipe it up, the culprit is almost certainly a failed deck gasket or O-ring. Water migrating under the faucet body will eventually rot your vanity top and damage the cabinet below. The fix is simple: shut off the water, pull the faucet, swap the seals, and reinstall.
How the Seal Works
A deck-mount bathroom faucet sits in one or three holes in the sink or countertop. The faucet body is held down by a mounting nut threaded onto the shank from below. Between the faucet body and the sink surface, a rubber or neoprene gasket creates the watertight seal. Some faucets use a large flat gasket; others rely on one or more O-rings seated in grooves on the faucet shank. When these seals age and compress, water finds its way through.
What You Will Need
- Adjustable wrench or basin wrench
- Channel-lock pliers
- Screwdriver
- Bucket and old towels
- Replacement O-rings or deck gasket (matched to your faucet)
- Plumber’s grease
- Plumber’s putty (if the original installation used putty instead of a gasket)
For an assortment of O-ring sizes to find the right match on the first trip, an O-ring assortment kit is a worthwhile investment that also covers future repairs around the house.
Step 1: Shut Off the Water Supply
Turn off the hot and cold supply valves under the sink — they are typically small oval or football-shaped handles on the supply lines. Turn them clockwise until they stop. Turn on the faucet to release remaining pressure and drain the lines.
Step 2: Disconnect the Supply Lines
Place a small bucket under the connections. Use an adjustable wrench to unscrew the supply line nuts from the bottom of the faucet shanks. Have a towel ready — a little residual water will drip out.
Step 3: Remove the Mounting Nut
This is the step that requires the most patience. The mounting nut sits up on the shank inside the cabinet, often in a tight space. A basin wrench is designed exactly for this job — its pivoting jaw reaches up into the space behind the sink and grips the nut. Turn counterclockwise to loosen. On older faucets, expect some corrosion resistance; penetrating oil applied the night before helps.
Step 4: Lift Out the Faucet
Once the mounting nut is off, lift the faucet straight up out of the sink hole. Set it upside down on the vanity top so you can see the underside. You will find one of the following:
- A flat rubber or neoprene gasket between the faucet base and the sink surface
- One or more O-rings seated in grooves on the faucet shanks
Note the condition: gaskets are often completely flattened or cracked; O-rings frequently show cracking, flattening, or surface hardening.
Step 5: Replace the Seals
Gasket replacement: Peel off the old gasket. Clean any residue from the faucet base and the sink surface with a cloth. Press the new gasket firmly into place — it should seat flush with no gaps.
O-ring replacement: Roll the old O-ring out of its groove. Coat the new O-ring lightly with plumber’s silicone grease — this prevents tearing during installation and extends seal life. Roll it into the groove, making sure it seats evenly all the way around with no twists.
If the original installation used plumber’s putty instead of a gasket (you will see a ring of putty residue on the sink surface), scrape it all away and use a fresh rope of putty or switch to a gasket.
Step 6: Reinstall the Faucet
Lower the faucet into the hole, making sure the shank(s) drop into position and any supply tube leads feed down through the hole without kinking. From below, hand-thread the mounting nut until snug, then tighten with the basin wrench — firm but not overtightened, as excessive torque can crack porcelain sinks or crack the plastic nuts on some faucets.
Reconnect the supply lines. Tighten them by hand, then an additional quarter-turn with the wrench — snug, not cranked.
Step 7: Test for Leaks
Turn the supply valves back on slowly. Run the faucet for a minute, then turn it off and dry the base area completely. Watch for 60 seconds. No new moisture should appear. If you see seeping, tighten the mounting nut slightly — the gasket may need just a little more compression to seat fully.
Prevent Future Problems
Inspect the faucet base annually as part of your bathroom maintenance. A thin bead of clear silicone around the outside of the faucet base (on the vanity surface, not the faucet itself) provides a secondary barrier against surface water and is easy to refresh every few years.
- Shut Off the Water Supply
Turn off the hot and cold supply valves under the sink — they are typically small oval or football-shaped handles on the supply lines. Turn them clockwise until they stop. Turn on the faucet to release remaining pressure and drain the lines.
- Disconnect the Supply Lines
Place a small bucket under the connections. Use an adjustable wrench to unscrew the supply line nuts from the bottom of the faucet shanks. Have a towel ready — a little residual water will drip out.
- Remove the Mounting Nut
This is the step that requires the most patience. The mounting nut sits up on the shank inside the cabinet, often in a tight space.
- Lift Out the Faucet
Once the mounting nut is off, lift the faucet straight up out of the sink hole. Set it upside down on the vanity top so you can see the underside. You will find one of the following:
- Replace the Seals
Gasket replacement: Peel off the old gasket. Clean any residue from the faucet base and the sink surface with a cloth. Press the new gasket firmly into place — it should seat flush with no gaps.
- Reinstall the Faucet
Lower the faucet into the hole, making sure the shank(s) drop into position and any supply tube leads feed down through the hole without kinking.
Free: 10-Point Home Maintenance Checklist
Prevent costly repairs with this seasonal checklist. Save hundreds every year by catching problems early.
Your checklist is ready!
Open Checklist →Something went wrong. View the checklist here.