How to Fix a Leaking Bathroom Exhaust Fan Duct
Learn how to find and seal leaks in bathroom exhaust fan ductwork to stop moisture damage, mold growth, and energy loss.
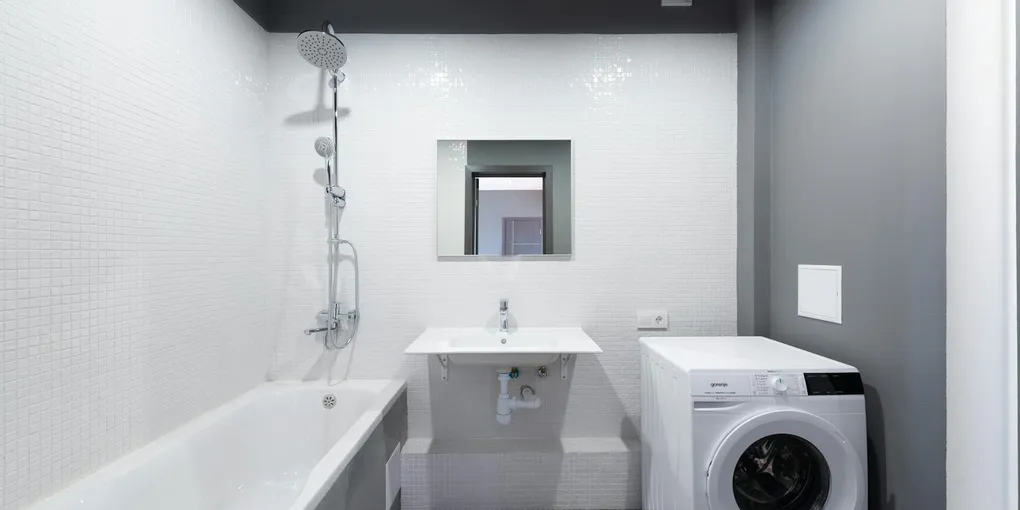
A bathroom exhaust fan is designed to pull moisture-laden air out of your bathroom and send it outside. When the ductwork leaks, that humid air dumps into your attic or wall cavity instead — setting the stage for mold, rot, and costly structural damage.
A bathroom exhaust fan is designed to pull moisture-laden air out of your bathroom and send it outside. When the ductwork leaks, that humid air dumps into your attic or wall cavity instead — setting the stage for mold, rot, and costly structural damage. Here is how to find the leaks and seal them for good.
Why Bathroom Fan Duct Leaks Matter
Even a small gap in the duct run can release enough moisture to soak attic insulation, rot sheathing, and trigger mold growth within a few months. In cold climates, warm exhaust air hitting cold attic surfaces also creates condensation that drips back through the fan housing, leaving water stains on ceilings.
Fixing a leaking bathroom duct is one of the highest-value, lowest-cost repairs you can make for long-term home health.
Tools and Materials You Will Need
- Foil-backed HVAC tape (not standard duct tape)
- Duct mastic sealant and brush
- Flexible insulated duct (4-inch diameter, standard for most bathroom fans)
- Duct clamps or metal zip ties
- Flashlight or headlamp
- Safety glasses and dust mask (for attic work)
- Utility knife
- Ladder
Step 1: Access the Duct Run
Turn off the bathroom exhaust fan at the switch. For most repairs, you will need attic access. Put on eye protection and a dust mask before entering the attic — insulation fibers are an irritant.
Trace the flexible duct from the fan housing to where it exits through the roof or wall cap. Most bathroom fan ducts are 4-inch round flexible duct, though some older homes use 3-inch.
Step 2: Identify All Leak Points
The most common leak locations are:
- The connection between the fan housing and the start of the duct
- Joints where sections of duct were coupled together
- The connection at the roof or wall cap
At each connection, look for gaps, separated joints, or duct that has simply pulled free of its fitting. Flex duct that was only held by a single wrap of cloth duct tape (instead of foil tape and a clamp) is almost guaranteed to have failed over time.
Feel along the duct surface after running the fan briefly — you may be able to feel warm air escaping from gaps.
Step 3: Reseat and Seal Separated Connections
If the duct has pulled free of the fan housing or a fitting, push it back on firmly until it seats past the bead or ridge on the fitting. Then secure it with a metal duct clamp tightened with a screwdriver or nut driver.
Once clamped, wrap the joint with foil-backed HVAC tape. Overlap the tape at least 2 inches onto both sides of the connection and press it firmly for full adhesion. Foil tape like the 3M 3311A HVAC Foil Tape is purpose-built for this application and holds up for decades.
For extra durability, brush a coat of duct mastic over the foil tape at each joint. Mastic is the gold standard for permanent duct sealing and will not fail the way tape eventually can.
Step 4: Replace Damaged or Uninsulated Flex Duct
If the flex duct is kinked, torn, crushed, or simply uninsulated, replacement is the right call. Insulated 4-inch flex duct keeps the exhaust air warmer as it travels, preventing condensation on the outside of the duct in winter.
To replace the duct:
- Disconnect the old duct at both ends (fan housing and exterior cap)
- Pull it free carefully — it may be stapled or tacked to rafters
- Run the new insulated flex duct with as few bends as possible
- Keep the total run as short and straight as you can — long or kinked runs reduce fan performance
- Secure at both ends with duct clamps and foil tape
Dundas Jafine insulated flex duct is a commonly recommended choice for bathroom fan applications and comes pre-wrapped with an insulation jacket.
Step 5: Verify the Exterior Cap Is Functional
Check the roof or wall cap where the duct exits the building. The cap should have a backdraft damper — a spring-loaded or gravity flap that opens when the fan runs and closes when it is off.
A stuck-open or missing damper allows cold outside air to enter the duct and accelerates condensation. A stuck-closed damper means your fan can barely exhaust at all. Replace a faulty cap with a new 4-inch exterior vent cap with damper if needed.
Step 6: Test the Repair
Turn the fan on and return to the attic. Feel along all newly sealed joints for any escaping warm air. You should feel nothing. Check the duct run visually for any spots you may have missed.
From inside the bathroom, hold a piece of tissue near the fan grille. It should be pulled firmly against the grille when the fan runs — a strong draw confirms good airflow with no major restrictions.
Preventing Future Duct Leaks
- Use foil tape and clamps at every connection, never cloth tape alone
- Support flex duct every 4 feet to prevent sagging that leads to kinking
- Insulate any duct run that passes through unconditioned space
- Inspect the duct run every few years as part of your attic walkthrough
Sealed, insulated bathroom fan ductwork is a simple upgrade that protects your attic and your indoor air quality for years to come.
- Access the Duct Run
Turn off the bathroom exhaust fan at the switch. For most repairs, you will need attic access. Put on eye protection and a dust mask before entering the attic — insulation fibers are an irritant.
- Identify All Leak Points
The connection between the fan housing and the start of the duct
- Reseat and Seal Separated Connections
If the duct has pulled free of the fan housing or a fitting, push it back on firmly until it seats past the bead or ridge on the fitting. Then secure it with a metal duct clamp tightened with a screwdriver or nut driver.
- Replace Damaged or Uninsulated Flex Duct
If the flex duct is kinked, torn, crushed, or simply uninsulated, replacement is the right call. Insulated 4-inch flex duct keeps the exhaust air warmer as it travels, preventing condensation on the outside of the duct in winter.
- Verify the Exterior Cap Is Functional
Check the roof or wall cap where the duct exits the building. The cap should have a backdraft damper — a spring-loaded or gravity flap that opens when the fan runs and closes when it is off.
- Test the Repair
Turn the fan on and return to the attic. Feel along all newly sealed joints for any escaping warm air. You should feel nothing. Check the duct run visually for any spots you may have missed.
Free: 10-Point Home Maintenance Checklist
Prevent costly repairs with this seasonal checklist. Save hundreds every year by catching problems early.
Your checklist is ready!
Open Checklist →Something went wrong. View the checklist here.