How to Fix a Leaking Basement Crack
Learn how to seal a leaking foundation crack yourself using polyurethane injection or hydraulic cement to stop water intrusion for good.
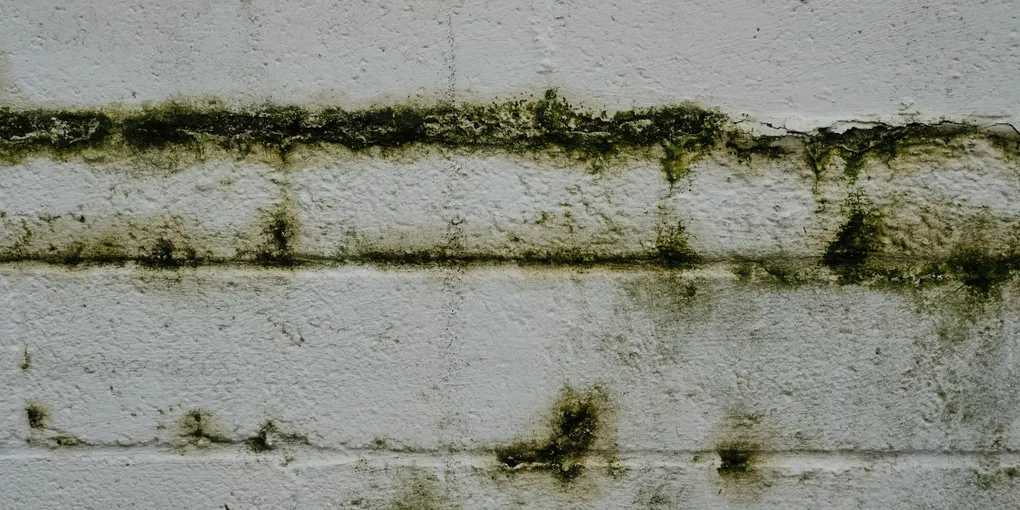
Water seeping through a basement wall crack is one of those problems you cannot ignore. Even a small trickle can damage flooring, promote mold growth, and over time weaken the surrounding concrete.
Water seeping through a basement wall crack is one of those problems you cannot ignore. Even a small trickle can damage flooring, promote mold growth, and over time weaken the surrounding concrete. The good news is that most foundation cracks in poured concrete walls are shrinkage cracks — not structural failures — and can be sealed permanently with DIY injection kits. This guide covers both polyurethane foam injection for dry or damp cracks and hydraulic cement for actively flowing water.
Understanding the Crack Before You Start
Walk the entire basement perimeter and map every crack. Use a pencil to trace each one so you can monitor whether it grows. Measure crack width at its widest point.
- Hairline to 1/8 inch wide: Normal shrinkage crack. Inject with polyurethane.
- 1/8 to 1/4 inch wide: Larger shrinkage or minor settling crack. Still injectable, but use a wider tip.
- Wider than 1/4 inch, horizontal, or stair-step pattern in block: Call a structural engineer before doing anything else.
This guide is for the first two categories. If in doubt, get a professional opinion first.
Tools and Materials You Will Need
- Polyurethane crack injection kit
- Hydraulic cement (for active leaks)
- Wire brush or grinder
- Shop vacuum
- Mixing nozzles (included in kit)
- Drill and hammer
- Safety glasses and gloves
- Masonry chisel
Step 1: Prepare the Crack
Use a wire brush to scrub the crack and the surrounding 4 inches of wall clean. Remove all loose concrete, efflorescence (white mineral deposits), and old sealant. Vacuum out the dust completely. The injection ports and adhesive will not bond to a dusty or contaminated surface.
If water is actively trickling through the crack, mix a small amount of hydraulic cement per the package directions. Press it firmly into the crack with a gloved hand or trowel and hold it for 3 to 5 minutes until it sets. Quikrete Hydraulic Water-Stop Cement (Amazon, tag=fixupfirst-20) expands as it cures and can stop active water flow in under 5 minutes. This is a temporary plug — follow up with injection once the immediate flow is stopped.
Step 2: Install the Injection Ports
Polyurethane injection kits include plastic ports that are bonded to the wall surface directly over the crack. Space the ports every 8 to 12 inches along the length of the crack, centered over it.
Apply the port base adhesive included in the kit to the base of each port and press it firmly over the crack. Apply the surface cap material (often called port adhesive or crack filler) over the entire crack surface between ports, leaving the port openings clear. This cap seals the surface so injected foam is forced to travel through the crack into the wall rather than back out the surface.
Allow the adhesive to cure per the manufacturer’s instructions — usually 30 to 60 minutes.
Step 3: Inject the Polyurethane Foam
Polyurethane foundation crack injection kits (Amazon, tag=fixupfirst-20) include a dual-cartridge gun that mixes two-part foam as it dispenses. Attach a mixing nozzle and prime it per the instructions.
Starting at the lowest port on the crack (water flows down, so start at the bottom), insert the nozzle into the port and inject slowly until foam begins to appear at the next port up. Move to that port and repeat, working your way up the crack. This sequential method ensures foam fills the entire crack from bottom to top rather than creating voids.
When foam appears at the top port and begins to expand out of it, the crack is full. Allow the foam to cure for 24 hours. It will expand slightly to fill every void and then harden into a flexible, waterproof seal.
Step 4: Remove the Ports and Finish
After the foam has fully cured, snap off the injection ports at the wall surface with a firm sideways tap from a hammer. The adhesive base may remain — scrape it flush with a putty knife or chisel. Sand the surface smooth and apply masonry sealer or paint to blend the repair into the surrounding wall.
Step 5: Monitor and Prevent Recurrence
Check the repaired crack at the start of each spring and after heavy rain events. A properly sealed crack should show no moisture. If water reappears, it may be entering through a different path or the crack has shifted further — inspect the full foundation again.
Redirect downspouts at least 6 feet from the foundation and ensure the soil slopes away from the house. Most basement water intrusion problems are significantly reduced by improving surface drainage before any interior repairs.
- Prepare the Crack
Use a wire brush to scrub the crack and the surrounding 4 inches of wall clean. Remove all loose concrete, efflorescence (white mineral deposits), and old sealant. Vacuum out the dust completely.
- Install the Injection Ports
Polyurethane injection kits include plastic ports that are bonded to the wall surface directly over the crack. Space the ports every 8 to 12 inches along the length of the crack, centered over it.
- Inject the Polyurethane Foam
Polyurethane foundation crack injection kits (Amazon, tag=fixupfirst-20) include a dual-cartridge gun that mixes two-part foam as it dispenses. Attach a mixing nozzle and prime it per the instructions.
- Remove the Ports and Finish
After the foam has fully cured, snap off the injection ports at the wall surface with a firm sideways tap from a hammer. The adhesive base may remain — scrape it flush with a putty knife or chisel.
- Monitor and Prevent Recurrence
Check the repaired crack at the start of each spring and after heavy rain events. A properly sealed crack should show no moisture.
Free: 10-Point Home Maintenance Checklist
Prevent costly repairs with this seasonal checklist. Save hundreds every year by catching problems early.
Your checklist is ready!
Open Checklist →Something went wrong. View the checklist here.