How to Fix a Kitchen Faucet Sprayer
Learn how to diagnose and repair a weak, leaking, or stuck kitchen faucet side sprayer yourself with basic tools and no plumber required.
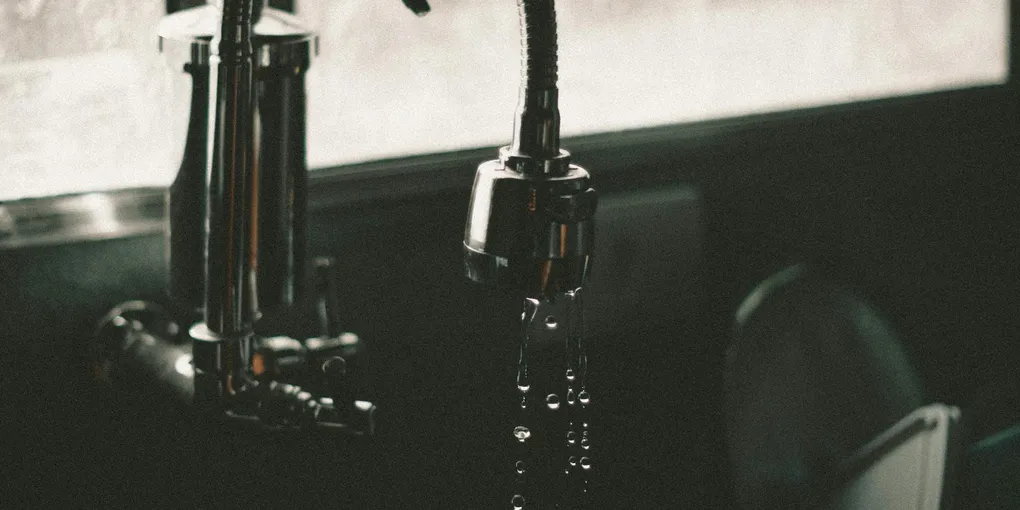
A kitchen faucet sprayer that dribbles instead of blasts, leaks at the hose, or refuses to switch from the main spout is one of the most common and fixable kitchen plumbing problems.
A kitchen faucet sprayer that dribbles instead of blasts, leaks at the hose, or refuses to switch from the main spout is one of the most common and fixable kitchen plumbing problems. Before you call a plumber or replace the whole faucet, work through this guide — the fix is often a five-dollar part and half an hour of your time.
How a Side Sprayer System Works
Most traditional kitchen faucets with a separate side sprayer use a diverter valve buried inside the faucet body. When you press the sprayer trigger, pressure drops at the sprayer head, which signals the diverter to redirect flow from the main spout through the spray hose. This is why both the spout and sprayer rarely run at full pressure simultaneously — they share a single supply.
Pull-down and pull-out faucets work differently: the sprayer is integrated into the spout wand and a counterweight keeps the hose retracted. Many of the same cleaning and hose-swap steps apply, but the diverter location differs by brand.
What You Will Need
- Adjustable pliers or basin wrench
- Flathead and Phillips screwdrivers
- White vinegar and a small bowl
- Replacement sprayer head (match your brand or buy a universal model)
- Replacement diverter valve (look up your faucet model number)
- Replacement spray hose if yours is cracked or kinked
- Teflon (PTFE) pipe thread tape
- Bucket and old towels
- Flashlight for working under the sink
A good universal replacement: Moen Side Spray Assembly on Amazon. For diverter valves, search your faucet brand plus model number plus “diverter” — Delta Faucet Diverter on Amazon is a common example.
Step 1: Shut Off the Water Supply
Open the cabinet under the sink and locate the hot and cold shutoff valves on the supply lines running up to the faucet. Turn both valves fully clockwise to close them. Turn on the faucet at the handle to release pressure and confirm the flow has stopped.
Place a bucket or old towel under the supply connections to catch residual water.
Step 2: Clean the Sprayer Head First
Before touching any plumbing, remove the sprayer head and soak it in white vinegar. Mineral deposits are the leading cause of weak spray patterns and cost nothing to fix.
- Unscrew the sprayer head from the hose — most turn counterclockwise by hand or with light plier pressure.
- Drop it in a bowl of undiluted white vinegar for 20 to 30 minutes.
- Use an old toothbrush to scrub the spray holes while it soaks.
- Rinse thoroughly and reattach.
Restore water pressure and test. If the spray is still weak, move to the next step.
Step 3: Check the Spray Hose for Kinks
Open the cabinet and trace the spray hose from where it connects to the faucet inlet down to where it exits near the sprayer. Look for:
- Sharp bends or kinks that restrict flow
- The hose pressing against a supply line or the cabinet floor
- Any visible cracking, bulging, or brittleness
If the hose is kinked but intact, try rerouting it with a gentle arc. If it is damaged, replace it. A replacement side spray hose typically costs under $15 and connects at both ends with standard coupling nuts.
Step 4: Inspect or Replace the Diverter Valve
If cleaning the head and fixing the hose did not restore pressure, the diverter is the likely culprit.
Locating the Diverter
The diverter lives inside the faucet body — access it from above by removing the faucet spout or from below by unscrewing a cap at the base of the faucet where the spray hose connects. The exact location depends on your faucet brand. Check your faucet manual or search the model number online.
Removing the Diverter
- With water still off, use a flathead screwdriver or small socket to unscrew the diverter cap.
- Use needle-nose pliers to pull the diverter straight out. Note its orientation before removal — photograph it.
- Inspect the small O-rings and rubber seats on the diverter body for cracks, flattening, or mineral scale. These are the most common failure points.
Cleaning vs. Replacing
If the diverter looks intact but dirty, soak it in vinegar for 20 minutes and scrub with a toothbrush. If the rubber is cracked or the valve body is worn, replace the whole diverter. Bring the old part to the hardware store or order by your faucet model number.
Apply a thin layer of plumber’s grease to the O-rings before reinstalling, then press the diverter back in the same orientation and tighten the cap snugly.
Step 5: Replace the Spray Hose (If Needed)
If the hose is cracked or has a corroded coupling, replace it:
- Under the sink, unscrew the coupling nut connecting the spray hose to the faucet inlet — usually a 7/8-inch or 15/16-inch nut. Use a basin wrench if space is tight.
- Thread the new hose up through the faucet body and over the side sprayer deck hole.
- Connect the lower end to the faucet inlet, wrapping the threads with two layers of Teflon tape first.
- Tighten the coupling nut hand-tight, then one-quarter turn more with pliers.
- Connect the upper end to the sprayer body — most snap or thread directly onto the spray handle.
Step 6: Restore Water and Test
Open both shutoff valves slowly. Let the water run at the main spout for 30 seconds to clear any air or loose debris. Then pick up the sprayer, press the trigger, and check:
- Spray pressure: Should be firm and even across all holes.
- Main spout behavior: Should slow or stop when sprayer trigger is pressed (for side-spray faucets).
- Leaks at hose connections: Run your hand along both coupling nuts while the water is on.
If a coupling is dripping, turn off the water and tighten the nut an additional quarter turn. Persistent leaks indicate a worn O-ring that needs replacement.
When to Replace the Whole Faucet
Consider a full faucet replacement if:
- The diverter housing inside the faucet body is cracked or stripped
- Replacement parts for your model are no longer available
- The faucet is more than 15 years old and has multiple failing components
A mid-range replacement like the Moen Arbor Pull-Down Kitchen Faucet installs in about two hours and includes a lifetime warranty — often the smarter long-term investment when an older faucet starts requiring repeated repairs.
Maintenance Tips
- Clean the sprayer head every 6 months if you have hard water.
- Replace spray hose O-rings at the first sign of a drip — letting a small leak run accelerates corrosion at the coupling.
- If you are replacing the faucet, choose a pull-down model with a braided stainless hose for better durability and easier cleaning.
- Shut Off the Water Supply
Open the cabinet under the sink and locate the hot and cold shutoff valves on the supply lines running up to the faucet. Turn both valves fully clockwise to close them.
- Clean the Sprayer Head First
Before touching any plumbing, remove the sprayer head and soak it in white vinegar. Mineral deposits are the leading cause of weak spray patterns and cost nothing to fix.
- Check the Spray Hose for Kinks
Open the cabinet and trace the spray hose from where it connects to the faucet inlet down to where it exits near the sprayer. Look for:
- Inspect or Replace the Diverter Valve
If cleaning the head and fixing the hose did not restore pressure, the diverter is the likely culprit.
- Replace the Spray Hose (If Needed)
If the hose is cracked or has a corroded coupling, replace it:
- Restore Water and Test
Open both shutoff valves slowly. Let the water run at the main spout for 30 seconds to clear any air or loose debris. Then pick up the sprayer, press the trigger, and check:
Free: 10-Point Home Maintenance Checklist
Prevent costly repairs with this seasonal checklist. Save hundreds every year by catching problems early.
Your checklist is ready!
Open Checklist →Something went wrong. View the checklist here.