How to Fix a Hot Water Heater Anode Rod
Extend the life of your water heater by inspecting and replacing the sacrificial anode rod before it depletes and allows tank corrosion to begin.
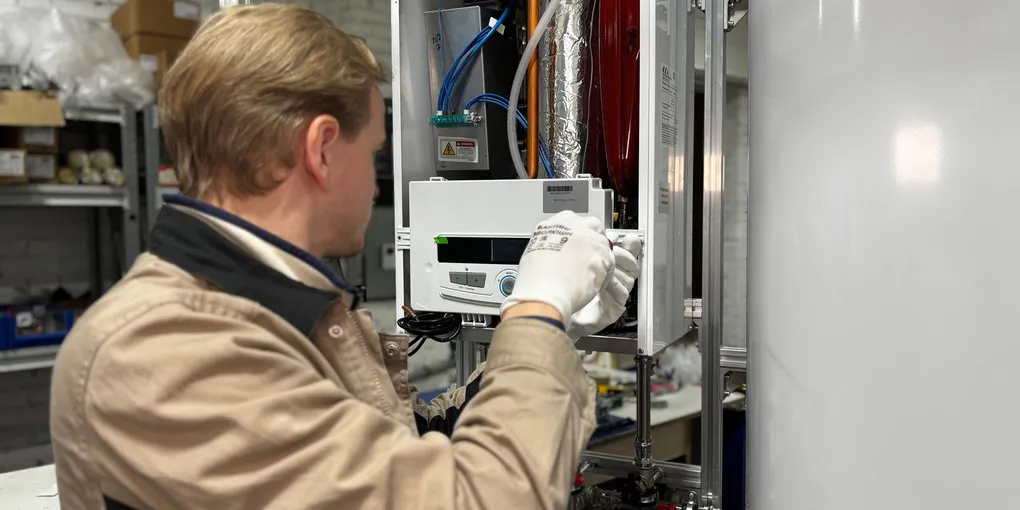
The anode rod is the single most important maintenance item on a tank water heater — and the most overlooked. Replacing a depleted rod costs about $30 and an hour of your time.
The anode rod is the single most important maintenance item on a tank water heater — and the most overlooked. Replacing a depleted rod costs about $30 and an hour of your time. Replacing a rusted-out water heater costs $800 to $1,500. This is an easy choice.
What You Need
- Replacement anode rod — 3/4-inch NPT, matched to your water type
- 1-1/16-inch socket — 6-point (most water heater anode rods use this size)
- Breaker bar — 18-inch or 24-inch
- Penetrating oil — PB Blaster
- Teflon tape — thread seal tape
- Garden hose — for draining sediment
- Bucket, adjustable wrench, water heater element wrench (if combo rod)
Step 1: Locate the Anode Rod
The anode rod is a hex-head fitting on top of the water heater — either exposed directly on the tank top or hidden under a sheet metal cover panel. On some models, it shares the same fitting as the hot water outlet and is called a combination (or combo) rod.
Finding the rod:
- Look at the top of your water heater for a hex head fitting — typically 1-1/16 inches across. It sits near the center or toward one side of the tank top.
- If no fitting is visible, check your water heater manual for the anode rod location. Some units have rods under decorative top panels.
- If the hot water outlet pipe connects with a separate hex fitting rather than a standard threaded nipple, that is a combination rod — the hot water dip tube and anode rod are a single unit.
Step 2: Shut Down the Water Heater
For a gas water heater: Turn the gas control dial to the PILOT position. Do not turn to OFF unless you are comfortable relighting the pilot afterward.
For an electric water heater: Turn off the circuit breaker supplying the water heater. Label the breaker so no one resets it while you work.
Allow the water in the tank to cool for 1 to 2 hours if the heater has been running. You do not need to wait for full cooldown — a slightly warm tank is fine to work on — but very hot water makes draining and working uncomfortable and can cause burns.
Step 3: Relieve Pressure and Drain Slightly
- Turn off the cold water supply valve to the water heater — this is the valve on the cold inlet pipe, typically on the right side at the top.
- Open a hot water faucet anywhere in the house to relieve pressure in the line. Leave it open while you work.
- Connect a garden hose to the drain valve at the bottom of the tank. Run the hose to a floor drain or outside.
- Open the drain valve and drain 2 to 3 gallons to reduce water level and flush sediment from the tank bottom. You do not need to drain the full tank to replace the anode rod.
- Close the drain valve and disconnect the hose.
Step 4: Remove the Old Anode Rod
This is usually the hardest step. Anode rods can seize in their fitting after years of heat cycling.
- Apply penetrating oil liberally around the hex head of the anode rod fitting. Let it soak for at least 30 minutes — longer if the heater is more than 5 years old.
- Position a 1-1/16-inch 6-point socket on the hex head. Use a breaker bar, not a ratchet — you may need significant torque.
- Have a helper brace the water heater from the opposite side to prevent it from rocking. Water heaters are top-heavy and can tip.
- Turn counterclockwise (left to loosen). Apply steady increasing force rather than sharp jerks.
- Once broken free, unscrew by hand. The rod may be in multiple pieces if severely depleted — that is normal.
Assess what you pull out:
- Full diameter throughout with calcium coating: replace, it is nearly depleted
- Core wire exposed more than 6 inches: replace immediately
- Less than 1/2 inch in diameter anywhere: replace
- Still more than 3/4 of original diameter with no wire exposure: good condition, reinstall with fresh Teflon tape
Step 5: Install the New Anode Rod
- Wrap the threaded end of the new anode rod with 4 to 6 turns of Teflon tape. Wrap in the direction of the thread (clockwise when looking at the end) so the tape does not unwind during installation.
- Thread the new rod into the fitting by hand first to avoid cross-threading.
- Tighten with the socket and breaker bar until snug — about 1/4 turn past hand-tight. Do not overtighten; the fitting is aluminum or brass and can crack.
- On combination rods: make sure the dip tube portion (the long plastic or metal tube that delivers cold water to the bottom of the tank) is pointed downward before tightening.
Note on tall rods in low-clearance spaces: If your water heater is in a closet or under a low ceiling, a standard anode rod may be too long to lift out and insert straight. Flexible anode rods with segments connected by a wire solve this — they bend to fit in tight spaces.
Step 6: Refill and Restart the Water Heater
- Close the drain valve at the bottom of the tank.
- Turn the cold water supply valve back on. Water will begin refilling the tank.
- Keep the hot water faucet you opened earlier open — when a steady stream of water (no air spurts) flows from it, the tank is full.
- Close the hot water faucet.
- Check the new anode rod fitting for leaks. Tighten slightly if any dripping occurs at the hex fitting.
For gas heaters: Turn the gas control from PILOT back to your normal temperature setting (120 degrees F is recommended). The pilot should relight automatically on modern heaters. If not, follow the lighting instructions on the label.
For electric heaters: Reset the circuit breaker. The heating elements will begin warming the water — expect 1 to 2 hours for a full tank to reach temperature.
Step 7: Set a Reminder for the Next Inspection
Write the replacement date on a piece of masking tape and stick it to the side of the water heater. Set a calendar reminder for three years out.
If your home has a water softener, set the reminder for two years — softened water is significantly more aggressive to anode rods than hard water.
When to Call a Professional
Anode rod replacement is a true DIY task. Call a plumber only if:
- The anode rod fitting is stripped or the hex head is damaged and cannot be gripped — a plumber has specialized extractors and can deal with damaged fittings without cracking the tank
- You find the tank bottom is heavily corroded or you see rust in the drained water — the tank may be near end of life and a plumber can assess whether replacement is more cost-effective
- The water heater is more than 12 to 15 years old — at that age, a full inspection and efficiency assessment makes sense alongside any maintenance
Related Reading
- How to Drain and Flush a Water Heater — flush sediment while the tank is partially drained
- How to Fix a Leaking Water Heater — identify and repair common water heater leaks
- How to Lower Water Heater Temperature — set temperature for safety and efficiency
- Locate the Anode Rod
The anode rod is a hex-head fitting on top of the water heater — either exposed directly on the tank top or hidden under a sheet metal cover panel.
- Shut Down the Water Heater
For a gas water heater: Turn the gas control dial to the PILOT position. Do not turn to OFF unless you are comfortable relighting the pilot afterward.
- Relieve Pressure and Drain Slightly
Turn off the cold water supply valve to the water heater — this is the valve on the cold inlet pipe, typically on the right side at the top.
- Remove the Old Anode Rod
This is usually the hardest step. Anode rods can seize in their fitting after years of heat cycling.
- Install the New Anode Rod
Wrap the threaded end of the new anode rod with 4 to 6 turns of Teflon tape. Wrap in the direction of the thread (clockwise when looking at the end) so the tape does not unwind during installation.
- Refill and Restart the Water Heater
Close the drain valve at the bottom of the tank.
Free: 10-Point Home Maintenance Checklist
Prevent costly repairs with this seasonal checklist. Save hundreds every year by catching problems early.
Your checklist is ready!
Open Checklist →Something went wrong. View the checklist here.