How to Fix a Garage Door Track
Learn how to straighten a bent garage door track, realign a misaligned track, replace worn rollers, and lubricate the system for smooth, safe operation.
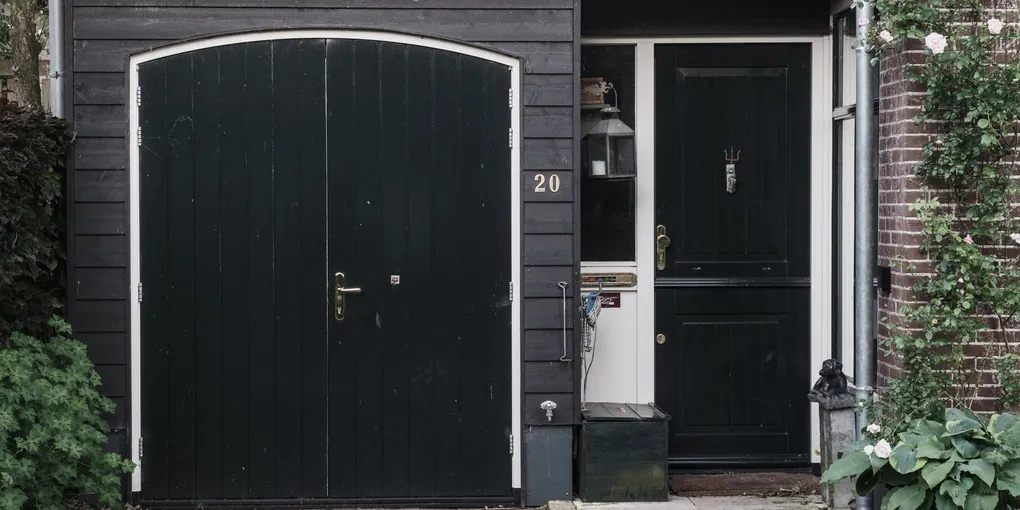
A grinding, jerking, or crooked garage door is almost always a track problem. The two vertical and one curved horizontal track that guide your garage door through its arc take constant stress from the rolling weight of a heavy panel system.
A grinding, jerking, or crooked garage door is almost always a track problem. The two vertical and one curved horizontal track that guide your garage door through its arc take constant stress from the rolling weight of a heavy panel system. A single impact, a loose bracket, or years of vibration can throw the whole system out of alignment. The good news is that most track issues — straightening a small bend, closing a gap between roller and track, realigning a shifted section — are within reach of a homeowner with basic tools and an afternoon to spare.
This guide walks you through diagnosing track problems, making repairs, and maintaining the system so future problems are less likely.
What You Need
-
WD-40 Specialist White Lithium Grease Spray — The correct lubricant for garage door rollers, hinges, and springs. White lithium grease stays put and does not drip or fling off the rollers during operation. Do not use WD-40 standard formula — it attracts dust and dries out quickly.
-
Rubber Mallet — Used to gently tap bent track sections back into shape without creating additional dents. Never use a steel hammer directly on the track.
-
Socket Wrench Set with 3/8 and 7/16 Sockets — Garage door track mounting bolts are typically 3/8-inch or 7/16-inch hex bolts. A socket set with a ratchet handle makes retightening and loosening brackets much faster than an open-end wrench.
-
Nylon Garage Door Rollers (2-inch stem, 11-ball bearing) — Nylon rollers are quieter than steel and do not need lubrication on the wheel itself. These are a direct replacement for most residential garage door rollers. Purchase a full set of 10 to 12 to replace all rollers at once when doing this repair.
-
Locking Pliers / Vise-Grips — Used to clamp the track above and below a roller during roller replacement to prevent the door from rolling while you work.
-
C-Clamps 3-inch — Useful for clamping the track to the mounting bracket while you retighten loose hardware, or for holding a straightened section in place temporarily.
Step 1: Safety First — Disconnect the Opener
Before touching any part of the garage door mechanism, disconnect the automatic opener. Unplug the opener from the outlet in the ceiling. Then pull the red emergency release cord hanging from the trolley to disconnect the door from the opener carriage. This prevents the opener from activating if someone pushes the wall button while you are working.
With the door in the closed (down) position, you can now work on the track safely. Keep the door down throughout this repair — do not prop it open.
Critical reminder: Do not attempt to work on or near the torsion spring (the large horizontal spring above the door) or the cables. These components are under hundreds of pounds of tension and can cause serious injury if they release unexpectedly.
Step 2: Inspect the Full Track System
Before starting any repairs, do a complete inspection. You want to understand everything that needs attention before you start loosening hardware.
Walk the full track: Starting at the bottom, visually follow each vertical track up to the curve and along the horizontal ceiling track. Look for:
- Visible bends, dents, or kinks in the track
- Gaps where the track has separated from the wall bracket
- Sections where the track channel is out of round (squeezed or widened)
- Damaged or missing mounting hardware
- Rollers that are cracked, seized, or have broken wheels
Check the gaps between roller and track: The roller wheel should sit inside the track channel with a small, consistent gap — typically about 1/8 inch. A gap wider than 1/4 inch indicates the track has moved away from the door, which causes the rollers to bind or jump. No gap at all indicates the track has moved toward the door, which causes the rollers to scrape and the door to bind.
Check the vertical alignment: Stand back and look at the two vertical tracks with the door closed. They should be plumb (perfectly vertical) and parallel to each other. Use a level on each vertical section. Even a 1/4-inch deviation over the height of the track will cause the door to bind during travel.
Check all mounting brackets: Grab each mounting bracket and try to wiggle it. Brackets should be completely solid. Any movement means the lag bolts have loosened or pulled out of the wall framing.
Step 3: Retighten All Mounting Hardware
Start here before any other repair. Loose mounting hardware is the most common cause of track problems and is the easiest fix.
Using your socket wrench, go to every track mounting bracket — typically spaced every 18 to 24 inches along the vertical track, plus the angle brackets at the top where the vertical track meets the curved horizontal section — and retighten every bolt and nut.
For bolts going into the wall framing (the lag screws that anchor the brackets to the garage wall), retighten until snug. If a lag screw turns freely and will not tighten, the screw hole in the wood framing has stripped. Remove the screw, inject a small amount of wood glue or construction adhesive with the screw tip, and drive a slightly larger lag screw. Alternatively, add a second mounting hole in a different location on the bracket.
After retightening all hardware, re-check the gap between the roller and the track. Often, simply retightening the brackets corrects a minor alignment issue.
Step 4: Align the Vertical Track
If the track is out of plumb or the roller gap is inconsistent, you need to adjust the track position.
-
Loosen the mounting bracket bolts enough to allow the track to shift — just 1/4 to 1/2 turn on each bolt. Do not remove them.
-
Tap the track into position using the rubber mallet. For small adjustments, tap the track flange directly. For more leverage, place a block of wood against the track and tap the wood.
-
Hold a level against the inside face of the track and adjust until it reads plumb.
-
Check the roller-to-track gap. Aim for consistent 1/8 inch along the full vertical run.
-
While holding the track in position, retighten all mounting bracket bolts firmly.
-
Double-check plumb and the roller gap after tightening — tightening the bolts can shift the track slightly.
Repeat for the second vertical track. Measure the distance between the two tracks at the bottom and at mid-height to confirm they are parallel. The measurement should be identical (or within 1/8 inch) at both points.
Step 5: Straighten a Bent Track
For minor bends and dents — from a car bumping a panel or a tool being dropped on the track — straightening is usually effective.
-
Identify the exact bent section. Mark it with a piece of tape.
-
Place a block of wood (a 2x4 works perfectly) against the outside of the bent track section.
-
Strike the wood block with the rubber mallet, working gradually from the edges of the bend toward the worst point. Do not try to drive it flat in one blow — work progressively.
-
Check your progress frequently by sighting down the track and running your finger along the channel to feel for remaining high spots.
-
For dents that have pinched the track channel narrower, use pliers or a wide-blade screwdriver to gently spread the channel back to its original width. The roller should slide through without resistance or binding.
If the track is so severely bent that it has folded or kinked, replacement is the better option. A kinked track will bend again at the same weak point.
Step 6: Replace Worn Rollers
Rollers typically last 10,000 to 15,000 cycles. Worn rollers are noisy (squealing or grinding), visibly worn flat on one side, or have seized bearings that cause the wheel to slide instead of roll. Replacing all rollers at once is efficient — if one is worn, the others are close behind.
Note: Do not replace the two bottom rollers (the ones in the bottom corner bracket) without professional help. The tension cables run directly through the bottom corner bracket, and removing the bottom rollers under that tension can cause the cable to snap and the door to drop.
For all other rollers (positions 2 through 7 on a typical 7-panel door):
-
Clamp locking pliers to the vertical track directly above and below the roller you are replacing. This prevents the door from shifting during the swap.
-
The roller stem passes through the hinge in a pressed or bolted fitting. Use a wrench to unbolt the hinge if needed, or simply work the stem out of the hinge barrel.
-
Slide the old roller out of the track. Note how the roller stem seats in the hinge — the new roller goes in the same orientation.
-
Insert the new roller into the track channel, seat the stem back into the hinge barrel, and secure any bolts.
-
Remove the locking pliers and check that the roller spins freely.
-
Move to the next roller.
Step 7: Lubricate the System
After all repairs, lubricate the entire door system. This step takes 5 minutes and dramatically extends the life of all moving parts.
Apply white lithium grease spray to:
- Each roller bearing (spray directly into the bearing, not the wheel surface)
- Each hinge pivot point
- The torsion spring (a light coat along the full length)
- The roller stems
Do not lubricate the track itself. A lubricated track collects sawdust, dirt, and debris that gums up and accelerates wear. Wipe the inside of the track clean with a rag instead.
After lubricating, reconnect the opener and run the door up and down 4 to 5 times to distribute the lubricant. Listen for any remaining noise — a well-maintained garage door should operate almost silently.
Related Reading
- How to Organize a Garage on Any Budget
- How to Install a Smart Garage Door Opener
- How to Fix a Squeaky Door Hinge
- Safety First — Disconnect the Opener
Before touching any part of the garage door mechanism, disconnect the automatic opener. Unplug the opener from the outlet in the ceiling.
- Inspect the Full Track System
Before starting any repairs, do a complete inspection. You want to understand everything that needs attention before you start loosening hardware.
- Retighten All Mounting Hardware
Start here before any other repair. Loose mounting hardware is the most common cause of track problems and is the easiest fix.
- Align the Vertical Track
If the track is out of plumb or the roller gap is inconsistent, you need to adjust the track position.
- Straighten a Bent Track
For minor bends and dents — from a car bumping a panel or a tool being dropped on the track — straightening is usually effective.
- Replace Worn Rollers
Rollers typically last 10,000 to 15,000 cycles. Worn rollers are noisy (squealing or grinding), visibly worn flat on one side, or have seized bearings that cause the wheel to slide instead of roll.
Free: 10-Point Home Maintenance Checklist
Prevent costly repairs with this seasonal checklist. Save hundreds every year by catching problems early.
Your checklist is ready!
Open Checklist →Something went wrong. View the checklist here.