How to Fix a Dryer Timer That Won't Advance
Learn how to diagnose and fix a dryer timer that won't advance so your dryer completes cycles and shuts off automatically again.
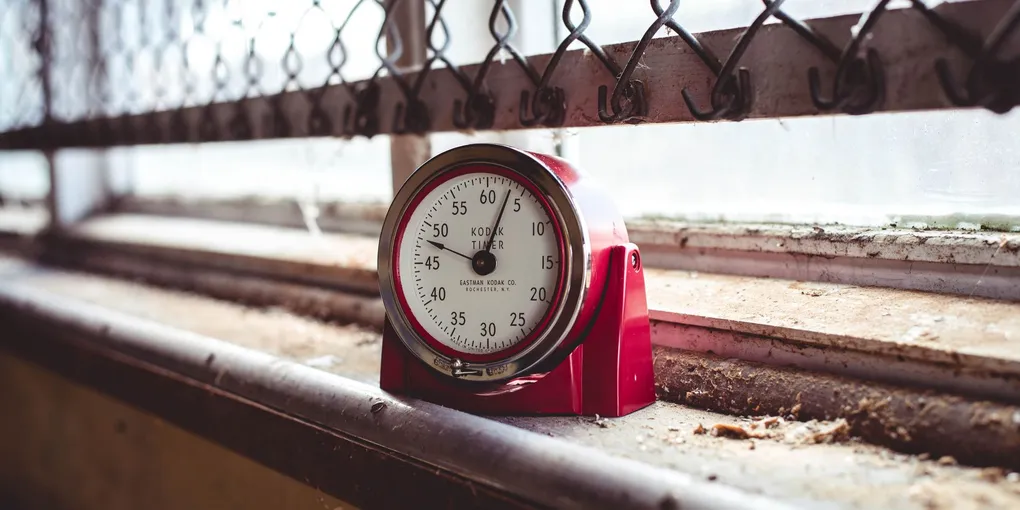
A dryer timer controls how long each cycle runs and advances the drum through heat, cool-down, and shutoff phases. When the timer motor burns out or the contacts inside wear, the dryer may run indefinitely without shutting off, or it may stop advancing partway through a cycle.
A dryer timer controls how long each cycle runs and advances the drum through heat, cool-down, and shutoff phases. When the timer motor burns out or the contacts inside wear, the dryer may run indefinitely without shutting off, or it may stop advancing partway through a cycle. This guide walks you through diagnosing the problem and replacing the timer yourself — a repair most homeowners can complete in under an hour.
Tools and Materials You Will Need
- Nut driver or screwdriver set (Phillips and flathead)
- Needle-nose pliers
- Multimeter (optional, for testing)
- Replacement dryer timer (matched to your make and model)
- Masking tape and a marker for labeling wires
- Camera or phone for reference photos
Step 1: Confirm the Timer Is the Problem
Before ordering parts, rule out simpler causes. A dryer that runs non-stop could have a stuck timer knob or a faulty door switch rather than a bad timer motor. Press the door switch plunger by hand while the dryer runs — if the dryer shuts off, the door switch is working. Next, turn the timer knob manually while the dryer is in a cycle. If the cycle progresses when you manually advance the knob but not on its own, the timer motor is the culprit.
Step 2: Order the Correct Replacement Timer
Open the dryer door and find the model number sticker, typically located on the door frame or inside the cabinet near the lint trap. Write down the full model number. Search for a compatible dryer timer on Amazon using the model number. Match the part number exactly — even timers that look identical can have different wiring configurations.
Step 3: Unplug the Dryer and Access the Control Panel
Safety first: unplug the dryer from the wall outlet before touching any internal components. For electric dryers, also verify the circuit breaker is off if the outlet is hard to reach. Most dryer control panels are accessed from the top of the machine. Remove the screws along the back edge of the top panel, or look for clips at the front that can be released by inserting a putty knife. Lift the panel up and back to expose the timer assembly behind the knobs.
Step 4: Document the Wiring
The timer has a wiring harness with multiple colored leads. Before disconnecting anything, take a clear photo of the wiring on your phone and use masking tape labeled with numbers or letters to mark each wire and its corresponding terminal. Dryer wiring follows a standard color scheme, but individual models vary — your reference photo is your safety net if reassembly becomes confusing.
Step 5: Remove the Old Timer
Use your nut driver to remove the two or three screws holding the timer bracket to the control panel frame. With the bracket loose, pull the timer toward you. The wiring harness connector may pull off as a single plug, or you may need to disconnect individual spade terminals one at a time using needle-nose pliers. Gently rock each terminal rather than yanking — pulling hard on the wires can damage the harness.
Remove the timer knob from the front of the panel by pulling it straight off or unscrewing a small set screw. The knob must come off before the timer can be fully withdrawn.
Step 6: Install the Replacement Timer
Mount the new timer in the bracket using the original screws. Reconnect the wiring harness or individual terminals according to your reference photo. If the new timer uses a different terminal layout, consult the wiring diagram supplied with the replacement part. Slide the timer knob back onto the shaft, aligning the flat side of the shaft with the knob’s set screw hole, and tighten it snugly.
Step 7: Reassemble and Test
Lower the control panel back into position and secure it with the original screws or clips. Plug the dryer back in, set the timer to a timed dry cycle (not an auto-dry cycle), and run it for five minutes while watching the timer dial. The dial should advance steadily. Let a full cycle run to confirm the dryer shuts off automatically at the end. If it does, the repair is complete.
Step 8: Test Auto-Dry and Moisture Sensing (If Applicable)
Many modern dryers also have auto-dry or moisture-sensing settings separate from the timed cycle. Run a load of damp laundry on the moisture-sensing setting and verify the dryer shuts off once the clothes are dry rather than continuing to run. If the auto-dry setting still malfunctions after the timer is replaced, the moisture sensor bars inside the drum may need cleaning — wipe them with fine steel wool or a damp cloth to remove residue.
Preventive Maintenance Tips
- Clean the lint trap after every load to maintain airflow, which reduces heat stress on internal components including the timer.
- Vent the dryer to the outdoors through a short, straight duct run. Long or kinked ducts force the dryer to work harder and can shorten component life.
- Avoid overloading the drum. Heavy loads strain the motor and extend cycle times, which puts more wear on the timer contacts.
- Use timed cycles for heavy items like towels and denim, and moisture-sensing cycles for everyday loads.
Replacing a dryer timer is one of the most cost-effective appliance repairs available. Parts typically cost $20 to $60, and the job takes less than an hour. Compared to the cost of a service call or a new dryer, it is well worth the effort.
- Confirm the Timer Is the Problem
Before ordering parts, rule out simpler causes. A dryer that runs non-stop could have a stuck timer knob or a faulty door switch rather than a bad timer motor.
- Order the Correct Replacement Timer
Open the dryer door and find the model number sticker, typically located on the door frame or inside the cabinet near the lint trap. Write down the full model number. Search for a compatible dryer timer on Amazon using the model number.
- Unplug the Dryer and Access the Control Panel
Safety first: unplug the dryer from the wall outlet before touching any internal components. For electric dryers, also verify the circuit breaker is off if the outlet is hard to reach.
- Document the Wiring
The timer has a wiring harness with multiple colored leads. Before disconnecting anything, take a clear photo of the wiring on your phone and use masking tape labeled with numbers or letters to mark each wire and its corresponding terminal.
- Remove the Old Timer
Use your nut driver to remove the two or three screws holding the timer bracket to the control panel frame. With the bracket loose, pull the timer toward you.
- Install the Replacement Timer
Mount the new timer in the bracket using the original screws. Reconnect the wiring harness or individual terminals according to your reference photo.
Free: 10-Point Home Maintenance Checklist
Prevent costly repairs with this seasonal checklist. Save hundreds every year by catching problems early.
Your checklist is ready!
Open Checklist →Something went wrong. View the checklist here.