How to Fix a Dripping Showerhead
Stop a dripping showerhead for good with this complete DIY guide covering cartridge replacement, O-ring swaps, and thread sealing.
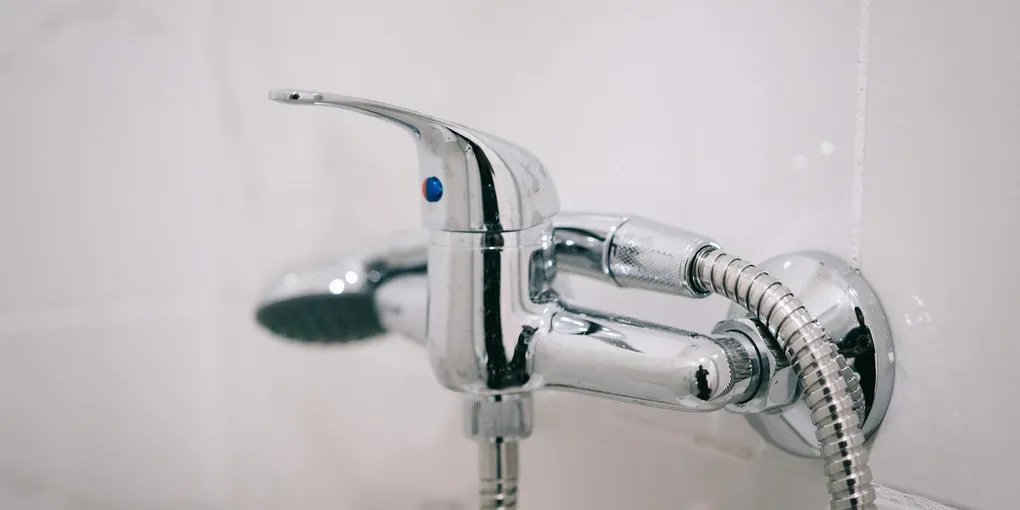
A dripping showerhead wastes thousands of gallons of water per year and inflates your utility bills. The good news is that most drips trace back to a worn cartridge or deteriorated O-rings — parts that cost just a few dollars and take less than an hour to swap.
A dripping showerhead wastes thousands of gallons of water per year and inflates your utility bills. The good news is that most drips trace back to a worn cartridge or deteriorated O-rings — parts that cost just a few dollars and take less than an hour to swap. This guide walks you through diagnosing and fixing the problem from start to finish.
Tools and Materials You Will Need
- Flathead and Phillips screwdrivers
- Adjustable pliers or channel-lock pliers
- Cartridge puller (optional but helpful)
- Replacement cartridge matched to your valve brand
- O-ring kit
- Plumber’s grease
- Teflon (PTFE) thread tape
- Bucket and old towels
A quality O-ring and cartridge kit covers the most common repairs. The Danco Universal O-Ring Kit includes over 40 sizes and works with most valve brands. For a dedicated cartridge puller, the Cartridge Puller for Moen/Delta saves significant effort on stuck cartridges.
Step 1: Identify Your Shower Valve Brand
Look at the handle or any visible trim for a brand name — Moen, Delta, Kohler, Price Pfister (Pfister), and American Standard are the most common. The brand determines which replacement cartridge you need. If there is no visible branding, photograph the cartridge once you remove it and search the part number.
Step 2: Shut Off the Water Supply
Locate the shutoff valves for the shower. Some showers have dedicated access panels in an adjacent closet or wall. If there are no local shutoffs, turn off the main house water supply. Open the shower faucet to relieve pressure and drain any remaining water into a bucket.
Step 3: Remove the Shower Handle
Most handles hide their retaining screw under a decorative cap. Pry off the cap with a flathead screwdriver, then unscrew the handle screw underneath. Pull the handle straight off — it may require a gentle rocking motion if mineral deposits have bonded it to the stem.
Step 4: Remove the Trim Plate
Unscrew or pry off the trim plate (escutcheon) that surrounds the valve. Behind it you will find the packing nut or bonnet nut securing the cartridge in the valve body.
Step 5: Remove the Cartridge
Use adjustable pliers to unscrew the retaining clip or bonnet nut. For Moen cartridges, pull the retaining clip straight up with needle-nose pliers first. Then grip the cartridge stem and pull straight out. If it resists, use a cartridge puller tool rather than twisting, which can damage the valve body.
Note the orientation of the cartridge before removal — most are keyed and must go back in the same direction or hot and cold will be reversed.
Step 6: Inspect and Replace O-Rings
Slide the old O-rings off the cartridge body. Examine them for cracking, flattening, or visible cuts. Even if they look intact, replace them if the cartridge is more than 10 years old. Coat new O-rings lightly with plumber’s grease before installing them to prevent tearing during reassembly.
If the cartridge body itself is cracked or the ceramic disc inside is chipped, replace the entire cartridge with an exact match for your valve brand and model.
Step 7: Install the New Cartridge
Slide the new or refurbished cartridge into the valve body in the same orientation as the original. Press firmly until it seats fully, then reinstall the retaining clip or bonnet nut. Tighten snugly — do not overtighten, as plastic components can crack.
Step 8: Reinstall Trim and Handle
Reattach the trim plate, then slide the handle back onto the stem. Replace and tighten the handle screw, then snap the decorative cap back into place.
Step 9: Restore Water and Test
Turn the water supply back on slowly. Let pressure build for 30 seconds, then test the shower. Check for drips from the showerhead when the water is off, and watch the handle area for seeping water. Run the shower through its full hot-to-cold range to confirm proper operation.
Bonus Fix: Replacing the Showerhead Itself
If the drip originates from the showerhead body rather than the valve, the fix is even simpler.
- Grip the showerhead arm with one hand to prevent it from spinning.
- Unscrew the old showerhead counterclockwise with pliers (use a cloth to protect chrome finishes).
- Clean old Teflon tape and debris from the threads on the shower arm.
- Wrap the threads with two or three layers of fresh Teflon tape in a clockwise direction.
- Thread the new showerhead on by hand, then snug it with pliers — one-quarter turn past hand-tight is usually enough.
The AquaDance High-Pressure Showerhead is a popular upgrade that installs in minutes and delivers a noticeable improvement in spray pressure.
Preventing Future Drips
- Install a whole-house water softener if you have hard water — mineral scale is the top cause of premature cartridge failure.
- Avoid cranking handles past their natural stopping point, which strains the cartridge.
- Replace cartridge O-rings every 10 years as preventive maintenance.
- If you notice reduced water pressure before a drip starts, clean the showerhead screen first — clogs force pressure past the valve seal.
With fresh O-rings or a new cartridge installed, your shower should run silently the moment you turn it off. This repair typically costs under $30 in parts and prevents hundreds of gallons of wasted water every month.
- Identify Your Shower Valve Brand
Look at the handle or any visible trim for a brand name — Moen, Delta, Kohler, Price Pfister (Pfister), and American Standard are the most common. The brand determines which replacement cartridge you need.
- Shut Off the Water Supply
Locate the shutoff valves for the shower. Some showers have dedicated access panels in an adjacent closet or wall. If there are no local shutoffs, turn off the main house water supply.
- Remove the Shower Handle
Most handles hide their retaining screw under a decorative cap. Pry off the cap with a flathead screwdriver, then unscrew the handle screw underneath.
- Remove the Trim Plate
Unscrew or pry off the trim plate (escutcheon) that surrounds the valve. Behind it you will find the packing nut or bonnet nut securing the cartridge in the valve body.
- Remove the Cartridge
Use adjustable pliers to unscrew the retaining clip or bonnet nut. For Moen cartridges, pull the retaining clip straight up with needle-nose pliers first. Then grip the cartridge stem and pull straight out.
- Inspect and Replace O-Rings
Slide the old O-rings off the cartridge body. Examine them for cracking, flattening, or visible cuts. Even if they look intact, replace them if the cartridge is more than 10 years old.
Free: 10-Point Home Maintenance Checklist
Prevent costly repairs with this seasonal checklist. Save hundreds every year by catching problems early.
Your checklist is ready!
Open Checklist →Something went wrong. View the checklist here.