How to Fix a Dripping Kitchen Faucet Handle: Step-by-Step Guide
Stop a leaking kitchen faucet handle by replacing the cartridge or O-rings yourself in under two hours with basic tools.
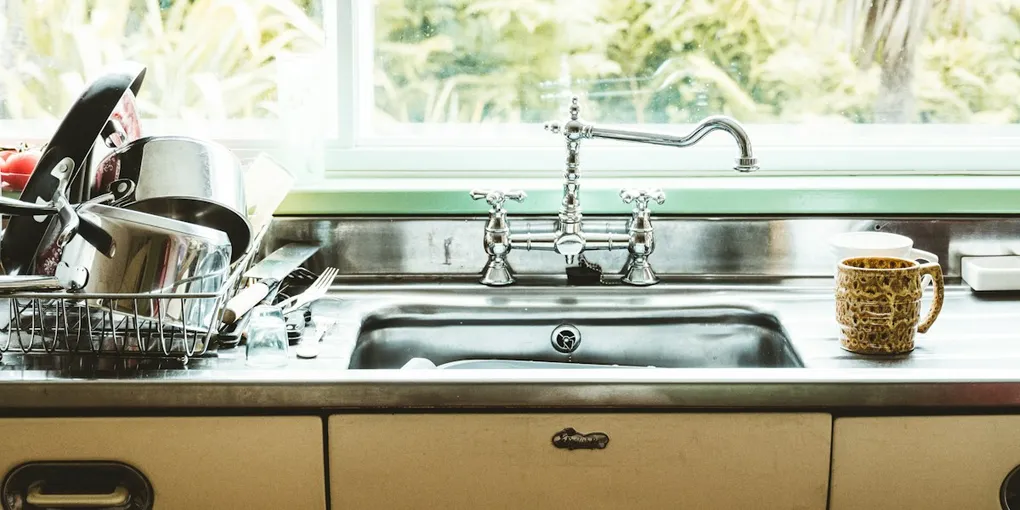
A dripping kitchen faucet is one of the most common plumbing complaints in any home, and it is almost always fixable without a plumber.
A dripping kitchen faucet is one of the most common plumbing complaints in any home, and it is almost always fixable without a plumber. The internal cartridge or O-rings wear out over years of use, and replacing them costs $10 to $30 in parts versus $150 or more for a service call.
Identifying Your Faucet Type
Kitchen faucets fall into three main categories, each with a slightly different repair approach:
- Single-handle cartridge faucet: One lever controls both temperature and flow. This is the most common type. Repair involves replacing the cartridge.
- Two-handle faucet: Separate hot and cold handles, each with its own cartridge or ceramic disc. Determine which handle is dripping — usually the hot side — and replace only that cartridge.
- Ball faucet: A single ball-shaped cap sits inside the handle. These have more parts (springs, seats, O-rings, the ball itself) and are slightly more involved to repair. A ball faucet repair kit contains everything in one package.
What You Will Need
- Adjustable wrench or channel-lock pliers
- Phillips and flathead screwdrivers
- Allen wrench set (hex keys)
- Replacement cartridge or repair kit matching your faucet brand
- Plumber’s grease (silicone-based)
- Clean rag and bucket
A faucet cartridge puller tool makes removal easier on stubborn cartridges, though needle-nose pliers work in most cases.
Step 1: Shut Off the Water Supply
Locate the shutoff valves under the sink and turn them clockwise until fully closed. Open the faucet handle to release any remaining pressure and drain the lines. Place a rag or small bucket under the sink to catch drips.
Step 2: Remove the Handle
Look for a decorative cap on top of the handle — this often covers a Phillips screw. Pry the cap off with a flathead screwdriver, remove the screw, and pull the handle straight up. Some handles use a set screw on the side or back secured with an Allen wrench (typically 1/8 inch or 3/32 inch). Remove the set screw and lift the handle off.
Step 3: Access the Cartridge
With the handle off, you will see the cartridge assembly. There may be a retaining clip, nut, or collar holding the cartridge in place:
- Retaining clip: A U-shaped metal clip that slides straight up and out with needle-nose pliers.
- Packing nut: Unscrew counterclockwise with a wrench.
Photograph the cartridge orientation before removing it — the notches and flat side must go back in the same direction.
Step 4: Remove the Old Cartridge
Grip the top of the cartridge with pliers (wrap the jaws with tape to avoid scratching) and pull straight up firmly. Some cartridges require a cartridge puller for leverage. Wiggle gently side to side if it resists — do not pry at an angle.
Step 5: Install the New Cartridge
Apply a thin coat of silicone-based plumber’s grease to the outside of the new cartridge before insertion. This helps it seat fully and extend its service life. Align the cartridge so the hot side faces the hot side of the faucet — there is usually a tab or flat edge that registers into a slot in the valve body. Press firmly until the cartridge seats completely, then reinstall the retaining clip or packing nut.
Step 6: Reassemble and Test
Reverse the disassembly steps: reinstall the handle collar if present, set the handle in place, tighten the handle screw, and replace the decorative cap. Slowly open the shutoff valves under the sink. Turn the faucet on to flush out any debris loosened during the repair, then turn it off and watch the spout. A correctly installed cartridge stops the drip immediately.
If the handle feels stiff, back out the packing nut slightly (one-eighth of a turn) — it may be overtightened.
When to Replace the Whole Faucet
Cartridge replacement fixes most drips. However, if the valve body is cracked, severely corroded, or the faucet is more than 20 years old, a full faucet replacement is often more economical. A quality mid-range kitchen faucet costs $80 to $200 and will last another 15 to 20 years.
Maintenance Tips
- Inspect under-sink valves annually to confirm they still turn freely.
- Avoid over-tightening the faucet handle — it accelerates cartridge wear.
- Replace cartridges proactively if you notice the handle becoming stiff or water temperature hard to dial in, rather than waiting for a full drip.
Fixing a dripping faucet handle is one of the highest-return DIY repairs in the house — a $15 cartridge and 90 minutes of work saves thousands of gallons of water and a plumber bill.
- Shut Off the Water Supply
Locate the shutoff valves under the sink and turn them clockwise until fully closed. Open the faucet handle to release any remaining pressure and drain the lines. Place a rag or small bucket under the sink to catch drips.
- Remove the Handle
Look for a decorative cap on top of the handle — this often covers a Phillips screw. Pry the cap off with a flathead screwdriver, remove the screw, and pull the handle straight up.
- Access the Cartridge
With the handle off, you will see the cartridge assembly. There may be a retaining clip, nut, or collar holding the cartridge in place:
- Remove the Old Cartridge
Grip the top of the cartridge with pliers (wrap the jaws with tape to avoid scratching) and pull straight up firmly. Some cartridges require a cartridge puller for leverage. Wiggle gently side to side if it resists — do not pry at an angle.
- Install the New Cartridge
Apply a thin coat of silicone-based plumber's grease to the outside of the new cartridge before insertion. This helps it seat fully and extend its service life.
- Reassemble and Test
Reverse the disassembly steps: reinstall the handle collar if present, set the handle in place, tighten the handle screw, and replace the decorative cap. Slowly open the shutoff valves under the sink.
Free: 10-Point Home Maintenance Checklist
Prevent costly repairs with this seasonal checklist. Save hundreds every year by catching problems early.
Your checklist is ready!
Open Checklist →Something went wrong. View the checklist here.