How to Fix a Drafty Fireplace: Damper, Chimney Balloon, Glass Doors, and Flue Cap
Stop cold air pouring in through your fireplace by repairing or replacing the damper, installing a chimney balloon, adding glass doors, fitting a smoke guard, and capping the flue.
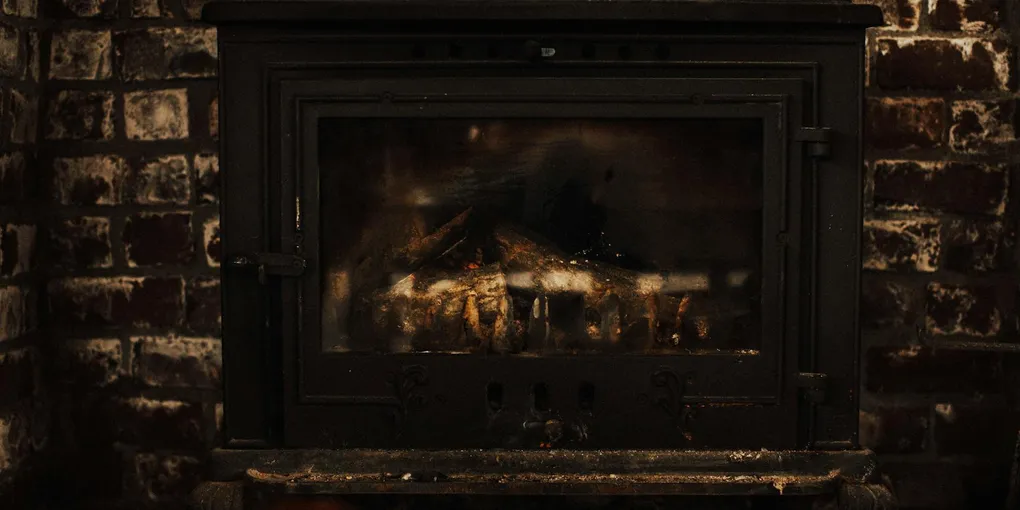
A drafty fireplace is a significant source of heat loss in winter. The chimney creates a direct path between the outside air and your living room, and traditional throat dampers do a poor job of sealing it.
A drafty fireplace is a significant source of heat loss in winter. The chimney creates a direct path between the outside air and your living room, and traditional throat dampers do a poor job of sealing it. The good news is that every level of draft problem — from normal damper leakage to a missing damper to a wide-open flue — has a practical fix, most of which can be done without a chimney professional.
What You Need
- Chimney balloon or Flueblocker inflatable flue seal — size to match your flue dimensions
- Top-mount damper with cable control
- Fireplace glass doors (measure your opening first)
- Chimney cap with spark arrestor screen
- Smoke guard (adjustable height strip)
- High-heat silicone caulk or refractory mortar
Step 1: Identify the Source of the Draft
Not all fireplace drafts come from the same place. Diagnosing the source determines which fix to apply.
Candle test: Hold a lit candle or a stick of incense near the fireplace opening with the damper in the fully closed position. Watch the flame or smoke carefully. If it is pulled toward the firebox, air is moving from the room into the fireplace — this is a draft coming down the chimney and being pulled into the room due to house negative pressure. If the flame or smoke moves outward from the fireplace toward you, cold air is spilling directly from the chimney into the room — a true chimney downdraft.
Check the damper operation: Open the firebox and look up with a flashlight. The damper blade should be visible 12 to 24 inches above the firebox floor. Test the damper: operate the control (a poker-style handle, a rotary control, or a pull chain depending on the damper type). In the fully closed position, the blade should be as flat and horizontal as possible, seated against its frame. If the blade is warped, cracked, or won’t fully close, the damper needs repair or replacement.
Check for a chimney cap: From outside, look at the top of the chimney. There should be a metal cap over the flue opening. A missing chimney cap allows rain, animals, and direct wind to enter the flue — and wind entering the flue creates downdrafts that feel like cold air pouring from the fireplace.
Check the fireback: If the back wall of the firebox has large cracks or missing mortar, cold air may be infiltrating through the masonry itself. This is less common than damper or flue problems but is worth inspecting.
Step 2: Install a Chimney Balloon (Fastest Fix for Cold Air)
If the diagnosis shows cold air coming through a functioning but leaky damper, a chimney balloon is the fastest and least expensive solution.
Measure the flue. The balloon must match your flue dimensions — common sizes are 9x9, 9x12, 12x12, and 12x17 inches. Flue sizes are marked on the chimney cap or can be measured directly from inside the firebox by looking up into the flue opening with a flashlight and measuring the interior dimensions.
Insert the deflated balloon into the flue just above the smoke shelf (the ledge just above the firebox, below the damper location). The balloon should sit at least 6 inches above the firebox floor to be out of the way but accessible for removal.
Inflate the balloon using the built-in plastic inflation tube until it presses firmly against all four flue walls. Do not over-inflate — the balloon should be snug, not straining.
The warning tab is a strip of plastic that hangs down into the firebox from the balloon. Do not remove or tuck it away. If you forget to remove the balloon before lighting a fire, the heat will cause it to deflate rapidly and it will melt — a reminder tab in the firebox prevents this.
A properly installed chimney balloon reduces cold air infiltration by 70% to 90% in most installations. Store it deflated in a container near the fireplace during the burning season, and reinstall at the end of each burning season.
Step 3: Replace a Failed Throat Damper
If the throat damper is visibly broken — blade cracked, warped beyond seating, control mechanism failed, or blade fallen entirely — it needs replacement.
Traditional throat damper replacement requires access from inside the firebox. The damper sits in a cast iron or steel frame mortared into the masonry. Replacement dampers are available in standard widths (28, 32, 36, 42 inches — measured inside the firebox opening).
To remove the old damper: use a cold chisel and hammer to break out the mortar that beds the damper frame. Work carefully to avoid damaging the surrounding masonry. Lift the old damper out through the firebox.
Set the new damper in position, checking that the blade opens and closes freely and that the control rod reaches down to an accessible position near the firebox opening. Bed the damper frame in refractory mortar (not regular mortar — it must withstand heat cycling). Allow 48 hours to cure before use.
As an alternative to replacing the throat damper, consider installing a top-mount damper instead — it eliminates the throat damper entirely and provides a superior seal.
Step 4: Install a Top-Mount Damper
A top-mount damper is the permanent solution for chronic cold air infiltration. It replaces the chimney cap and installs at the top of the flue where it provides an airtight gasket seal when closed.
This repair requires working on the roof. Ensure the roof is accessible and you have appropriate fall protection for the pitch of your roof before attempting this work.
Remove the existing chimney cap (usually set in mortar or held with screws into the flue liner). Clean the top of the flue liner.
Select a top-mount damper sized for your flue liner dimensions. Most are adjustable to fit standard flue sizes with the mounting tabs bent to fit. Lower the stainless steel cable down the flue — feed it carefully so it does not snag on the damper throat or smoke shelf. The cable exits inside the firebox and is secured to a cable clamp that mounts near the damper control area.
Set the damper unit on top of the flue, center it, and secure the mounting legs per the manufacturer’s instructions (usually tightened to grip the outer flue liner). From inside the firebox, attach the cable to the control bracket. Test: pulling the cable opens the damper; releasing allows the spring to close it. Confirm the open/closed position visually from outside if possible.
With the top-mount damper installed, the throat damper (if it remains) should be locked in the open position permanently — it is no longer needed for draft control.
Step 5: Install Fireplace Glass Doors
Glass doors serve multiple purposes: they reduce cold air infiltration when the fireplace is not in use, prevent warm room air from being sucked up the chimney during a fire, and contain sparks during a fire.
Measure the fireplace opening before ordering: width at the widest point, height from the hearth to the top of the opening, and the depth of the opening face (the width of the facing material around the opening).
Glass door units typically attach with a mounting bracket that sits inside the firebox. The bracket is expanded or bolted to grip the firebox walls, and the door frame hangs on the bracket. Installation usually takes 30 to 60 minutes.
For the doors to help with draft control, the mesh curtain behind the glass must be closed when the fireplace is not in use. Leaving mesh curtains open allows the glass doors to act as a radiant heat barrier but does not stop air flow.
Inspect and replace door gaskets every 5 years — the fiberglass rope gasket that seals the glass to the door frame degrades with heat cycling and loses its sealing ability when it becomes stiff and compressed. Replacement gaskets are available at fireplace specialty stores and online.
Step 6: Install or Replace the Chimney Cap
A chimney without a cap — or with a damaged cap — allows rain, snow, birds, and direct wind into the flue. Wind entering the top of the flue pushes air down and creates strong downdrafts that feel like cold air pouring from the fireplace.
Single-flue chimney caps are standard and available in stainless steel, copper, and galvanized steel. Stainless is the most durable option for most climates. Size the cap to the outside dimensions of the flue liner, not the firebox opening.
To install: set the cap over the top of the flue liner and tighten the screws or clamps on the legs until the cap grips the liner firmly. Most caps have adjustable mounting legs that accommodate liner dimensions within a 1- to 2-inch range.
If the cap is designed for a multi-flue chimney or a full chimney cover (covering the entire masonry top rather than just the individual flue liner), it may require mortar bedding. Use refractory mortar rated for exterior chimney use.
After installation, the cap should be visible from the ground and should not sit loose or tilt — it must survive wind and rain without shifting.
Step 7: Inspect and Repair the Fireback and Firebox Mortar
The fireback (the back wall of the firebox) and the mortar joints between firebricks take years of thermal cycling and can develop cracks. These cracks are usually cosmetic — the firebox is lined with refractory brick that tolerates cracking — but large open gaps allow cold air infiltration and can allow combustion gases to escape into wall cavities.
Use a flashlight to inspect all mortar joints in the firebox. Hairline cracks (under 1/8 inch) are normal and do not require repair. Gaps wider than 1/4 inch, especially in the fireback or at corners, should be filled with refractory mortar or high-heat furnace cement.
Clean the area around the crack with a stiff brush to remove loose material. Dampen the area with water (dry refractory mortar draws water from the repair, weakening adhesion). Apply refractory mortar with a tuck-pointing tool or a small putty knife, working it firmly into the joint. Smooth the surface and allow to cure per manufacturer directions (usually 24 to 48 hours before the first fire; some products require a curing fire sequence of small initial fires to fully harden the mortar).
Step 8: Add a Smoke Guard for Smoking Problems
If the fireplace smokes into the room when a fire is burning (rather than drawing up the flue), the firebox opening is too large relative to the flue area. A smoke guard is the correct fix — not a larger fire or more damper adjustment.
Smoke guards install across the top of the firebox opening. They are available in standard widths and cut to fit. Hold the guard in position at different heights to find the point where smoke stops spilling — typically 3 to 5 inches of reduction is enough. Mark this position, then attach the guard with sheet metal screws into the masonry facing or with the spring-tension mounting provided with the guard.
A smoke guard does not reduce the visual appeal of the fire significantly at 3 to 4 inches of height reduction. It does allow smaller, more efficient fires that produce less smoke and draw better.
Annual Fireplace Draft Maintenance
Each fall before burning season: remove and inspect the chimney balloon (or reinstall it if you store it deflated), test the top-mount damper cable for free operation, inspect the chimney cap from outside for rust or damage, and schedule a chimney cleaning and inspection every 1 to 3 years depending on use frequency.
A clean flue draws better. Creosote buildup on flue walls narrows the effective flue area and can reduce draft enough to cause smoking — annual cleaning by a certified chimney sweep (CSIA certified) ensures the flue is clear, the liner is intact, and the damper hardware is functioning.
Related Reading
- How to Winterize Your Home — full seasonal checklist including fireplace prep
- How to Fix a Running Toilet — another common source of energy and utility waste
- Home Maintenance Schedule — where fireplace inspection fits in the annual checklist
- Identify the Source of the Draft
Not all fireplace drafts come from the same place. Diagnosing the source determines which fix to apply.
- Install a Chimney Balloon (Fastest Fix for Cold Air)
If the diagnosis shows cold air coming through a functioning but leaky damper, a chimney balloon is the fastest and least expensive solution.
- Replace a Failed Throat Damper
If the throat damper is visibly broken — blade cracked, warped beyond seating, control mechanism failed, or blade fallen entirely — it needs replacement.
- Install a Top-Mount Damper
A top-mount damper is the permanent solution for chronic cold air infiltration. It replaces the chimney cap and installs at the top of the flue where it provides an airtight gasket seal when closed.
- Install Fireplace Glass Doors
Glass doors serve multiple purposes: they reduce cold air infiltration when the fireplace is not in use, prevent warm room air from being sucked up the chimney during a fire, and contain sparks during a fire.
- Install or Replace the Chimney Cap
A chimney without a cap — or with a damaged cap — allows rain, snow, birds, and direct wind into the flue. Wind entering the top of the flue pushes air down and creates strong downdrafts that feel like cold air pouring from the fireplace.
Free: 10-Point Home Maintenance Checklist
Prevent costly repairs with this seasonal checklist. Save hundreds every year by catching problems early.
Your checklist is ready!
Open Checklist →Something went wrong. View the checklist here.