How to Fix a Drafty Door: Weatherstripping, Threshold Adjustment, and Door Sweeps
Identify where air is leaking around your door and fix it with weatherstripping, door sweeps, threshold adjustment, or caulk — prioritized by effectiveness.
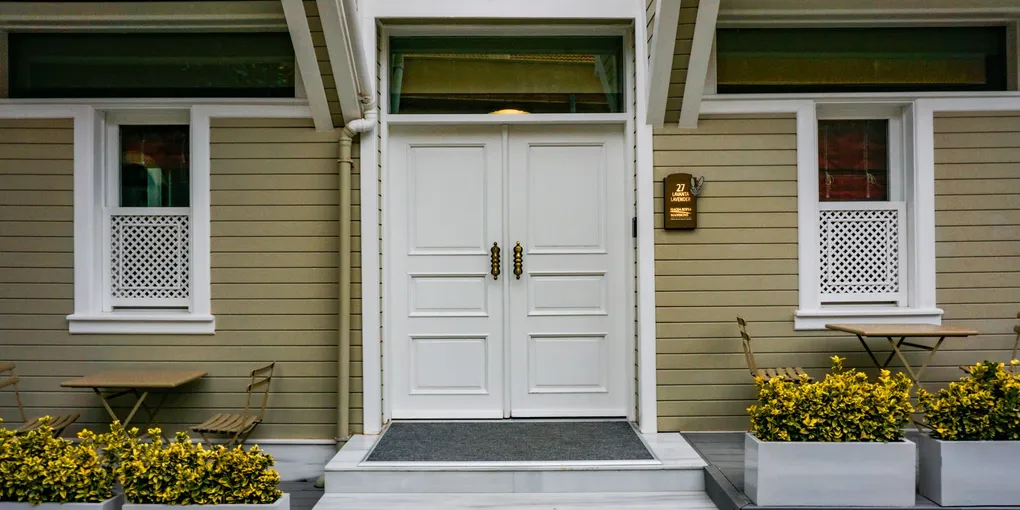
A drafty exterior door wastes money quietly.
A drafty exterior door wastes money quietly. The Department of Energy estimates air leaks through doors and windows account for 10–15% of a home’s heating and cooling costs — around $150 per year on an average energy bill, and more in older homes with original doors.
The good news: almost every drafty door fix costs under $50 in materials and takes less than two hours. The key is diagnosing exactly where air is getting in before buying anything.
How to Diagnose the Gap
Air enters through four distinct zones of an exterior door. Each zone has a different fix. Identifying which zones are leaking saves you from buying weatherstripping you do not need.
Candle test. Hold a lit candle or stick of incense near the door perimeter with the door closed. On a windy day, the flame or smoke will deflect visibly where air is moving. Work slowly around the full perimeter — top rail, hinge side, latch side, bottom.
Light test. At night, stand inside in a dark room while someone holds a flashlight against the outside of the door frame. Any gap shows as a line of light around the perimeter.
Feel test. On a cold, windy day, run your bare hand slowly around the door frame — about an inch from the door surface. Even a small gap is easy to feel as cold air movement.
Mark each problem zone with painter’s tape before you go to the hardware store.
Fix by Location
The right fix depends entirely on where the air is coming in.
Top rail (door header). A gap at the top of the door usually means the door has sagged on its hinges, the doorstop is too loose, or the original weatherstripping has compressed flat. Fix: V-strip or foam tape weatherstripping applied to the door stop face.
Hinge side. Gaps on the hinge side most commonly mean one or more hinge screws have stripped their holes and the door has sagged, pulling the hinge edge away from the frame. Fix: tighten or replace hinge screws (use 3-inch screws that reach into the stud for a stripped hole), then add V-strip weatherstripping to the door stop.
Latch side. A gap on the latch side usually means the door stop is not pressing firmly against the door face, or the original foam weatherstripping on the door stop has compressed and lost its seal. Fix: V-strip weatherstripping applied to the door stop channel, or adjust the door stop position by tapping it closer to the door with a mallet.
Bottom. Gaps under the door let in the most air and are the highest priority fix. Two causes: the door sweep or bottom seal is worn out, or the threshold is too low. Fix: replace the door sweep first. If a gap remains after a new sweep, raise the threshold.
Types of Weatherstripping
| Type | Best Location | Lifespan | Install Difficulty | Cost |
|---|---|---|---|---|
| Foam tape (adhesive-backed) | Door stops, irregular gaps | 1–2 years | Very easy | $5–$10 |
| V-strip (tension seal) | Door stop channels, sides, top | 5–10 years | Easy | $10–$20 |
| Door sweep (screw-on) | Door bottom | 3–5 years | Easy | $15–$30 |
| Door shoe (U-channel) | Door bottom | 10+ years | Moderate (remove door) | $25–$50 |
| Bulb gasket | Door frames, irregular profiles | 5–8 years | Easy | $15–$25 |
| Automatic door bottom | Door bottom, high-traffic doors | 10+ years | Moderate | $40–$100 |
Foam tape is the easiest to install — peel and stick — but it compresses permanently over time and needs to be replaced every 1–2 years. It is a good temporary fix or a good choice for a door that is used infrequently.
V-strip (tension seal) is the most durable option for the sides and top of the door. It installs into the channel between the door stop and the door jamb and creates a spring-tension seal when the door closes. Cut it to length with scissors, peel the adhesive backing, and press it into the channel. V-strip from a hardware store costs about $10–$15 for a full door kit.
Door sweeps screw to the interior face of the door at the bottom. The rubber or vinyl wiper drags lightly across the threshold. The wiper should make contact with the threshold without making the door drag significantly.
Door shoes wrap around the bottom edge of the door in a U-channel. They seal better than door sweeps because the seal covers the entire door bottom rather than just the face. Door shoes require removing the door but are worth it for a heavily used exterior door.
Bulb gaskets attach to the door stop and compress against the door face. They work well for doors with irregular profiles or significant warping.
Materials
- Foam adhesive weatherstripping — for door stops and irregular gaps
- Heavy-duty exterior door sweep — for door bottom
- Exterior door threshold — if threshold is damaged or too low
- V-strip weatherstripping — for door sides and top
- Automatic door bottom seal — for high-traffic doors
- Rope caulk — for temporary sealing around frames
Replacing a Door Sweep
Door sweep replacement takes about 20 minutes and does not require removing the door.
- Open the door fully. Unscrew the old door sweep from the interior face of the door at the bottom — usually 3–4 screws.
- Clean the door face where the sweep was attached. Remove any old caulk or adhesive residue.
- Close the door and measure from the door face to the door face (not the frame) at the bottom.
- Cut the new door sweep to match this measurement with a hacksaw if the sweep has a metal channel, or scissors if it is all rubber/vinyl.
- Hold the new sweep with the wiper facing down and just touching the threshold surface. The wiper should make light contact — not so tight that the door drags.
- Drill pilot holes and screw the sweep in place. Test the door swing and adjust the sweep position up or down one screw-slot if needed.
If the door sweep has a slotted mounting hole, leave the screws slightly loose until you confirm the final position, then tighten fully.
Adjusting the Threshold
Adjustable thresholds have a row of screws on the top surface that raise or lower the seal surface.
- Close the door and look at the gap between the door sweep and the threshold. If there is visible daylight, the threshold needs to come up.
- Open the door and locate the threshold adjustment screws — typically 4–6 screws running across the threshold top, recessed in small holes.
- Turn the screws clockwise to raise the threshold, counterclockwise to lower it. Start with a quarter turn on each screw, working across them in sequence.
- Close the door and test. Repeat until the door sweep contacts the threshold surface with light resistance — enough to block air, not enough to drag noticeably.
- If the door begins dragging heavily, you have raised the threshold too high. Back off a quarter turn on each screw.
If the threshold is damaged, cracked, or missing its insert, replace it entirely. A replacement threshold costs $30–$60 at a hardware store. Unscrew the old threshold from the floor, note the width, and purchase a matching replacement. Most attach with screws through pre-drilled holes into the subfloor.
When the Door Itself Is Warped
Weatherstripping and threshold adjustments cannot fix a door that has warped significantly. Signs of a warped door: the gap changes width dramatically from one area of the frame to another, or the door has a visible bow when you look at it from the hinge side.
Minor warping (less than 1/4 inch) can be compensated with bulb gasket weatherstripping on the door stop — the bulb compresses enough to fill uneven gaps. If the warp exceeds 1/4 inch or the door no longer latches cleanly, the door should be replaced.
Exterior solid-wood doors are more prone to warping than fiberglass or steel doors. If you have a wood door that warps seasonally (tighter in summer, gap in winter), the fix is humidity control and a fresh coat of sealant on all six faces — top, bottom, and all four edges — to slow moisture absorption.
A door that has never been sealed on the top and bottom edges is one of the most common causes of premature warping. If you remove the door for any reason, seal the top and bottom with exterior paint or wood sealer before re-hanging.
Related Reading
- How to Weatherstrip a Door
- How to Install a Door Sweep
- How to Fix a Door That Won’t Close
- How to Caulk Windows
- How to Diagnose the Gap
Air enters through four distinct zones of an exterior door. Each zone has a different fix. Identifying which zones are leaking saves you from buying weatherstripping you do not need.
- Fix by Location
The right fix depends entirely on where the air is coming in.
- Replacing a Door Sweep
Door sweep replacement takes about 20 minutes and does not require removing the door.
- Adjusting the Threshold
Adjustable thresholds have a row of screws on the top surface that raise or lower the seal surface.
- When the Door Itself Is Warped
Weatherstripping and threshold adjustments cannot fix a door that has warped significantly. Signs of a warped door: the gap changes width dramatically from one area of the frame to another, or the door has a visible bow when you look at it from the h...
Free: 10-Point Home Maintenance Checklist
Prevent costly repairs with this seasonal checklist. Save hundreds every year by catching problems early.
Your checklist is ready!
Open Checklist →Something went wrong. View the checklist here.