How to Fix a Damaged Laminate Floor
Repair scratches, chips, bubbles, and broken planks in laminate flooring yourself using simple techniques that restore a near-perfect finish.
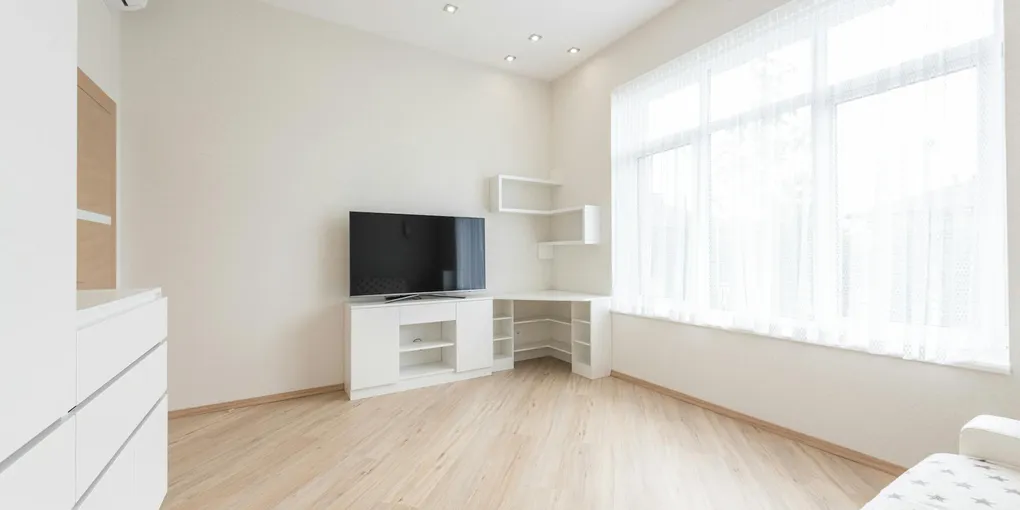
Laminate flooring is durable, but it is not indestructible. Furniture legs, dropped tools, pet claws, and water spills can leave scratches, chips, gouges, or swollen planks in their wake.
Laminate flooring is durable, but it is not indestructible. Furniture legs, dropped tools, pet claws, and water spills can leave scratches, chips, gouges, or swollen planks in their wake. The good news is that most laminate damage is repairable without calling a professional or pulling up the entire floor. This guide covers every common repair scenario from minor surface scratches to full plank replacement.
Tools and Materials You Will Need
- Laminate floor repair kit (wax fill sticks or putty)
- Putty knife or plastic scraper
- Fine-grit sandpaper (220-grit)
- Clean cloths
- Oscillating multi-tool (for plank replacement)
- Tapping block and pull bar
- Wood glue or construction adhesive (for delamination)
- Replacement planks (if needed)
- Moisture barrier / underlayment
- Hammer
The Mohawk Fil-Stik Blend Stick Kit covers most laminate color ranges and is the easiest way to fill chips and scratches invisibly. For larger repairs, the Pergo Scratch Repair Kit includes a full range of colors and application tools.
Repair 1: Fixing Surface Scratches
Light scratches in the laminate wear layer are the most common damage and the easiest to fix.
- Clean the scratched area thoroughly with a dry cloth to remove dust and debris.
- Select a wax blend stick or crayon from your repair kit that matches your floor color most closely. Blend two colors on a scrap surface if needed.
- Rub the fill stick firmly into the scratch, working with the grain direction.
- Use a plastic scraper or credit card to level the wax flush with the surrounding surface.
- Buff lightly with a soft cloth to blend the sheen.
For very fine scuffs, a small amount of floor polish or a walnut rubbed into the scratch can fill it with natural oils. Test in a hidden spot first.
Repair 2: Filling Chips and Gouges
Deeper damage that removes material from the laminate surface requires a filler compound rather than a wax stick.
- Clean the chipped area and remove any loose laminate fragments.
- Mix the putty or compound from your repair kit to match your floor color.
- Press the compound firmly into the chip with a putty knife, slightly overfilling.
- Let it cure for the time specified on the kit — usually 15 to 30 minutes.
- Once hardened, sand lightly with 220-grit sandpaper until the fill is flush.
- Wipe clean and apply a small amount of floor finish to blend the sheen.
Repair 3: Fixing Bubbles and Peeling
Bubbles or lifted sections occur when moisture gets under the planks or when the adhesive on glued-together joints fails.
For small bubbles: Inject wood glue under the lifted section using a syringe or squeeze bottle. Press the area flat and weigh it down with books or a heavy object overnight. Wipe away any glue that squeezes out immediately with a damp cloth.
For moisture-caused bubbling: First eliminate the moisture source — a slow pipe leak, high humidity, or persistent spills. Allow the area to dry completely (use a dehumidifier if needed). Planks that have swollen due to water absorption cannot be repaired and must be replaced.
Repair 4: Replacing a Damaged Plank Along an Edge or Wall
This is the easiest plank replacement scenario because you can access the floating joint from the room perimeter.
- Remove the baseboard molding along the nearest wall using a pry bar.
- Start at the wall and disassemble the rows of click-lock planks, working toward the damaged plank. Stack them in order so you can reinstall them correctly.
- Remove the damaged plank and slide in the replacement, locking the long-side joint first, then the short-side joint.
- Reassemble the removed rows in reverse order, using a tapping block to avoid damaging the click profile.
- Reinstall the baseboard and fill any nail holes.
Repair 5: Replacing a Plank in the Middle of the Room
When you cannot disassemble back to an edge, use the cut-out method.
- Use a straightedge and pencil to mark a rectangle inside the damaged plank, staying about 1 inch from all four edges.
- Set an oscillating multi-tool to the depth of the laminate layer and cut along your marked lines.
- Make diagonal cuts in the center of the cut-out rectangle to split it into sections.
- Use a chisel and pry bar to lift the cut sections out without damaging adjacent planks.
- Carefully chisel away the remaining border strips, including the locking tongues and grooves that attach to the neighboring planks.
- Cut the bottom lip off the locking groove on the replacement plank so it can drop in from above.
- Apply construction adhesive to the subfloor and the side edges of the replacement plank.
- Press it into place and weigh it down for 24 hours while the adhesive cures.
Preventing Future Laminate Damage
- Apply felt pads to all furniture legs to prevent scratches from movement.
- Place entry mats at all doors to capture grit and moisture from shoes.
- Clean spills immediately — laminate is water-resistant, not waterproof.
- Keep indoor humidity between 30 and 60 percent to prevent expansion and contraction.
- Use a laminate-safe cleaner rather than steam mops or soaking wet mops, which can force moisture into the seams.
With the right repair kit and technique, most laminate floor damage disappears completely. For planks that are beyond repair, a targeted replacement restores the floor without the cost and disruption of a full re-installation.
- Repair 1: Fixing Surface Scratches
Light scratches in the laminate wear layer are the most common damage and the easiest to fix.
- Repair 2: Filling Chips and Gouges
Deeper damage that removes material from the laminate surface requires a filler compound rather than a wax stick.
- Repair 3: Fixing Bubbles and Peeling
Bubbles or lifted sections occur when moisture gets under the planks or when the adhesive on glued-together joints fails.
- Repair 4: Replacing a Damaged Plank Along an Edge or Wall
This is the easiest plank replacement scenario because you can access the floating joint from the room perimeter.
- Repair 5: Replacing a Plank in the Middle of the Room
When you cannot disassemble back to an edge, use the cut-out method.
Free: 10-Point Home Maintenance Checklist
Prevent costly repairs with this seasonal checklist. Save hundreds every year by catching problems early.
Your checklist is ready!
Open Checklist →Something went wrong. View the checklist here.