How to Fix a Cracked Wooden Garden Bed
Learn how to repair split and rotting raised garden bed planks with the right wood treatment, hardware, and sealing technique to extend the life of your bed.
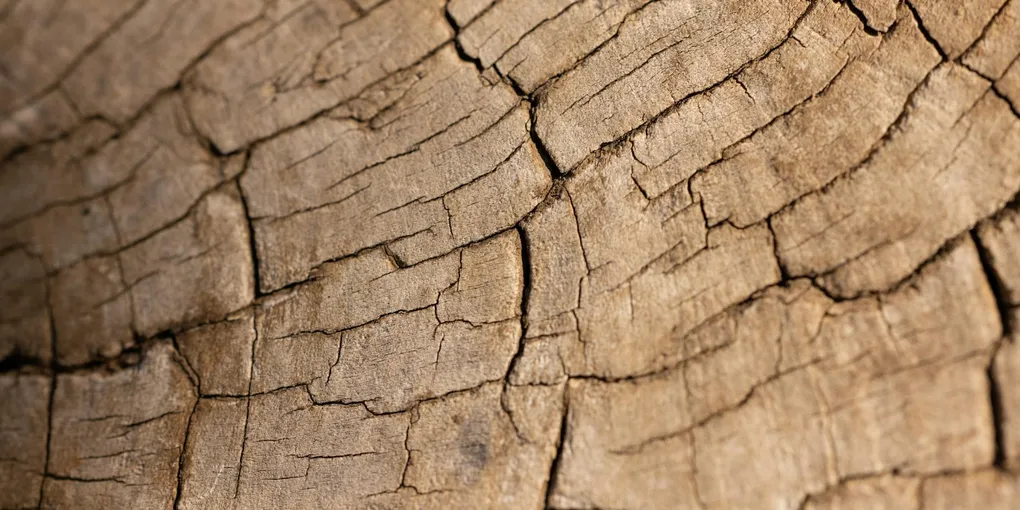
Raised garden beds work hard — they hold heavy wet soil, expand and contract through seasons, and sit in constant contact with moisture. It is no surprise that planks eventually crack, split at the corners, or rot through.
Raised garden beds work hard — they hold heavy wet soil, expand and contract through seasons, and sit in constant contact with moisture. It is no surprise that planks eventually crack, split at the corners, or rot through. The good news is that most damage is repairable in an afternoon without starting over. This guide covers how to assess the damage, sister in new lumber where needed, and seal the bed to prevent the cycle from repeating.
Assessing the Damage
Start by pressing a screwdriver into the wood at every board and corner post. If the tip sinks in easily, the wood is rotted and needs replacement. If the board is just cracked along the grain but feels firm, it can likely be reinforced in place. Check the corners where boards meet — this is where leverage from soil pressure causes the first failures.
Look also at the fasteners. Rusted screws and bolts are often what caused a board to split in the first place as the corroded metal expanded. Swapping them for stainless or galvanized hardware is part of the repair.
Tools and Materials Needed
- Drill and bits
- Pry bar or nail puller
- Circular saw or hand saw
- Galvanized or stainless deck screws (2.5 to 3 inch)
- Galvanized corner brackets or L-brackets
- Replacement cedar, redwood, or naturally rot-resistant lumber
- Food-safe wood sealer or raw linseed oil
- Paintbrush
- Safety glasses and work gloves
Step 1: Remove Loose or Rotted Boards
For any board that is rotted, remove it carefully to avoid disturbing the corner posts. Unscrew or pry out the old fasteners. If the corner posts are solid, leave them in place — they are the structural spine of the bed. If a corner post is rotted, that section requires pulling back the adjacent boards to swap the post before reassembling.
For boards that are cracked but structurally sound, skip to Step 3.
Step 2: Cut and Install Replacement Planks
Measure the length of the removed board and cut a replacement from matching stock — 2x6 or 2x8 cedar or redwood is standard for most raised beds. Before installation, apply two coats of a food-safe exterior wood sealer to all six faces of the new board, paying extra attention to the end grain, which absorbs water fastest. Let it dry fully before screwing into place.
Drive two galvanized screws through each end of the new plank into the corner post. Pre-drill to avoid splitting the new wood.
Step 3: Sister a Cracked Board
For a cracked-but-sound board, a sister board is the fastest structural fix. Cut a piece of the same lumber about 18 to 24 inches long, center it over the crack on the interior face of the garden bed, and screw it in with four to six screws — two above and two below the crack. The sister pulls the split faces back together and distributes load across more wood. Seal the exposed end grain of the sister board with linseed oil or sealer before screwing it in place.
Step 4: Reinforce the Corners
Corner joints take more stress than anywhere else. Add galvanized corner L-brackets to the interior corners of the bed — one near the top and one near the bottom of each corner. These brackets prevent the planks from flexing away from each other as soil swells and contracts. Use stainless or hot-dipped galvanized screws to attach them so they do not rust and stain the wood.
Step 5: Seal the Interior Face
Damp soil pressed against bare wood is the main cause of rot. After all repairs and replacements are complete, brush a coat of food-safe wood sealer or boiled linseed oil onto all interior face surfaces. A garden bed wood liner stapled to the interior is an additional option — it keeps soil off the wood while still allowing drainage.
Extending the Life of Your Repaired Bed
Once the bed is repaired, a few habits will dramatically slow future wear. Avoid letting sprinklers or drip lines wet the top edges of the boards constantly. Raise drip emitters so water goes to the soil, not the wood. Reapply wood sealer to the exposed top and outer faces every two years. Fill any new hairline cracks with exterior wood filler each spring before they open wider.
A well-maintained raised bed built from cedar or redwood can serve your garden for 15 or more years. The repairs take an afternoon — the harvest lasts a lifetime.
- Remove Loose or Rotted Boards
For any board that is rotted, remove it carefully to avoid disturbing the corner posts. Unscrew or pry out the old fasteners. If the corner posts are solid, leave them in place — they are the structural spine of the bed.
- Cut and Install Replacement Planks
Measure the length of the removed board and cut a replacement from matching stock — 2x6 or 2x8 cedar or redwood is standard for most raised beds.
- Sister a Cracked Board
For a cracked-but-sound board, a sister board is the fastest structural fix. Cut a piece of the same lumber about 18 to 24 inches long, center it over the crack on the interior face of the garden bed, and screw it in with four to six screws — two abo...
- Reinforce the Corners
Corner joints take more stress than anywhere else. Add galvanized corner L-brackets to the interior corners of the bed — one near the top and one near the bottom of each corner.
- Seal the Interior Face
Damp soil pressed against bare wood is the main cause of rot. After all repairs and replacements are complete, brush a coat of food-safe wood sealer or boiled linseed oil onto all interior face surfaces.
Free: 10-Point Home Maintenance Checklist
Prevent costly repairs with this seasonal checklist. Save hundreds every year by catching problems early.
Your checklist is ready!
Open Checklist →Something went wrong. View the checklist here.