How to Fix a Cracked Wood Deck Board
Repair or replace a cracked wood deck board using epoxy filler for minor cracks and board replacement for structural damage, restoring your deck safely and cleanly.
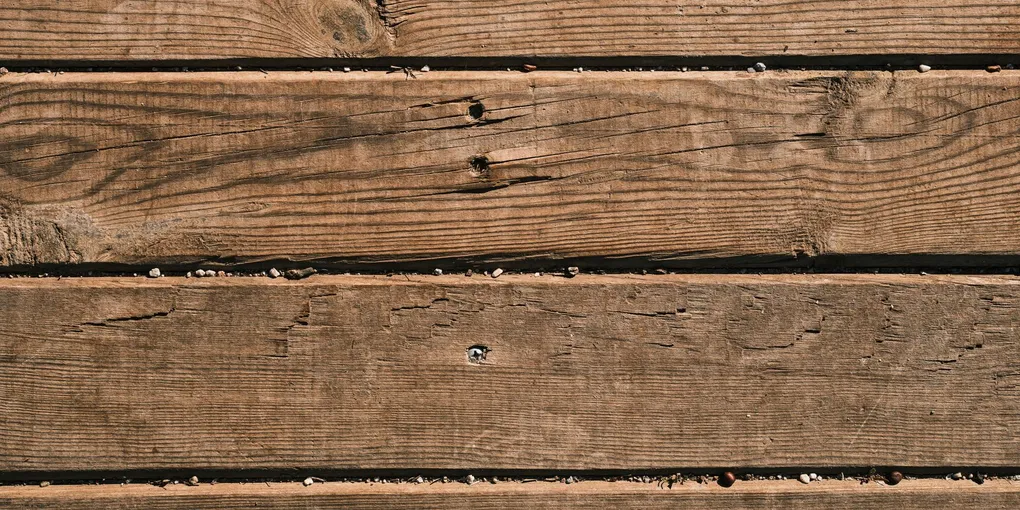
A cracked deck board is one of those repairs you should not put off. What starts as a surface check or hairline crack widens with every freeze-thaw cycle, collects water that accelerates rot, and eventually becomes a structural or safety issue.
A cracked deck board is one of those repairs you should not put off. What starts as a surface check or hairline crack widens with every freeze-thaw cycle, collects water that accelerates rot, and eventually becomes a structural or safety issue. The good news is that most deck board cracks are straightforward to handle with either an epoxy repair (for cosmetic or minor cracks) or board replacement (for anything compromising).
This guide covers both repair paths so you can choose the right approach for your situation.
What You Need
- Two-Part Epoxy Wood Filler — Exterior Grade — The only appropriate filler for outdoor deck repairs. Waterproof, flexible enough for seasonal movement, and sandable. Abatron WoodEpox and Minwax High Performance Wood Filler are popular options.
- Deck Screws — Exterior Stainless or Coated — For re-fastening boards or installing replacement lumber. Use 2.5-inch to 3-inch screws for standard 5/4 decking.
- Pry Bar and Reciprocating Saw — For removing badly damaged boards cleanly without damaging adjacent boards or the frame.
- Putty knife and stiff wire brush
- 80-grit and 120-grit sandpaper
- Exterior wood stain or sealer matching the deck finish
- Eye protection and gloves
Step 1: Assess the Crack
Before anything else, get down and examine the cracked board carefully. You are making two determinations: whether repair or replacement is the right call, and whether the underlying deck frame is also damaged.
Signs the board can be repaired:
- Crack runs with the grain (end-to-end direction)
- Crack is less than one-third the board thickness deep
- Wood around the crack is firm and solid when you press with a screwdriver
- No rot smell or discoloration spreading from the crack
Signs the board needs full replacement:
- Crack runs across the grain (structurally compromising)
- Board is soft, spongy, or discolored around the crack (rot present)
- Board is split entirely through top to bottom
- Crack is located where foot traffic steps regularly
After evaluating the board, probe around the cracks with a screwdriver to check for rot in the joist beneath. If the joist is soft, the structural repair expands beyond the board replacement and you will need to sistering or replacing the damaged joist before re-decking.
Step 2: Prepare the Crack for Repair (Epoxy Method)
If the board is a good candidate for epoxy repair, preparation is everything. Epoxy will not bond well to dirty, wet, or loose wood.
Clean the crack: Use a stiff wire brush or a narrow putty knife to remove all dirt, debris, and loose wood fibers from inside the crack. Get into the full depth of the crack.
Dry the area thoroughly: Epoxy requires dry wood for a proper bond. If the wood is damp from recent rain, allow at least 48 to 72 hours of dry weather before proceeding. If you need to accelerate drying, use a heat gun on low setting held several inches from the surface.
Widen very narrow cracks slightly: Hairline cracks can be tricky to fill because epoxy may not penetrate deeply enough. Use a utility knife to carefully open the crack to a consistent width of at least 1/8 inch so the filler can get full penetration.
Step 3: Apply the Epoxy Filler
Mix the two-part epoxy filler according to the manufacturer’s instructions. Most two-part wood fillers mix at a 1:1 ratio by volume and have a working time of 10 to 20 minutes, so mix only what you can use in one application.
Force the mixed epoxy into the crack with a putty knife, pressing firmly to push filler into the full depth. Slightly overfill the crack — the filler should crown slightly above the board surface. This allows for sanding back to perfectly flush after curing.
For wide or deep cracks, fill in two stages: apply a first layer, allow it to fully cure (typically 24 hours), then apply a finish layer. Trying to fill a deep crack in one pass can result in incomplete curing in the deepest sections.
Allow the filler to cure fully before sanding — check the package for the minimum cure time before working.
Step 4: Sand Flush and Finish
Once cured, use 80-grit sandpaper to knock down the overfill until the repair is nearly flush with the board surface. Switch to 120-grit to feather the edges and bring the repair surface to match the texture of the surrounding wood.
Apply exterior wood stain, sealer, or paint to match the rest of the deck. Epoxy filler does not absorb stain the same way natural wood does, so the repair may appear slightly different in tone — this is normal. Two coats of finish help blend the repaired area visually.
Step 5: Replace a Badly Damaged Board
If the crack assessment indicates full replacement, remove the board carefully to avoid damaging the joists beneath.
Remove fasteners: If the board is screwed down, use a drill to back out the screws. If it is nailed, use a pry bar with a piece of scrap wood as a backing block to protect the adjacent boards.
Cut away damaged sections: If only part of the board is damaged and the rest is sound, cut the board squarely over a joist on each side of the damaged section with a circular saw. Set the blade to just the board thickness to avoid cutting into the joist.
Cut and install the replacement board: Measure the gap and cut replacement lumber to length. Use the same lumber species and dimensions as the original board. Pre-drill holes at each joist crossing to prevent splitting, then fasten with exterior deck screws. Set screw heads just below the surface.
Finish: Apply exterior stain or sealer to the replacement board to match the surrounding deck. New wood will absorb stain differently than weathered wood, so consider re-coating the entire deck face to achieve a uniform appearance.
Step 6: Seal the Deck
Whether you repaired one board or replaced several, finish the job by sealing or staining the entire deck surface. A quality exterior deck sealer protects all boards from the moisture cycling that causes cracks in the first place. Apply a penetrating sealer with a brush or roller, working it into the end grain of each board where water entry is greatest.
Reseal your deck every one to two years as part of regular maintenance to prevent the next round of cracking.
Related Reading
- Assess the Crack
Before anything else, get down and examine the cracked board carefully. You are making two determinations: whether repair or replacement is the right call, and whether the underlying deck frame is also damaged.
- Prepare the Crack for Repair (Epoxy Method)
If the board is a good candidate for epoxy repair, preparation is everything. Epoxy will not bond well to dirty, wet, or loose wood.
- Apply the Epoxy Filler
Mix the two-part epoxy filler according to the manufacturer's instructions. Most two-part wood fillers mix at a 1:1 ratio by volume and have a working time of 10 to 20 minutes, so mix only what you can use in one application.
- Sand Flush and Finish
Once cured, use 80-grit sandpaper to knock down the overfill until the repair is nearly flush with the board surface. Switch to 120-grit to feather the edges and bring the repair surface to match the texture of the surrounding wood.
- Replace a Badly Damaged Board
If the crack assessment indicates full replacement, remove the board carefully to avoid damaging the joists beneath.
- Seal the Deck
Whether you repaired one board or replaced several, finish the job by sealing or staining the entire deck surface. A quality exterior deck sealer protects all boards from the moisture cycling that causes cracks in the first place.
Free: 10-Point Home Maintenance Checklist
Prevent costly repairs with this seasonal checklist. Save hundreds every year by catching problems early.
Your checklist is ready!
Open Checklist →Something went wrong. View the checklist here.