How to Fix a Cracked Vinyl Window Frame
A cracked vinyl window frame lets in drafts, moisture, and insects — this guide covers how to patch small cracks, seal damaged corners, and know when full sash replacement is the smarter call.
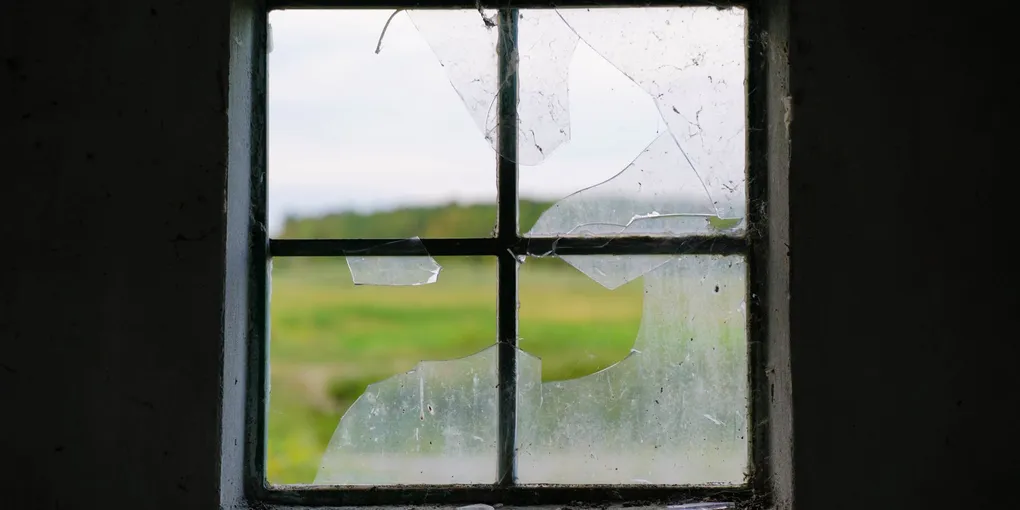
Vinyl window frames are low-maintenance and durable — until they crack. UV exposure, physical impacts, and temperature stress can split the vinyl anywhere from hairline surface marks to full structural breaks at corners.
Vinyl window frames are low-maintenance and durable — until they crack. UV exposure, physical impacts, and temperature stress can split the vinyl anywhere from hairline surface marks to full structural breaks at corners. A cracked vinyl frame is not just cosmetic: it creates pathways for air infiltration, moisture, and insects, and if ignored long enough, allows water to reach the wood framing behind the window where real structural damage starts.
The repair approach depends entirely on the crack type. This guide walks through diagnosing the damage accurately, patching surface cracks that do not penetrate the full frame wall, sealing corner cracks for air and water tightness, and recognizing when sash or full frame replacement is the right call.
What You Need
- Vinyl and PVC repair adhesive — bonds broken vinyl sections back together; $6–$12
- Color-matched exterior caulk (white or almond) — fills and seals surface cracks; use paintable latex caulk, not silicone; $5–$10
- Backer rod foam (1/4 inch) — for filling wider cracks before caulking; $5–$8
- Utility knife — to clean crack edges
- Fine-grit sandpaper (220-grit) — to smooth repaired areas
- Rubbing alcohol or acetone — to clean the repair surface before adhesive
- Masking tape — to protect surrounding areas during caulk application
- Caulk gun — for tube-format caulk
Estimated cost: $15–$30 for a surface crack repair kit. $75–$250 for sash replacement if needed.
Step 1: Diagnose the Crack
Inspect the crack carefully in good light. Run your fingernail across it — does the nail catch a ridge, or does it drop into a depression? A ridge means the vinyl has separated or a piece has shifted; a depression means material has been lost or the crack is open.
Press gently on both sides of the crack. If the frame flexes or the crack opens and closes with pressure, it is a through-crack and the structural integrity of that frame section is compromised. If the frame feels solid and the crack does not open under pressure, it is a surface crack.
Check the corners — the joint where two frame pieces meet. Corner cracks are the most consequential because the corner is a structural connection point. A cracked or separated corner allows the frame to rack out of square, which binds the sash and can crack the glass over time.
Inspect the interior side of the frame at the same location. If the crack is exterior-only, the repair is simpler. If the crack appears on both sides, it is a through-crack.
Step 2: Clean the Repair Area
Wipe the crack and surrounding 2 to 3 inches with rubbing alcohol or acetone on a clean cloth. This removes chalky oxidation, dirt, and any previous caulk attempts. Vinyl does not bond well without a clean surface.
If there are any loose flaps of vinyl at the crack edge, trim them cleanly with a utility knife rather than leaving ragged edges. A clean-edged crack accepts adhesive and caulk more cleanly than a torn edge.
Allow the surface to dry completely before applying any product.
Step 3: Repair Hairline and Surface Cracks
For surface cracks that do not penetrate through the frame wall, a color-matched exterior caulk fills and seals the crack effectively.
Apply masking tape along both edges of the crack to keep the caulk line neat. Cut the caulk tube tip at a 45-degree angle to produce a bead slightly narrower than the crack width. Press the caulk firmly into the crack, working along its full length. Tool the bead smooth with a wet fingertip or a plastic caulk tool.
Remove the masking tape before the caulk skins over (within 3 to 5 minutes for latex caulk). Let cure 24 hours before exposing to rain.
For cracks wider than 1/8 inch, press a foam backer rod into the crack first to give the caulk a backing surface and reduce the amount of caulk needed. The backer rod also prevents the caulk from sinking into the crack and creating a thin skin that tears.
Step 4: Rejoin a Broken Vinyl Section
If the crack has separated into two pieces — common at corners or at points where the vinyl broke cleanly — vinyl adhesive can reattach them.
Apply vinyl repair adhesive to one side of the break. Press the pieces firmly together, aligning them as accurately as possible. Hold firmly for 30 to 60 seconds, then clamp or tape while the adhesive sets. Most vinyl adhesives reach handling strength in 15 to 30 minutes and full strength in 24 hours.
Once the adhesive has cured, apply color-matched caulk over the repaired joint to seal any remaining gap and blend the repair visually.
If the corner joint itself has separated (the frame is coming apart at a mitered corner), apply adhesive into the joint gap and clamp the corner firmly while it cures. A web clamp or a piece of packaging tape stretched across the corner works well for clamping odd-shaped sections.
Step 5: Seal Corner Cracks for Air Tightness
Corner cracks are the most important to seal because corners are where air and water infiltration concentrates. Even after adhesive repair, apply a bead of paintable exterior caulk along the full length of the repaired corner — both the crack itself and the joint line.
On the exterior face, run the caulk bead along the full corner to ensure there is no gap path from outside air to the interior window reveal. On the interior side, inspect the joint between the window frame and the interior drywall or trim. This joint also requires a caulk bead to stop drafts at the interior reveal. Use a paintable latex caulk here so it can be painted to match the trim.
Step 6: Assess Whether Sash or Frame Replacement Is Needed
After completing any caulk or adhesive repairs, perform the draft test: on a cold or windy day, hold your hand around the perimeter of the repaired frame section and around the sash perimeter. Any perceptible draft indicates the air barrier is still compromised.
If the frame continues to flex or rack after repair, or if the sash no longer opens, closes, and locks properly because the frame is out of square, the sash or frame needs to be replaced rather than patched.
For sash replacement: contact the original window manufacturer with the window’s model number (usually printed on a label on the sash edge) and request a replacement sash. Most major manufacturers supply replacement sashes for windows up to 20 years old. Installation is typically a matter of removing two tilt-in clips on a double-hung window, swinging the sash out, and clicking in the new one.
For full frame replacement: this requires removing interior trim, the entire window unit, and reinstalling a new window into the rough opening. This is a more complex job but straightforward for an experienced DIYer with one full day available.
What to Expect Long-Term
A well-executed vinyl window crack repair using adhesive and exterior caulk can last 3 to 7 years before re-caulking may be needed. The caulk is the maintenance item — inspect it annually and re-apply when cracking or separation appears. The vinyl adhesive bond on a properly cleaned surface is typically permanent. Keeping the frame clean and applying a UV-protective vinyl protectant spray annually slows the brittleness that causes new cracks to form.
Related Reading
- How to Re-Caulk a Window — the same caulk principles applied to the window-to-siding joint
- How to Weatherstrip a Door or Window — the next step if drafts persist after frame repair
- How to Fix a Broken Window Sash Lock — often damaged alongside cracked frames from the same impact
- Diagnose the Crack
Inspect the crack carefully in good light. Run your fingernail across it — does the nail catch a ridge, or does it drop into a depression? A ridge means the vinyl has separated or a piece has shifted; a depression means material has been lost or the...
- Clean the Repair Area
Wipe the crack and surrounding 2 to 3 inches with rubbing alcohol or acetone on a clean cloth. This removes chalky oxidation, dirt, and any previous caulk attempts. Vinyl does not bond well without a clean surface.
- Repair Hairline and Surface Cracks
For surface cracks that do not penetrate through the frame wall, a color-matched exterior caulk fills and seals the crack effectively.
- Rejoin a Broken Vinyl Section
If the crack has separated into two pieces — common at corners or at points where the vinyl broke cleanly — vinyl adhesive can reattach them.
- Seal Corner Cracks for Air Tightness
Corner cracks are the most important to seal because corners are where air and water infiltration concentrates.
- Assess Whether Sash or Frame Replacement Is Needed
After completing any caulk or adhesive repairs, perform the draft test: on a cold or windy day, hold your hand around the perimeter of the repaired frame section and around the sash perimeter.
Free: 10-Point Home Maintenance Checklist
Prevent costly repairs with this seasonal checklist. Save hundreds every year by catching problems early.
Your checklist is ready!
Open Checklist →Something went wrong. View the checklist here.