How to Fix a Cracked Utility Sink in 30 Minutes ($0–$30 Epoxy or Patch)
Repair a cracked laundry or utility sink with epoxy or a fiberglass patch in 30 minutes to stop leaks before replacement is needed. Materials cost $0–$30.
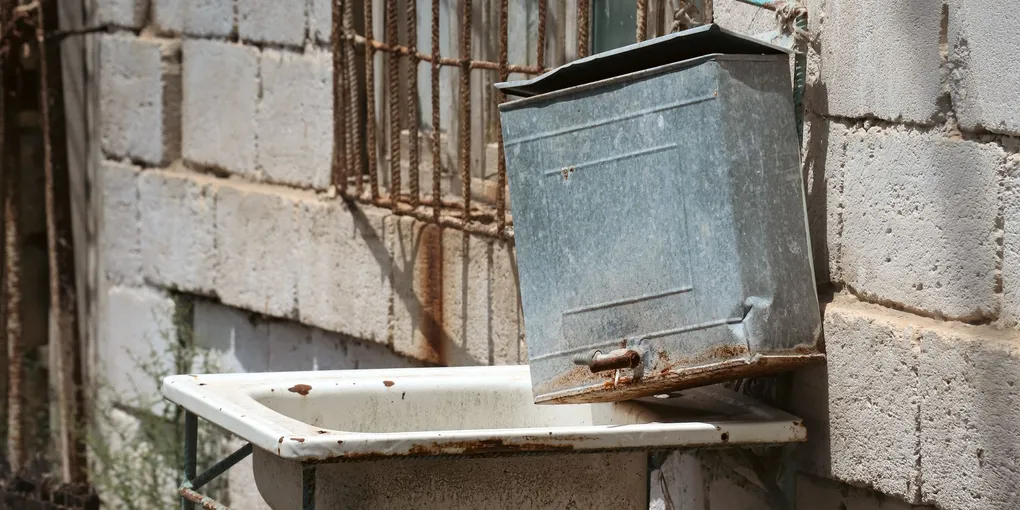
Utility and laundry sinks handle everything from muddy boots to paint brushes to bulk laundry soaking — and the repeated abuse eventually shows up as a crack in the basin. A crack left unrepaired will widen with every load, eventually leaking onto the floor and potentially damaging the subfloor or wall behind the sink.
Utility and laundry sinks handle everything from muddy boots to paint brushes to bulk laundry soaking — and the repeated abuse eventually shows up as a crack in the basin. A crack left unrepaired will widen with every load, eventually leaking onto the floor and potentially damaging the subfloor or wall behind the sink. Fortunately, most utility sink cracks are repairable in an afternoon.
Identifying Your Sink Material
The right repair approach depends on what the sink is made of:
- Molded plastic (polypropylene) — the most common utility sink material. Light gray or black, slightly flexible. Repairs best with plastic epoxy or fiberglass mat and resin.
- Fiberglass — smoother finish, often white. Repair with fiberglass repair kit or two-part epoxy.
- Acrylic — glossy, lighter in weight than fiberglass. Repair with acrylic repair paste or bathtub repair kit.
- Cast iron with porcelain enamel — heavy, durable, found in older homes. Hairline cracks in the enamel coat repair with porcelain touch-up paint. Cracks through the iron require replacement.
Tools and Materials
- Two-part epoxy filler or fiberglass repair kit
- 80-grit and 220-grit sandpaper
- Acetone or isopropyl alcohol
- Putty knife or spreader
- Heat gun or hair dryer
- Painter’s tape
- Matching touch-up paint or epoxy colorant
- Rubber gloves and eye protection
Step 1 — Shut Off Water and Dry the Sink
Turn off the hot and cold supply valves under the sink. Remove standing water with a sponge and dry the cracked area thoroughly. Use a heat gun on low — held 6 inches away — to drive moisture out of the crack itself. This step is critical; epoxy will not bond to wet surfaces.
Step 2 — Clean the Repair Area
Wipe the crack and 2 inches of surrounding surface with acetone or isopropyl alcohol to remove soap residue, hard water scale, and oils. Allow to dry completely. Rough up the area with 80-grit sandpaper — this gives the epoxy mechanical grip on the smooth sink surface.
Step 3 — Tape Off the Area
Apply painter’s tape along both sides of the crack to keep the repair compound contained and to create a clean edge. This makes the finished repair look much neater.
Step 4 — Mix and Apply the Epoxy Filler
Mix the two-part epoxy or fiberglass repair compound according to the manufacturer ratio. Work quickly — most have a working time of five to ten minutes.
Press the filler firmly into the crack with a putty knife, working it into the full depth of the crack before building up the surface. Slightly overfill — the repair will shrink slightly as it cures and you will sand it flush afterward.
A reliable option for plastic and fiberglass sinks is the Rust-Oleum Tub and Tile Repair Kit, which includes epoxy filler and colorants that can be mixed to match white or almond utility sink basins.
For larger cracks, reinforce the repair from behind with a fiberglass mat patch. Cut a piece of Evercoat Fiberglass Mat slightly larger than the crack, wet it with resin, and press it against the underside of the basin for support if you can access it.
Step 5 — Allow to Cure
Remove the painter’s tape while the repair is still slightly soft — before it fully hardens — for a clean edge. Allow the repair to cure per the product instructions. Most reach handling strength in two to four hours but should cure fully for 24 hours before the sink is used.
Step 6 — Sand and Finish
Once fully cured, sand the repair flush with the surrounding basin surface using 80-grit, then finish with 220-grit for a smooth surface. Wipe clean with a damp cloth.
If the repair compound does not match the sink color, apply a coat of appliance epoxy spray paint in white or almond to blend the repair into the surrounding surface. Several thin coats are better than one thick coat.
Step 7 — Test
Turn on the water supply and run water into the sink. Watch the repaired area for any seepage for five minutes. Dry the area and look for any dampness — a successful repair should be completely waterproof.
When Replacement Makes More Sense
If the crack runs through the drain opening, along the entire basin length, or the sink basin has multiple cracks, a replacement utility sink is a more cost-effective long-term solution. Standard 23-gallon polypropylene utility sinks are available for $60 to $120 and install in two to three hours using the existing drain and supply connections.
- Step 1 — Shut Off Water and Dry the Sink
Turn off the hot and cold supply valves under the sink. Remove standing water with a sponge and dry the cracked area thoroughly. Use a heat gun on low — held 6 inches away — to drive moisture out of the crack itself.
- Step 2 — Clean the Repair Area
Wipe the crack and 2 inches of surrounding surface with acetone or isopropyl alcohol to remove soap residue, hard water scale, and oils. Allow to dry completely.
- Step 3 — Tape Off the Area
Apply painter's tape along both sides of the crack to keep the repair compound contained and to create a clean edge. This makes the finished repair look much neater.
- Step 4 — Mix and Apply the Epoxy Filler
Mix the two-part epoxy or fiberglass repair compound according to the manufacturer ratio. Work quickly — most have a working time of five to ten minutes.
- Step 5 — Allow to Cure
Remove the painter's tape while the repair is still slightly soft — before it fully hardens — for a clean edge. Allow the repair to cure per the product instructions.
- Step 6 — Sand and Finish
Once fully cured, sand the repair flush with the surrounding basin surface using 80-grit, then finish with 220-grit for a smooth surface. Wipe clean with a damp cloth.
Free: 10-Point Home Maintenance Checklist
Prevent costly repairs with this seasonal checklist. Save hundreds every year by catching problems early.
Your checklist is ready!
Open Checklist →Something went wrong. View the checklist here.