How to Fix a Cracked Tile Hearth
Learn how to repair cracked hearth tiles or replace damaged ones entirely so your fireplace surround looks great and stays structurally sound.
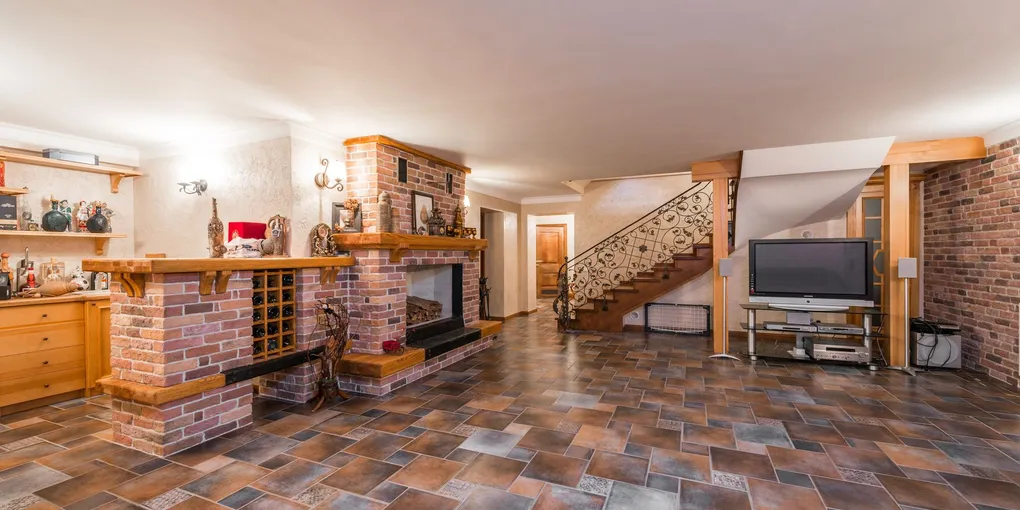
A cracked hearth tile is more than a cosmetic problem. On a working fireplace, damaged tiles can expose the mortar bed to moisture, allow heat to transfer unevenly, and create a tripping hazard on the hearth extension.
A cracked hearth tile is more than a cosmetic problem. On a working fireplace, damaged tiles can expose the mortar bed to moisture, allow heat to transfer unevenly, and create a tripping hazard on the hearth extension. Whether you need to fill a hairline crack or replace a shattered tile, this repair is well within DIY range with the right materials and a methodical approach.
Assess the Crack
Not every crack demands full tile replacement.
- Hairline surface crack — The tile is intact but has a fine line on the surface. Fill with grout or epoxy.
- Through crack — The tile is split all the way through but the pieces are still in place. Replacement is best; a through crack will widen with heat cycling.
- Shattered tile — Multiple pieces or a tile that has lifted at the edges. Must be replaced.
- Multiple cracked tiles in a pattern — Diagonal or stair-step cracking across several tiles usually indicates a subfloor movement problem. Fix the substrate before retiling.
Tools and Materials
- Oscillating multi-tool with grout blade attachment
- Cold chisel and hammer
- Margin trowel and notched trowel
- Rubber mallet
- Grout float
- Bucket and sponges
- Safety glasses and gloves
- Heat-rated tile mortar or high-temperature thinset
- Replacement tile (same size and thickness)
- Matching sanded grout or refractory grout
- Tile spacers
- Epoxy crack filler or color-matched grout (for hairline repairs)
Repairing a Hairline Crack
Step 1: Clean the crack thoroughly with a stiff brush and vacuum out any dust.
Step 2: Mix a small amount of matching sanded grout to a peanut butter consistency. Pack it into the crack with a grout float or putty knife, wiping away excess immediately with a damp sponge.
Step 3: For a more invisible repair, an epoxy tile crack repair kit allows you to tint the filler to match your tile color. Apply per the kit directions, overfill slightly, then sand flush when cured.
Allow the repair to cure for 24 hours before walking on it or building a fire.
Replacing a Damaged Hearth Tile
Step 1: Remove the grout. Fit an oscillating tool with a carbide grout removal blade and carefully cut along all four grout joints surrounding the damaged tile. Go just deep enough to free the tile without grinding into adjacent tiles.
Step 2: Break and remove the tile. Place a cold chisel at the center of the tile and strike firmly with a hammer. Work outward from the center, prying broken pieces free with the chisel. Take your time near the edges to avoid cracking neighbors. Remove all old mortar from the substrate with the chisel, leaving a flat, clean surface.
Step 3: Set the new tile. Apply heat-rated thinset to the substrate with a notched trowel. Custom Building Products Versabond Heat Resistant Mortar is a widely available option rated for use near heat sources. Comb parallel ridges and press the new tile into place. Use tile spacers on all four sides to maintain consistent joint width. Tap lightly with a rubber mallet to seat the tile flush with its neighbors.
Step 4: Allow mortar to cure. Let the mortar set for at least 24 hours — 48 is better in cool weather — before grouting.
Step 5: Grout the joints. Mix sanded grout to the consistency of peanut butter. Press it into the joints with a rubber grout float held at a 45-degree angle, working diagonally across the joints. Wipe away the haze with a barely damp sponge, rinsing frequently. Avoid scrubbing the joints directly until the grout has firmed slightly.
Step 6: Seal if desired. Once the grout has cured fully (typically 72 hours), apply a penetrating grout sealer to protect against soot and moisture. This is especially valuable on lighter-colored grout near a working firebox.
When to Investigate the Substrate
If three or more tiles have cracked in a diagonal pattern, or if tiles feel hollow when you tap them, the mortar bed beneath has likely separated from the subfloor. This indicates subfloor movement or water damage. In that case, remove all affected tiles, assess the subfloor, make any necessary structural repairs, and re-lay the entire section with proper expansion joints along the perimeter.
Long-Term Prevention
Expansion and contraction from heat cycling will always stress hearth tile joints. Installing a 1/8-inch perimeter expansion joint filled with a heat-rated silicone caulk — rather than grout — at the edges where the hearth meets the firebox surround gives the tilework room to move without cracking. This small detail is often skipped in original installations and is the most common reason hearth tiles crack prematurely.
- Assess the Crack
Not every crack demands full tile replacement.
- Repairing a Hairline Crack
Step 1: Clean the crack thoroughly with a stiff brush and vacuum out any dust.
- Replacing a Damaged Hearth Tile
Step 1: Remove the grout. Fit an oscillating tool with a carbide grout removal blade and carefully cut along all four grout joints surrounding the damaged tile. Go just deep enough to free the tile without grinding into adjacent tiles.
- Long-Term Prevention
Expansion and contraction from heat cycling will always stress hearth tile joints. Installing a 1/8-inch perimeter expansion joint filled with a heat-rated silicone caulk — rather than grout — at the edges where the hearth meets the firebox surround...
Free: 10-Point Home Maintenance Checklist
Prevent costly repairs with this seasonal checklist. Save hundreds every year by catching problems early.
Your checklist is ready!
Open Checklist →Something went wrong. View the checklist here.