How to Fix a Cracked Stucco Wall
Learn how to patch hairline and structural stucco cracks on exterior walls to prevent water intrusion and restore curb appeal.
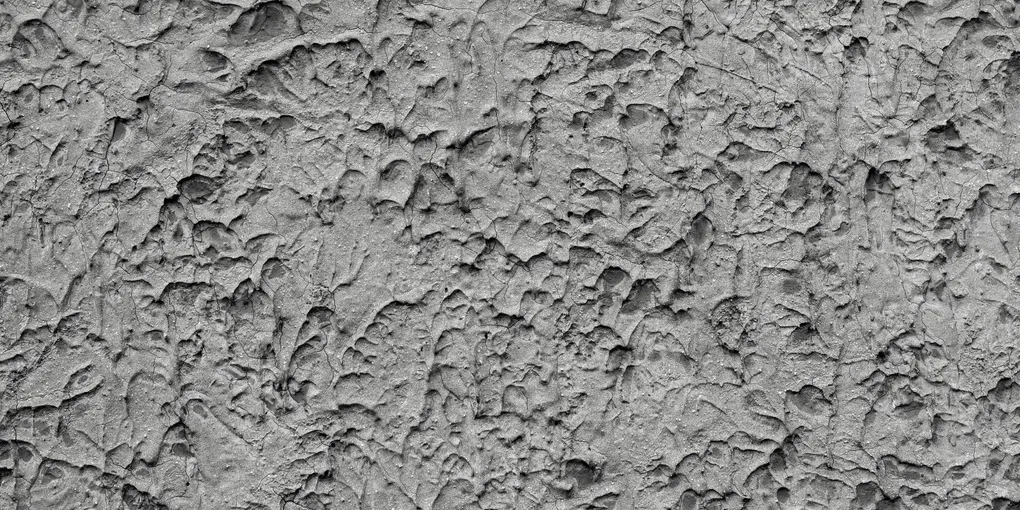
Stucco is a durable exterior finish, but cracks are an inevitable part of owning a stucco home. Most cracks are cosmetic and easy to repair yourself.
Stucco is a durable exterior finish, but cracks are an inevitable part of owning a stucco home. Most cracks are cosmetic and easy to repair yourself. Addressing them promptly matters because even small cracks allow water to penetrate behind the stucco layer, where it can damage the underlying sheathing, framing, and insulation over time. A proper patch stops water intrusion and restores the wall’s appearance.
Assess the Crack Before You Start
Inspect the crack carefully. Run your finger along it and measure the width with a ruler. Hairline cracks under 1/16 inch wide are surface-level and seal easily with caulk or a thin stucco skim coat. Cracks from 1/8 to 1/2 inch need a patching compound. Cracks wider than 1/2 inch, or any crack where the edges are at different heights, may indicate foundation or structural movement — consult a contractor before patching.
Also check whether the area around the crack sounds hollow when tapped. A hollow sound means the stucco has delaminated from the substrate and that section needs to be fully removed and rebuilt, not just patched.
Tools and Materials You Will Need
- Wire brush and stiff-bristled brush
- Cold chisel and hammer (for widening and undercutting)
- Putty knife or margin trowel
- Spray bottle with water
- Pre-mixed stucco patch compound
- Elastomeric masonry caulk (for hairline cracks)
- Masonry primer
- Exterior masonry paint
- Safety glasses and gloves
Step 1: Clean and Prepare the Crack
Use a wire brush to scrub out any loose stucco, dirt, or debris from inside the crack. For deeper cracks, use a cold chisel and hammer to slightly undercut the edges — angle the chisel so the interior of the crack is slightly wider than the surface opening. This “key” shape helps the new patch grip and prevents it from popping out.
Vacuum or blow out all dust and rinse the crack with a spray bottle. Allow the area to dry, but apply your patch to a slightly damp surface — completely dry stucco will draw moisture out of your patch too quickly and cause it to crack again.
Step 2: Apply Patch Material to Small to Medium Cracks
For hairline cracks, squeeze elastomeric caulk directly into the crack, tool it smooth with a wet finger, and feather the edges flush with the wall. Allow it to skin over before texturing or painting.
For cracks up to 1/2 inch wide, use a pre-mixed stucco patching compound:
- Force the compound into the crack with a putty knife, slightly overfilling.
- Let it firm up for 15 to 20 minutes.
- Come back and scrape the excess flush with the wall using your trowel.
- Blend the edges into the surrounding stucco.
For deep cracks, apply the compound in two layers, allowing the first to firm up before adding the second. This prevents shrinkage cracking.
Step 3: Recreate the Texture
This is where the repair becomes nearly invisible — or obviously patched. Study the existing texture and try to replicate it:
- Smooth finish: Wet-trowel the patch flat and feather the edges carefully.
- Sand finish: Apply the patch and finish with a foam float using circular motions.
- Skip trowel or knockdown: Apply irregular dabs with a trowel and lightly flatten the peaks.
- Dash or splatter: Load a stiff brush with slightly thinned compound and flick it onto the surface from a consistent distance.
Practice on a scrap piece of cardboard first to get the pattern right. A good masonry trowel set makes achieving a smooth blend much easier.
Step 4: Let the Patch Cure
Allow the patch to cure for a minimum of 24 hours. In hot, dry, or windy conditions, mist the patch lightly with water a few times over the first day to prevent it from drying too rapidly and cracking again. Keep direct sunlight off fresh patches if possible using a piece of cardboard or plastic sheeting.
Step 5: Prime and Paint
Apply a coat of masonry primer over the patched area, extending several inches onto the surrounding undamaged stucco to blend the boundary. Once dry, apply your exterior masonry paint. For the best color match, consider painting the full wall section rather than spot-painting the patch alone.
Inspect the repair after the first rainstorm — water running down the wall should not darken the patch area any more than surrounding stucco. If it does, the patch may not be fully sealed and needs another coat of paint or caulk along its edges.
- Clean and Prepare the Crack
Use a wire brush to scrub out any loose stucco, dirt, or debris from inside the crack. For deeper cracks, use a cold chisel and hammer to slightly undercut the edges — angle the chisel so the interior of the crack is slightly wider than the surface o...
- Apply Patch Material to Small to Medium Cracks
For hairline cracks, squeeze elastomeric caulk directly into the crack, tool it smooth with a wet finger, and feather the edges flush with the wall. Allow it to skin over before texturing or painting.
- Recreate the Texture
This is where the repair becomes nearly invisible — or obviously patched. Study the existing texture and try to replicate it:
- Let the Patch Cure
Allow the patch to cure for a minimum of 24 hours. In hot, dry, or windy conditions, mist the patch lightly with water a few times over the first day to prevent it from drying too rapidly and cracking again.
- Prime and Paint
Apply a coat of masonry primer over the patched area, extending several inches onto the surrounding undamaged stucco to blend the boundary. Once dry, apply your exterior masonry paint.
Free: 10-Point Home Maintenance Checklist
Prevent costly repairs with this seasonal checklist. Save hundreds every year by catching problems early.
Your checklist is ready!
Open Checklist →Something went wrong. View the checklist here.