How to Fix a Cracked Plywood Subfloor
Learn how to repair a cracked or damaged plywood subfloor panel using sistering joists and patch panels so your finished floor stays solid and squeak-free.
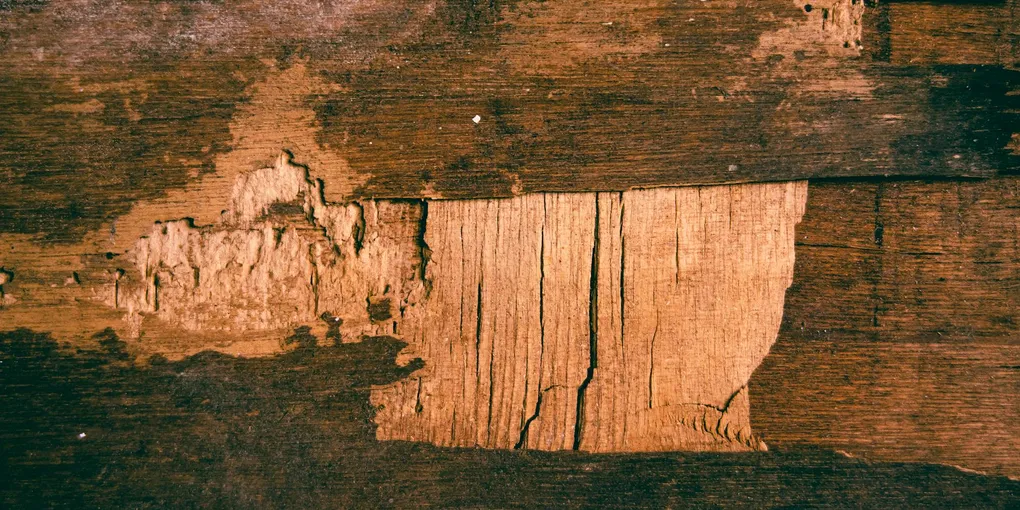
A cracked or spongy subfloor is more than a nuisance — it undermines your finished floor above and can signal structural issues if left unaddressed.
A cracked or spongy subfloor is more than a nuisance — it undermines your finished floor above and can signal structural issues if left unaddressed. Whether the damage came from a long-ago plumbing leak or simply years of heavy traffic over an under-supported span, a careful patch job using proper plywood and sistered framing will restore a solid, squeak-free surface.
Tools and Materials You Will Need
- Circular saw with adjustable depth
- Reciprocating saw or oscillating multi-tool
- Drill and impact driver
- Pry bar and hammer
- Tape measure and chalk line
- Replacement plywood (same thickness as existing subfloor)
- 2x lumber for sister joists if needed
- Construction adhesive (Liquid Nails or equivalent)
- 2-1/2 inch ring-shank subfloor screws
- Safety glasses and dust mask
A quality circular saw with a fine-tooth blade gives you clean, straight cuts that minimize gaps between the patch and the existing subfloor. The DEWALT DCS391B 6-1/2-inch circular saw is a reliable choice for this kind of structural repair work.
Step 1 — Identify the Full Extent of Damage
Walk slowly over the suspicious area and mark every spot that feels soft, springy, or crunchy with a piece of painter’s tape. Use a flashlight at a low angle to spot surface depressions or ripples in the finished floor. If you have crawl space or basement access, shine a light up through the floor system to check the underside of the subfloor and the condition of the joists below.
Step 2 — Remove the Finished Floor Covering
Pull up carpet, pry up hardwood, or use a floor scraper on vinyl over the damaged section. Extend your removal area at least 6 inches beyond the marked damage on all sides so you can see and nail into healthy material.
Step 3 — Cut Out the Damaged Panel
Set your circular saw blade depth to exactly the thickness of the subfloor — do not cut into the joists below. Snap chalk lines that align with the centers of the nearest joists on each side of the damaged area. Cut along these lines so each edge of your cutout lands in the middle of a joist, giving you a nailing surface for both the old panel and the patch. Use a reciprocating saw or oscillating multi-tool to finish the corners.
Pry out the damaged section and dispose of it.
Step 4 — Sister Weak or Wet Joists
Inspect every joist that was under or adjacent to the damaged panel. If a joist is wet, let it dry completely before proceeding. If a joist is cracked, twisted, or has significant rot, cut a new piece of 2x lumber to span from wall to wall (or bearing point to bearing point) and fasten it tightly alongside the damaged joist using construction adhesive and 3-inch structural screws driven every 12 inches in a staggered pattern. This sistered joist takes over the load and gives the new subfloor solid support.
Step 5 — Install the Patch Panel
Cut your replacement plywood to fit the opening. Apply a bead of construction adhesive to the top face of every joist and sister joist the patch will cover. Set the panel in place and press it down firmly into the adhesive. Drive ring-shank subfloor screws every 6 inches along the joists and every 8 inches in the field of the panel. Ring-shank fasteners resist backing out over time, which prevents future squeaks.
The GRK Fasteners R4 multi-purpose screw (3-lb box) works well for subfloor panels because the aggressive thread pulls the plywood tight against the framing without splitting the edges.
Step 6 — Fill the Seams and Sand Flush
Fill any gaps at the seam between the patch and the existing subfloor with floor-leveling compound. Feather it smooth with a putty knife and let it cure per the manufacturer’s directions. Once dry, sand the transition area flush so there is no ridge that could telegraph through vinyl or thin hardwood above.
Reinstall the Finished Floor
Replace the finished floor covering using the same method as the original installation. For hardwood, allow the new plywood to acclimate to the room’s humidity for 48 hours before fastening the boards. For vinyl plank or tile, a smooth, fully adhered patch panel is critical — any remaining gaps or high spots will show through the surface material quickly.
For ongoing subfloor protection, a moisture barrier installed between the subfloor and the finished floor is worthwhile in any area prone to humidity. The Roberts 70-193A 3-in-1 flooring underlayment combines a vapor barrier, cushion, and sound dampener in a single roll.
With the patch properly glued, screwed, and supported, the repaired section will be as strong as the day the house was built.
- Step 1 — Identify the Full Extent of Damage
Walk slowly over the suspicious area and mark every spot that feels soft, springy, or crunchy with a piece of painter's tape. Use a flashlight at a low angle to spot surface depressions or ripples in the finished floor.
- Step 2 — Remove the Finished Floor Covering
Pull up carpet, pry up hardwood, or use a floor scraper on vinyl over the damaged section. Extend your removal area at least 6 inches beyond the marked damage on all sides so you can see and nail into healthy material.
- Step 3 — Cut Out the Damaged Panel
Set your circular saw blade depth to exactly the thickness of the subfloor — do not cut into the joists below. Snap chalk lines that align with the centers of the nearest joists on each side of the damaged area.
- Step 4 — Sister Weak or Wet Joists
Inspect every joist that was under or adjacent to the damaged panel. If a joist is wet, let it dry completely before proceeding.
- Step 5 — Install the Patch Panel
Cut your replacement plywood to fit the opening. Apply a bead of construction adhesive to the top face of every joist and sister joist the patch will cover. Set the panel in place and press it down firmly into the adhesive.
- Step 6 — Fill the Seams and Sand Flush
Fill any gaps at the seam between the patch and the existing subfloor with floor-leveling compound. Feather it smooth with a putty knife and let it cure per the manufacturer's directions.
Free: 10-Point Home Maintenance Checklist
Prevent costly repairs with this seasonal checklist. Save hundreds every year by catching problems early.
Your checklist is ready!
Open Checklist →Something went wrong. View the checklist here.