How to Fix a Cracked Plaster Ceiling
Learn how to repair hairline cracks, spider cracks, and larger plaster ceiling damage using the right materials and technique for a lasting finish.
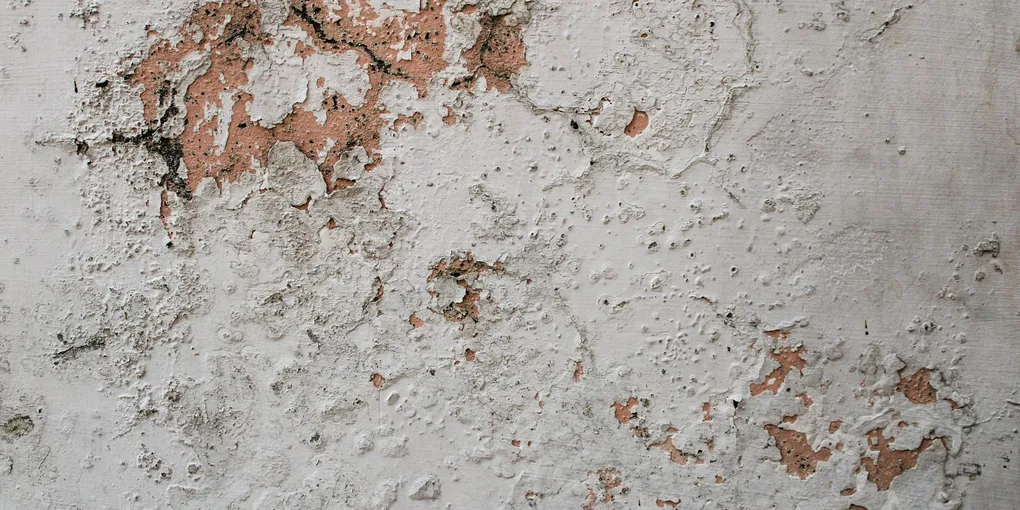
Plaster ceilings were built to last, but they are not immune to the slow forces of settling, humidity, and age. A network of hairline cracks across your ceiling can make a room feel tired and neglected — but with the right approach, you can make most plaster repairs invisible.
Plaster ceilings were built to last, but they are not immune to the slow forces of settling, humidity, and age. A network of hairline cracks across your ceiling can make a room feel tired and neglected — but with the right approach, you can make most plaster repairs invisible. This guide covers everything from hairline cracks to larger damaged sections.
Understanding Plaster Crack Types
Not all plaster cracks are the same, and the repair method depends on what you are dealing with:
- Hairline cracks — Fine surface cracks that do not penetrate deeply. Usually cosmetic.
- Spider or map cracking — A web of interconnected cracks. Often caused by age or an old paint-over-paint buildup.
- Structural cracks — Wide (over 1/4 inch), stepped, or accompanied by sagging plaster. These require professional evaluation before repair.
This guide addresses hairline to moderate cracks. If your plaster shows signs of sagging or separation from the lath, consult a professional before patching.
Tools and Materials You Will Need
- Stiff putty knife or 5-in-1 tool
- 4-inch and 8-inch taping knives
- Sanding block and 120-grit / 220-grit sandpaper
- PVA primer or plaster bonder
- Premixed joint compound or setting-type compound
- Fiberglass mesh tape or paper joint tape
- Drop cloth and painter’s tape
- Paint and primer to finish
A fiberglass mesh joint tape is your best insurance against the crack returning. For larger repairs, a fast-setting patching compound that hardens chemically will give you a stronger, more stable base than premixed compound alone.
Step 1: Remove Loose and Damaged Plaster
Run your putty knife or 5-in-1 tool along the crack with light pressure. Any plaster that crumbles, flakes, or sounds hollow when tapped must come out — leaving loose material under a patch guarantees the repair will fail. Widen the crack slightly into a V-shape to give the compound something to grip.
Wear safety glasses during this step. Old plaster dust can contain lead if painted before 1978.
Step 2: Clean and Prime the Area
Vacuum or brush away dust from the crack and a few inches on either side. Apply a coat of PVA primer or plaster bonder to the repair area with a brush. This step is critical — plaster is extremely porous and will suck moisture from your compound too quickly, causing it to shrink and crack before it sets. Let the primer dry completely (typically 30–60 minutes).
Step 3: Apply the First Coat and Embed Tape
Mix your joint compound to a smooth, peanut-butter consistency if using powder. Using your 4-inch knife, press compound firmly into the crack, slightly overfilling it. While the compound is still wet, press fiberglass mesh tape or paper tape over the crack and smooth it into the surface. Skim a thin layer of compound over the tape. Let dry fully — at least 24 hours for premixed compound.
Step 4: Sand and Apply Second Coat
Once the first coat is dry, sand lightly with 120-grit sandpaper to knock down ridges. Wipe away dust with a damp cloth. Apply a second, wider coat with your 8-inch knife, feathering the edges out 3–4 inches beyond the tape. This coat should be thinner than the first. Let dry again.
Step 5: Final Coat and Sanding
Apply a third thin skim coat if needed to fill any remaining imperfections. Once fully dry, sand the entire repair area smooth with 220-grit sandpaper. The goal is a surface that transitions invisibly into the surrounding plaster. Run your hand across the repair — you should not feel an edge.
Step 6: Prime and Paint
Apply a coat of ceiling primer over the repair before painting. Skipping this step will result in the patched area absorbing paint differently and showing as a dull spot even after multiple paint coats. A quality ceiling primer prevents this flash and gives you a uniform finish.
Once primed, apply ceiling paint in the same sheen as the rest of the ceiling. Two coats typically produce the most consistent result.
Tips for a Seamless Repair
- Work in thin coats. Thick applications crack more as they dry.
- Good lighting at a low angle is essential for spotting ridges and low spots before priming.
- If the ceiling has a skip-trowel or knockdown texture, practice matching it on a scrap board before applying to the ceiling.
With patience and proper prep, a plaster crack repair can be completely undetectable — even in a room with strong directional lighting.
- Remove Loose and Damaged Plaster
Run your putty knife or 5-in-1 tool along the crack with light pressure. Any plaster that crumbles, flakes, or sounds hollow when tapped must come out — leaving loose material under a patch guarantees the repair will fail.
- Clean and Prime the Area
Vacuum or brush away dust from the crack and a few inches on either side. Apply a coat of PVA primer or plaster bonder to the repair area with a brush.
- Apply the First Coat and Embed Tape
Mix your joint compound to a smooth, peanut-butter consistency if using powder. Using your 4-inch knife, press compound firmly into the crack, slightly overfilling it.
- Sand and Apply Second Coat
Once the first coat is dry, sand lightly with 120-grit sandpaper to knock down ridges. Wipe away dust with a damp cloth. Apply a second, wider coat with your 8-inch knife, feathering the edges out 3–4 inches beyond the tape.
- Final Coat and Sanding
Apply a third thin skim coat if needed to fill any remaining imperfections. Once fully dry, sand the entire repair area smooth with 220-grit sandpaper. The goal is a surface that transitions invisibly into the surrounding plaster.
- Prime and Paint
Apply a coat of ceiling primer over the repair before painting. Skipping this step will result in the patched area absorbing paint differently and showing as a dull spot even after multiple paint coats.
Free: 10-Point Home Maintenance Checklist
Prevent costly repairs with this seasonal checklist. Save hundreds every year by catching problems early.
Your checklist is ready!
Open Checklist →Something went wrong. View the checklist here.