How to Fix Cracked Mortar Between Bricks
Learn how to repoint cracked and crumbling mortar joints using proper tuckpointing techniques to protect your brick walls from water damage.
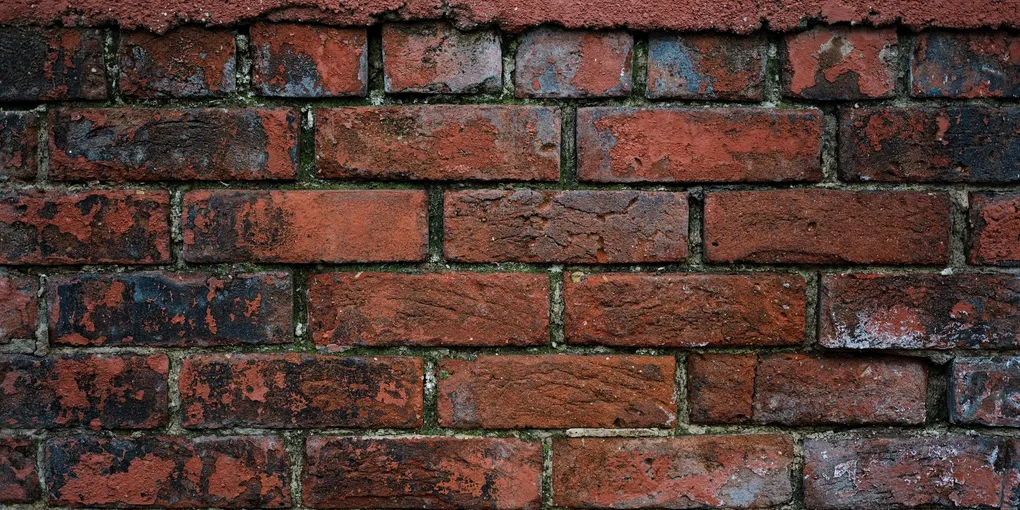
Cracked and crumbling mortar is one of the most common masonry problems homeowners face, and one of the most important to fix promptly. Mortar joints are the first line of defense against water infiltration — when they crack, water seeps in, freezes, and forces the damage to accelerate.
Cracked and crumbling mortar is one of the most common masonry problems homeowners face, and one of the most important to fix promptly. Mortar joints are the first line of defense against water infiltration — when they crack, water seeps in, freezes, and forces the damage to accelerate. The good news is that repointing mortar, also called tuckpointing, is a straightforward DIY job that requires patience more than skill.
Tools and Materials You Will Need
- Cold chisel and hammer, or angle grinder with a mortar raking blade
- Wire brush
- Shop vacuum
- Margin trowel or pointing trowel
- Mortar mix (Type S or Type N)
- Mixing bucket and trowel
- Spray bottle of water
- Safety glasses and dust mask
A mortar raking bit for your angle grinder removes old mortar quickly and cleanly, saving significant time on large sections.
Step 1: Assess the Damage
Walk the entire wall and mark all joints that show cracking, crumbling, or voids. Probe joints with a screwdriver — if mortar crumbles or can be dug out easily, it needs repointing. Do not try to patch over soft or loose mortar; the patch will fail within one winter.
Check for any signs of structural movement: horizontal cracks, stair-step cracking at corners, or bricks that are bowing or bulging. These require a structural assessment before any cosmetic repointing.
Step 2: Remove the Damaged Mortar
This is the most labor-intensive step. Using a cold chisel and hammer, carefully chip out the damaged mortar to a depth of at least 3/4 to 1 inch. Work along the joint without striking the brick faces. Strike the chisel at an angle into the joint, not straight into the brick.
For larger areas, an angle grinder with a mortar raking blade speeds the work considerably. Cut along the center of the joint, staying well away from the brick edges. Follow up with the chisel to square the edges of the joint.
After removal, use a wire brush to scrub out loose particles, then vacuum thoroughly. A clean joint is essential for proper adhesion.
Step 3: Mix the Mortar
Match the new mortar to the existing mortar as closely as possible in both type and color. For most residential brick on homes built after 1920, Type S mortar (medium-strength) is appropriate. For older historic brick, use Type N (lower strength) to avoid stressing softer bricks.
A pre-mixed Type S mortar mix simplifies the job. Mix to a stiff peanut-butter consistency — stiff enough to hold its shape when squeezed but moist enough to tool smooth. Let the mix sit (slake) for 5 minutes after initial mixing, then stir again.
Step 4: Dampen the Joints
Before applying mortar, lightly dampen the open joints with a spray bottle of water. This prevents the dry brick and old mortar from pulling moisture out of the fresh mix too quickly, which causes cracking and weak bonds. Do not saturate — just mist enough to darken the surface.
Step 5: Pack in the New Mortar
Load a small amount of mortar onto a hawk or a flat piece of plywood. Use a pointing trowel (a narrow, pointed trowel) to press mortar firmly into the joint in thin layers. Fill the joint in two or three passes for deep voids rather than trying to fill it all at once.
Work horizontal joints first, then vertical joints. Press the mortar firmly against both brick edges — air pockets behind the mortar will become voids that hold water. Slightly overfill the joint so you have material to tool.
Step 6: Tool the Joints
Allow the mortar to set until it holds a thumbprint without sticking — usually 30 to 60 minutes depending on temperature and humidity. Then run a jointing tool or the back edge of the trowel along the joint to compress and shape it to match the existing profile (flat, concave, or raked). Tooling compresses the mortar and improves water shedding.
Brush off any mortar smears from the brick face with a stiff brush before the mortar fully hardens.
Step 7: Cure the Mortar
Mist the new joints lightly with water twice a day for the first 3 days. If the weather is hot or windy, hang a damp burlap cloth over the work to slow evaporation and prevent surface cracking. Keep the work out of direct sun for the first 24 hours if possible.
Maintenance Going Forward
Inspect mortar joints every 2-3 years and touch up any new cracks before they worsen. Catching small cracks early means a few minutes of work instead of a full repointing project. Properly maintained mortar will protect your brick wall for decades.
- Assess the Damage
Walk the entire wall and mark all joints that show cracking, crumbling, or voids. Probe joints with a screwdriver — if mortar crumbles or can be dug out easily, it needs repointing.
- Remove the Damaged Mortar
This is the most labor-intensive step. Using a cold chisel and hammer, carefully chip out the damaged mortar to a depth of at least 3/4 to 1 inch. Work along the joint without striking the brick faces.
- Mix the Mortar
Match the new mortar to the existing mortar as closely as possible in both type and color. For most residential brick on homes built after 1920, Type S mortar (medium-strength) is appropriate.
- Dampen the Joints
Before applying mortar, lightly dampen the open joints with a spray bottle of water. This prevents the dry brick and old mortar from pulling moisture out of the fresh mix too quickly, which causes cracking and weak bonds.
- Pack in the New Mortar
Load a small amount of mortar onto a hawk or a flat piece of plywood. Use a pointing trowel (a narrow, pointed trowel) to press mortar firmly into the joint in thin layers.
- Tool the Joints
Allow the mortar to set until it holds a thumbprint without sticking — usually 30 to 60 minutes depending on temperature and humidity.
Free: 10-Point Home Maintenance Checklist
Prevent costly repairs with this seasonal checklist. Save hundreds every year by catching problems early.
Your checklist is ready!
Open Checklist →Something went wrong. View the checklist here.