How to Fix a Cracked Laundry Room Floor
Learn how to repair cracks in a utility room or laundry room floor using the right filler for concrete, vinyl, or tile surfaces.
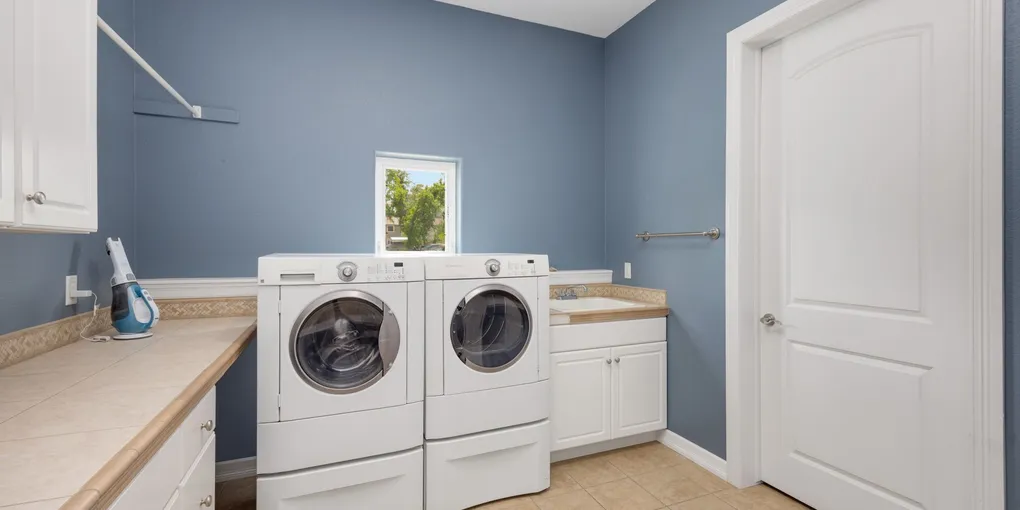
The laundry room is one of the most abused floors in the house. Washing machine vibration, occasional water leaks, heavy appliances, and utility traffic all take a toll.
The laundry room is one of the most abused floors in the house. Washing machine vibration, occasional water leaks, heavy appliances, and utility traffic all take a toll. When cracks appear — whether in concrete, vinyl tile, or sheet vinyl — fixing them promptly keeps the damage from spreading and prevents water from working its way into the subfloor or slab.
Identify Your Floor Type First
Before buying materials, determine what kind of floor you have:
- Bare concrete slab: Most common in utility rooms and basements. Cracks are filled and sealed directly.
- Vinyl tile (VCT or LVT): Individual tiles can be replaced. Cracks often start at a grout line or tile edge.
- Sheet vinyl: Tears and small cracks can be patched. Large or widespread damage usually warrants replacement.
- Ceramic or porcelain tile over concrete: Cracked tiles need to be replaced; underlying concrete cracks need to be addressed first.
What You Will Need
- Self-leveling concrete crack filler or epoxy crack filler
- Wire brush and shop vacuum
- Cold chisel and hammer (for wider cracks)
- Putty knife and margin trowel
- Replacement vinyl tiles or vinyl seam sealer (if applicable)
- Penetrating concrete sealer
- Anti-vibration washer dryer pads
- Safety glasses and gloves
Step 1: Clear and Clean the Area
Pull the appliances away from the wall enough to access the full floor area. Sweep and vacuum all debris from the crack. Use a wire brush to scrub out loose material, dust, and any old patching compound from inside the crack. The repair will bond poorly if the crack interior is dirty or dusty. Vacuum again after brushing.
Step 2: Prepare the Crack
For concrete cracks narrower than 1/4 inch, cleaning and drying the crack is sufficient preparation. For wider cracks, use a cold chisel and hammer to widen the crack slightly into a V-shape or undercut the edges — this gives the filler more surface area to grip and prevents it from popping out over time. Knock out any loose chunks and vacuum the debris.
For cracked vinyl tiles, use a heat gun or hair dryer to soften the adhesive, then pry out the cracked tile with a putty knife. Scrape the subfloor clean of old adhesive residue.
Step 3: Apply the Filler
Concrete cracks: Pour or inject self-leveling crack filler directly into the crack until it is slightly overfilled. The filler will self-level and settle slightly as it cures. For vertical cracks on walls or wide horizontal gaps, use a stiffer hydraulic cement or vinyl concrete patcher applied with a trowel and smoothed flush with the surrounding surface.
Vinyl tile replacement: Apply vinyl floor adhesive to the clean subfloor with a notched trowel, set the replacement tile in place, and press firmly. Roll it with a rolling pin or floor roller to ensure full contact. Wipe excess adhesive from edges immediately.
Sheet vinyl tears: Apply vinyl seam sealer along the full length of the tear. Hold the edges down for several minutes while the sealer sets.
Step 4: Smooth and Feather the Patch
Once the filler is in place, use a margin trowel or putty knife to feather the edges so the patch blends with the surrounding floor. On concrete, the goal is a flush, smooth surface with no ridges that could catch a mop or trip someone. Allow the patch to cure fully — at least 24 hours — before placing appliances back on the repaired area.
Step 5: Seal the Floor
After the patch has cured, apply a penetrating concrete floor sealer to the entire floor surface. This protects the repair and the surrounding concrete from water intrusion, detergent staining, and future cracking. Roll it on with a paint roller, work in sections, and apply a second coat after the first is dry (usually two to four hours). Let the sealer cure before replacing the appliances.
Step 6: Reduce Future Cracking
When you reinstall the washer and dryer, place anti-vibration pads under each appliance foot. These rubber or composite pads absorb the vibration cycle of the washer and significantly reduce the mechanical stress on the floor directly underneath the machines. They also help level the appliances and reduce noise, which is a bonus in any laundry room.
When to Call a Professional
If the crack in your laundry room floor is actively growing, shows vertical offset between sides, or is accompanied by wall cracks or sticking doors, the problem may be foundation movement. Surface patching will not solve a structural issue. Have a structural engineer or foundation specialist evaluate any crack that shows those warning signs before spending money on cosmetic repairs.
For stable cracks that simply need to be sealed and smoothed, this is a satisfying and cost-effective repair you can complete in a single afternoon.
- Clear and Clean the Area
Pull the appliances away from the wall enough to access the full floor area. Sweep and vacuum all debris from the crack. Use a wire brush to scrub out loose material, dust, and any old patching compound from inside the crack.
- Prepare the Crack
For concrete cracks narrower than 1/4 inch, cleaning and drying the crack is sufficient preparation. For wider cracks, use a cold chisel and hammer to widen the crack slightly into a V-shape or undercut the edges — this gives the filler more surface...
- Apply the Filler
Concrete cracks: Pour or inject self-leveling crack filler directly into the crack until it is slightly overfilled. The filler will self-level and settle slightly as it cures.
- Smooth and Feather the Patch
Once the filler is in place, use a margin trowel or putty knife to feather the edges so the patch blends with the surrounding floor. On concrete, the goal is a flush, smooth surface with no ridges that could catch a mop or trip someone.
- Seal the Floor
After the patch has cured, apply a penetrating concrete floor sealer to the entire floor surface. This protects the repair and the surrounding concrete from water intrusion, detergent staining, and future cracking.
- Reduce Future Cracking
When you reinstall the washer and dryer, place anti-vibration pads under each appliance foot. These rubber or composite pads absorb the vibration cycle of the washer and significantly reduce the mechanical stress on the floor directly underneath the...
Free: 10-Point Home Maintenance Checklist
Prevent costly repairs with this seasonal checklist. Save hundreds every year by catching problems early.
Your checklist is ready!
Open Checklist →Something went wrong. View the checklist here.