How to Fix a Cracked Grout in Kitchen Backsplash
Learn how to remove, regrout, and seal cracked backsplash grout lines to restore your kitchen tile and prevent moisture damage behind the wall.
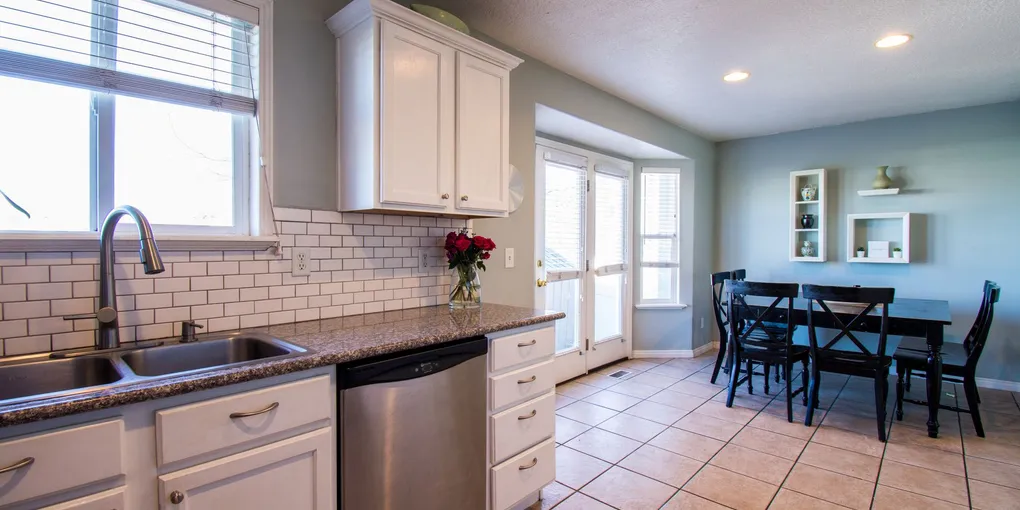
Cracked grout in a kitchen backsplash is more than a cosmetic problem. Open grout lines let moisture seep behind the tile, which can damage drywall and promote mold growth over time.
Cracked grout in a kitchen backsplash is more than a cosmetic problem. Open grout lines let moisture seep behind the tile, which can damage drywall and promote mold growth over time. The good news: regrouting a backsplash is a straightforward DIY repair that costs very little and takes only a few hours spread across two days.
What You Will Need
- Grout saw or oscillating tool with grout removal blade
- Unsanded or sanded grout (matched to your joint width)
- Grout float
- Sponge and two buckets of clean water
- Grout sealer
- Painter’s tape
- Safety glasses and dust mask
Step 1: Identify All the Cracked Lines
Before you start removing anything, run your finger along every grout line in the backsplash. Mark cracked, hollow, or crumbling sections with a small piece of painter’s tape. It is worth regrouting all damaged lines at once rather than patching in multiple sessions.
Step 2: Remove the Old Grout
This is the most labor-intensive part but it must be done thoroughly. Use a grout saw or oscillating multi-tool with a grout removal blade to scratch out the damaged grout to a depth of at least 1/8 inch. Work carefully along each joint to avoid chipping the tile edges.
Vacuum the dust from the joints, then wipe the area down with a damp cloth. The joints must be clean and free of dust before new grout is applied.
Step 3: Match Your Grout Color
Take a photo of your backsplash and bring a chip of the old grout (or the tile itself) to the hardware store to match the color. Grout color can shift slightly as it dries, so when in doubt, go one shade lighter — grout almost always dries darker than it appears wet.
Pick up unsanded grout for standard backsplash tiles with joints under 1/8 inch. For a near-impenetrable finish near the sink, epoxy grout is worth the extra effort — it resists stains and moisture far better than cement-based grout.
Step 4: Mix and Apply the Grout
Mix your grout according to package directions. The consistency should resemble smooth peanut butter — not runny, not crumbly. Let it slake (rest) for 5 to 10 minutes after mixing, then stir once more before use.
- Hold the grout float at a 45-degree angle to the tile surface.
- Press grout firmly into the joints using diagonal strokes. Work in 2- to 3-square-foot sections.
- Scrape off excess grout from the tile face with the float held nearly flat.
Step 5: Clean the Tile Face
Wait about 15 to 20 minutes after applying grout — you want it firm but not rock hard. Then wring out a damp sponge until it is barely moist and wipe the tile surface in wide circular motions. Rinse the sponge frequently in a bucket of clean water.
Change the rinse water at least once during cleaning. Dirty water smears grout residue back onto the tile and creates a cloudy haze. Do two or three passes, letting the tile dry slightly between each pass. Any remaining haze can be buffed off with a dry cloth after the grout has dried for an hour.
Step 6: Seal the Grout
After the grout has fully cured — at least 72 hours — apply a penetrating grout sealer. Use a small brush or applicator bottle to work the sealer into each joint. Wipe off any excess that lands on the tile face immediately. Let the sealer dry for the time specified on the label before exposing the backsplash to water or cooking splatter.
Preventing Future Cracks
- Use a backer board (cement board) behind tile in areas with any movement or moisture exposure rather than paper-faced drywall.
- Leave expansion joints at corners and where the backsplash meets countertops — fill those with matching caulk, not grout. Grout is rigid and will crack at any point where two surfaces can move independently.
- Reseal your grout annually in a working kitchen.
A properly regrouted backsplash looks fresh, stays watertight, and with good sealing should last many years before needing attention again.
- Identify All the Cracked Lines
Before you start removing anything, run your finger along every grout line in the backsplash. Mark cracked, hollow, or crumbling sections with a small piece of painter's tape.
- Remove the Old Grout
This is the most labor-intensive part but it must be done thoroughly. Use a grout saw or oscillating multi-tool with a grout removal blade to scratch out the damaged grout to a depth of at least 1/8 inch.
- Match Your Grout Color
Take a photo of your backsplash and bring a chip of the old grout (or the tile itself) to the hardware store to match the color.
- Mix and Apply the Grout
Mix your grout according to package directions. The consistency should resemble smooth peanut butter — not runny, not crumbly. Let it slake (rest) for 5 to 10 minutes after mixing, then stir once more before use.
- Clean the Tile Face
Wait about 15 to 20 minutes after applying grout — you want it firm but not rock hard. Then wring out a damp sponge until it is barely moist and wipe the tile surface in wide circular motions. Rinse the sponge frequently in a bucket of clean water.
- Seal the Grout
After the grout has fully cured — at least 72 hours — apply a penetrating grout sealer. Use a small brush or applicator bottle to work the sealer into each joint. Wipe off any excess that lands on the tile face immediately.
Free: 10-Point Home Maintenance Checklist
Prevent costly repairs with this seasonal checklist. Save hundreds every year by catching problems early.
Your checklist is ready!
Open Checklist →Something went wrong. View the checklist here.