How to Fix a Cracked or Crumbling Concrete Step
Cracked and spalling concrete steps are a safety hazard and get worse every winter — here's how to patch, resurface, and seal them yourself with the right materials.
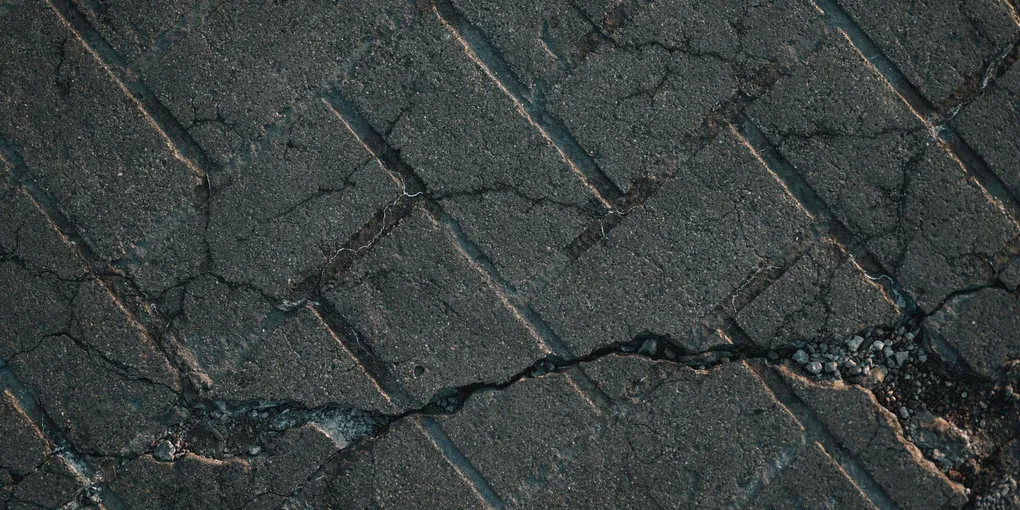
Cracked concrete steps don’t just look bad — they get worse every winter. Water enters the cracks, freezes, expands, and widens the damage.
Cracked concrete steps don’t just look bad — they get worse every winter. Water enters the cracks, freezes, expands, and widens the damage. What starts as a hairline crack becomes a spalling chunk, then a crumbling edge, then a trip hazard. The good news is that concrete repair is well within DIY range if you use the right materials and prepare the surface correctly.
This guide covers everything from small cracks to missing step edges, including when to use each type of repair product and how to get a patch that actually stays.
What You Need
The exact products depend on your repair type, but these cover the full range:
- Quikrete Vinyl Concrete Patcher — the best general-purpose product for cracks and holes 1/4 inch to 2 inches deep
- Hydraulic cement — for step edges and repairs where water is actively seeping, or for fast-setting structural fills
- Concrete bonding adhesive — applied to the prepared surface before patching to ensure adhesion; critical on smooth or older concrete
- Concrete crack filler (self-leveling) — for narrow hairline cracks on horizontal surfaces; flows into the crack and cures flexible
- Penetrating concrete sealer — the final step; prevents water re-entry and extends repair life significantly
- Cold chisel and hand sledge — for removing loose and spalling concrete before patching
Assess the Damage First
Before buying anything, categorize what you’re dealing with. Different damage types call for different repairs.
Hairline cracks (less than 1/8 inch wide): Surface cracks that don’t go all the way through the step. Use self-leveling crack filler or a flowable polyurethane caulk rated for concrete. These don’t need full surface prep — just clean and dry the crack.
Wide cracks and small holes (1/8 inch to 2 inches deep): The most common step damage. Vinyl concrete patcher is the right product. Surface preparation is essential.
Missing step edge or corner (up to 4 inches of material missing): Requires forming the edge with a wood form board held in place while the patch sets. Vinyl concrete patcher or hydraulic cement both work here.
Widespread spalling across the entire step surface: If the surface is flaking across the full tread, the concrete is deteriorating structurally. A skim coat of concrete resurfacer over the whole step surface is the right approach.
Settled or sunken step: If the entire step has dropped or tilted, the substrate has moved. Surface patching alone won’t fix this — the step needs to be raised (mudjacking or foam leveling) or rebuilt. Surface patches on a settling step will crack again within a year.
Step 1: Remove All Loose Material
This is the most important part of any concrete repair. Skip it and your patch will fail.
Using a cold chisel and a 3-pound hand sledge (or a rotary hammer with a chisel bit for larger areas), chip away all loose, soft, or delaminated concrete. Tap gently across the repair area — solid concrete produces a sharp ring; hollow or loose concrete produces a dull thud. Remove everything that sounds dull.
The goal is to reach sound, solid concrete on all sides of the repair. The cavity should have vertical or undercut walls (angled so the interior is slightly wider than the surface opening). This creates a mechanical lock for the patch material. Avoid feathering the edges — a thin, tapered patch edge has no strength and will break off.
For cracks, use the chisel to widen the crack to at least 1/4 inch and undercut the sides. A V-shaped cut, wider at the top, provides no mechanical lock. A U-shaped or undercut cut holds the patch in.
After chiseling, use a wire brush to scrub the repair area aggressively. Remove all dust, debris, and laitance (the weak surface layer of old concrete). Blow or vacuum out all loose particles.
Step 2: Prepare the Surface for Bonding
Patch materials bond to existing concrete mechanically and chemically — but only if the surface is in the right condition.
Dampen the repair area. Concrete that is too dry will absorb water from the patch mix too fast, weakening the patch. Mist the repair area with water about 15–30 minutes before patching. The surface should be damp but not have standing water — what concrete workers call “saturated surface dry” (SSD).
Apply bonding adhesive if needed. On smooth or old concrete, or when patching vertical surfaces, apply a concrete bonding adhesive (also called bonding primer) to the repair area and let it become tacky before applying the patch — typically 30–60 minutes. Bonding adhesive dramatically increases patch adhesion and is cheap insurance against patch failure.
For vinyl concrete patcher: you can also use a slurry of the patcher material mixed with water to a paint-like consistency. Brush this into the repair area and apply the patch while the slurry is still wet.
Step 3: Mix and Apply the Patch
Mixing vinyl concrete patcher: Follow the package ratio (typically about 3 parts powder to 1 part water by volume, or to a stiff mortar consistency). Mix only what you can use in 20–30 minutes — the pot life is limited and the mix gets harder to work as it sets. The correct consistency holds its shape when pressed together but is not dry or crumbly.
Filling cracks and holes: Pack the mixed patcher firmly into the repair area, working it into all crevices. Press hard — air voids beneath the surface of the patch are a common failure point. Overfill the cavity slightly (crown the patch above the surrounding surface by about 1/8 inch).
Finishing the surface: Allow the patch to stiffen slightly (10–20 minutes depending on temperature), then use a trowel or float to smooth it flush with the surrounding surface. A wood float gives a slightly textured finish that matches most original concrete; a steel trowel gives a smoother finish. For step treads, a broom finish (drag a stiff brush across the surface while still plastic) adds slip resistance.
Do not overwork the surface. Excessive troweling draws water to the surface and weakens the patch skin.
Step 4: Rebuild a Broken Step Edge
Missing step edges and corners require forming the shape before patching, because there’s no existing concrete on one side to contain the patch material.
Cut and position a form board. Cut a piece of 2x4 or 1x4 lumber to the width of the step. Hold it against the face of the step, flush with the bottom of the tread surface, to recreate the edge profile. Secure it with a brick or heavy object on the ground pressing against the form, or use clamps if geometry allows. The form face should be wetted or sprayed with cooking oil so the cured concrete doesn’t bond to it.
Fill and compact. Apply bonding adhesive to the exposed concrete edges around the damaged area. Pack in the patch material firmly, working out air pockets. Overfill slightly. Smooth the tread surface flush.
Allow to set before removing the form. For vinyl concrete patcher, the form can typically be removed after 2–4 hours. For hydraulic cement, 30–60 minutes. Once the form is off, wet-cure the edge: dampen a cloth, lay it over the repair, and keep it moist for 24 hours. This slows the cure and produces a stronger patch.
Step 5: Resurface Widely Spalled Steps
If the entire tread surface is spalling rather than having isolated cracks or holes, a full resurfacing is more practical than patching spot by spot.
Clean the entire step surface aggressively — pressure wash, wire brush, and remove all loose material. Apply a bonding adhesive or damp-cure the surface.
Mix concrete resurfacer to a pourable but not runny consistency. Pour it onto the step surface and spread with a squeegee or trowel to a thickness of 1/8 to 1/4 inch. Feather the edges to blend with adjacent surfaces. Apply a broom finish for traction.
Resurfacer is thin and sensitive to drying conditions. Work in shade or on overcast days. Temperatures between 50°F and 90°F are ideal. Mist the surface lightly if it begins to dry too fast (surface checks or crazing indicate this).
One application of resurfacer won’t fix deep pitting or holes — fill those with vinyl patcher first, let cure, then resurface over the full step.
Step 6: Seal the Repaired Surface
Sealing is not optional if you want the repair to last.
Allow the patch to cure fully before sealing. Vinyl concrete patcher achieves full cure in approximately 28 days; fast-setting hydraulic cement reaches functional cure in 24 hours but benefits from waiting longer before sealing.
Apply a penetrating silane-siloxane sealer with a brush, roller, or pump sprayer. These sealers soak into the concrete pores and polymerize, blocking water entry without forming a surface film that can peel. Apply until the surface is uniformly wet, allow to penetrate for 5–10 minutes, and wipe off any standing sealer with a cloth (puddles left to dry can leave a slippery residue).
Reapply every 2–3 years. The test: pour a small amount of water on the step surface. If it beads up, the sealer is still active. If it soaks in immediately, it’s time to reseal.
Preventing Future Damage
Once the repair is done, a few habits extend the life of your concrete steps significantly.
Switch deicing products. Rock salt (sodium chloride) is the most damaging deicer for concrete — it accelerates freeze-thaw cycling and corrodes rebar. Use sand for traction instead, or switch to calcium magnesium acetate (CMA) or urea-based deicers. These are safer for concrete and surrounding vegetation.
Clear snow promptly. Snow left on steps melts and refreezes repeatedly. The faster you clear it, the fewer freeze-thaw cycles the step experiences.
Redirect downspout runoff. If a downspout discharges near your steps, water saturates the substrate and accelerates settling and freeze damage. Extend the downspout to direct water at least 6 feet away from the steps.
Reapply sealer on a schedule. Mark your calendar every 2–3 years for a sealer reapplication. It takes 30 minutes and adds years to the life of the repair.
When to Replace Rather Than Patch
Patching makes sense when the substrate is sound and the damage is localized. Replace the step when:
- The entire step has settled, cracked structurally, or tilted — surface patches on a moving substrate will crack again
- More than half the step surface is spalling at full depth (not just surface flaking)
- Rebar is exposed and visibly rusting — rebar corrosion expands and will continue to break apart the surrounding concrete
- The step is a trip hazard that can’t be corrected by patching — vertical lip greater than 1/2 inch between tread and adjacent surface
For a single precast concrete step, replacement is often cheaper than extensive repair — precast steps are available at home centers for $30–$80 depending on size. For poured-in-place steps or brick or stone step systems, a mason’s assessment is worth the time before committing to repair or replacement.
Related Reading
- How to Fix a Cracked Concrete Driveway
- How to Fix a Cracked Concrete Sidewalk
- How to Power Wash a Concrete Driveway
- Remove All Loose Material
This is the most important part of any concrete repair. Skip it and your patch will fail.
- Prepare the Surface for Bonding
Patch materials bond to existing concrete mechanically and chemically — but only if the surface is in the right condition.
- Mix and Apply the Patch
Mixing vinyl concrete patcher: Follow the package ratio (typically about 3 parts powder to 1 part water by volume, or to a stiff mortar consistency).
- Rebuild a Broken Step Edge
Missing step edges and corners require forming the shape before patching, because there's no existing concrete on one side to contain the patch material.
- Resurface Widely Spalled Steps
If the entire tread surface is spalling rather than having isolated cracks or holes, a full resurfacing is more practical than patching spot by spot.
- Seal the Repaired Surface
Sealing is not optional if you want the repair to last.
Free: 10-Point Home Maintenance Checklist
Prevent costly repairs with this seasonal checklist. Save hundreds every year by catching problems early.
Your checklist is ready!
Open Checklist →Something went wrong. View the checklist here.