How to Fix a Cracked Concrete Step Edge
Repair a chipped or cracked concrete step nosing yourself using vinyl concrete patcher to restore a safe, solid edge before cracks spread further.
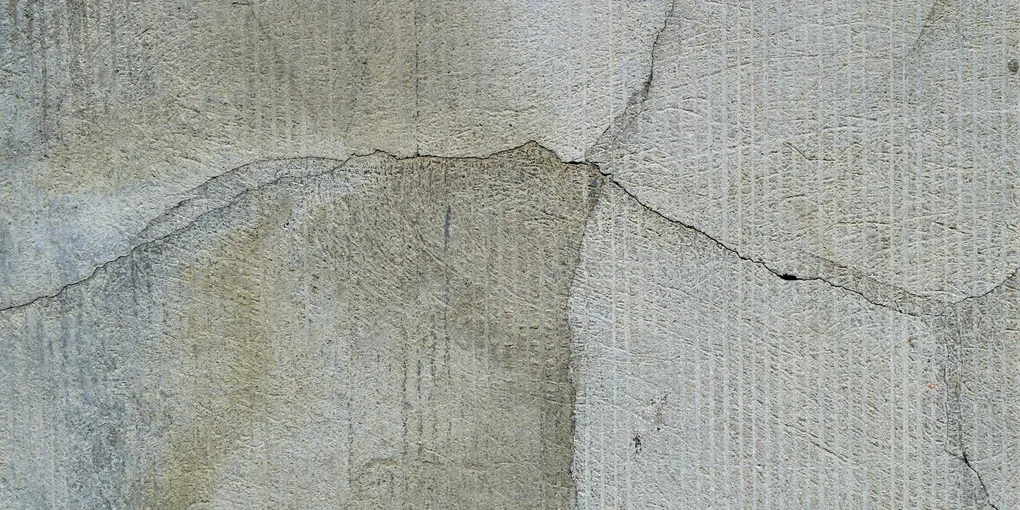
A cracked or chipped concrete step edge is more than an eyesore — it is a trip hazard and a structural problem that worsens with every freeze-thaw cycle. Left alone, a small nosing crack can spread across the entire tread within a season or two.
A cracked or chipped concrete step edge is more than an eyesore — it is a trip hazard and a structural problem that worsens with every freeze-thaw cycle. Left alone, a small nosing crack can spread across the entire tread within a season or two. Repairing it early with the right patching compound is a simple weekend project that restores both safety and curb appeal.
Tools and Materials You Will Need
- Vinyl or polymer-modified concrete patcher
- Cold chisel and hammer (or angle grinder with masonry disc)
- Wire brush and stiff broom
- Pressure washer or garden hose with spray nozzle
- Scrap lumber or foam board for forming
- Duct tape or clamps
- Masonry trowel and margin trowel
- Concrete bonding adhesive
- Concrete sealer
A vinyl concrete patcher is the go-to product for step edge repairs — it bonds tightly to old concrete and flexes slightly without cracking. Pick up a concrete bonding adhesive as well to prime the repair area and dramatically improve patch adhesion.
Step 1: Clean and Assess the Damage
Sweep the step free of dirt and debris. Use a pressure washer or strong spray from a garden hose to wash away loose particles, moss, and grime. Allow the surface to dry completely — at least 24 hours in warm weather. If the crack has loose or flaking edges, those sections must be removed entirely or the patch will fail at the boundary.
Step 2: Undercut the Damaged Edge
This is the most important prep step. Using a cold chisel and hammer, chip away all loose concrete from the cracked nosing. Angle the chisel slightly inward so you create an undercut — a profile that is slightly wider at the bottom than at the surface. This mechanical lock prevents the patch from popping off the edge. Remove material until you reach solid concrete that does not flake under light hammer taps.
Brush out all dust and chips with a wire brush, then rinse again and let dry.
Step 3: Build Your Form
Cut a scrap piece of lumber or rigid foam board to the width of the step and hold it vertically at the front of the tread, flush with the original step face. Tape it firmly in place with duct tape on both sides, or clamp it to the step riser if the geometry allows. This form prevents the wet patch from slumping forward while it sets.
Step 4: Apply Bonding Adhesive
Brush a liberal coat of concrete bonding adhesive onto all surfaces that will contact the patch — the chiseled nosing area, the tread surface, and the riser face. Let the adhesive become tacky (usually 20 to 30 minutes) before applying the patch. Skipping this step is the single most common reason DIY concrete patches fail prematurely.
Step 5: Mix and Apply the Patch
Mix the vinyl concrete patcher according to label directions. It should reach a stiff, mortar-like consistency — wet enough to press into the repair, firm enough to hold its shape. Pack the mixture firmly into the damaged area, pressing it into every corner of the undercut. Use a margin trowel to build up the patch in layers no more than half an inch thick if the repair is deep. Work the patch up to the original step profile.
Once the patch fills the area, use the flat of your trowel to smooth the tread surface level and shape the nosing edge to match the existing step profile.
Step 6: Cure and Seal
Keep the patch moist for the first 24 hours by misting it lightly or covering it with damp burlap — this prevents surface cracking during the curing process. Remove the form after 4 to 6 hours. Once the patch has cured for at least 28 days, apply a penetrating concrete sealer to the entire step surface. The sealer blocks water infiltration and is the best insurance against the freeze-thaw damage that caused the crack in the first place.
Prevention Going Forward
Seal your concrete steps every two to three years, especially in climates with hard winters. Avoid using rock salt as a de-icer — it aggressively attacks concrete surfaces. Sand or calcium magnesium acetate are safer alternatives.
- Clean and Assess the Damage
Sweep the step free of dirt and debris. Use a pressure washer or strong spray from a garden hose to wash away loose particles, moss, and grime. Allow the surface to dry completely — at least 24 hours in warm weather.
- Undercut the Damaged Edge
This is the most important prep step. Using a cold chisel and hammer, chip away all loose concrete from the cracked nosing.
- Build Your Form
Cut a scrap piece of lumber or rigid foam board to the width of the step and hold it vertically at the front of the tread, flush with the original step face.
- Apply Bonding Adhesive
Brush a liberal coat of concrete bonding adhesive onto all surfaces that will contact the patch — the chiseled nosing area, the tread surface, and the riser face. Let the adhesive become tacky (usually 20 to 30 minutes) before applying the patch.
- Mix and Apply the Patch
Mix the vinyl concrete patcher according to label directions. It should reach a stiff, mortar-like consistency — wet enough to press into the repair, firm enough to hold its shape.
- Cure and Seal
Keep the patch moist for the first 24 hours by misting it lightly or covering it with damp burlap — this prevents surface cracking during the curing process. Remove the form after 4 to 6 hours.
Free: 10-Point Home Maintenance Checklist
Prevent costly repairs with this seasonal checklist. Save hundreds every year by catching problems early.
Your checklist is ready!
Open Checklist →Something went wrong. View the checklist here.