How to Fix a Cracked Ceiling Plaster
Learn how to assess, stabilize, and patch cracked plaster ceilings using the right materials and techniques for a smooth, lasting repair.
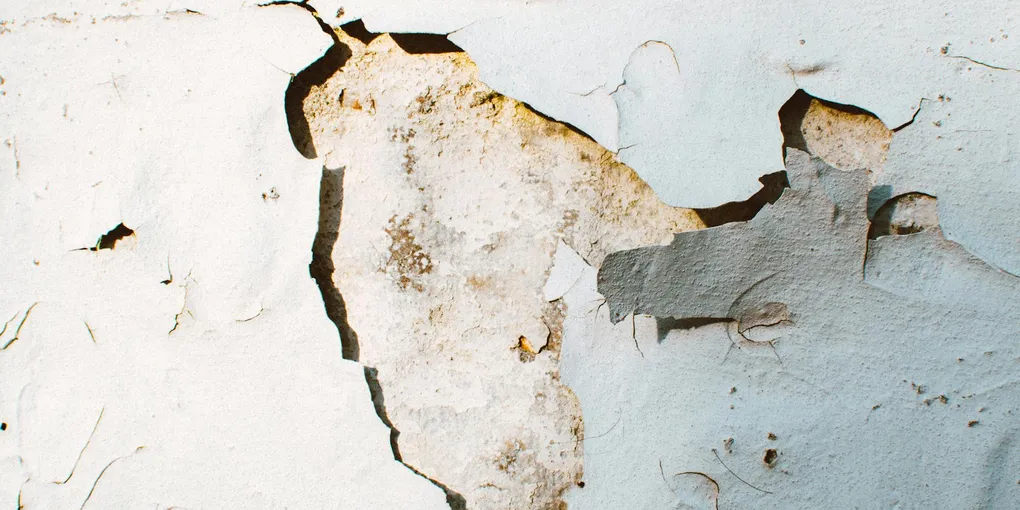
Plaster ceilings were the standard in homes built before the 1960s, and they are remarkably durable — but cracks are inevitable as the house settles and seasonal humidity cycles expand and contract the substrate.
Plaster ceilings were the standard in homes built before the 1960s, and they are remarkably durable — but cracks are inevitable as the house settles and seasonal humidity cycles expand and contract the substrate. Most ceiling plaster cracks are purely cosmetic and straightforward to repair with patience and the right materials.
Assess the Crack First
Before mixing any compound, determine what you are dealing with:
- Hairline cracks (under 1/16 inch): Surface shrinkage, safe to fill and paint.
- Wider cracks (1/16 to 1/4 inch): Usually settling, repaired with mesh tape and compound.
- Cracks with soft or sagging plaster nearby: The plaster keys (anchors) behind the wall may have broken loose. Press gently on the area — if it moves or feels spongy, the plaster section may need to be cut out and replaced.
If you find active sagging, do not attempt to push the plaster back up. Remove the loose section and patch it with a plaster repair product or new drywall.
Tools and Materials
- Putty knife (3-inch and 6-inch)
- Fiberglass mesh self-adhesive tape
- All-purpose or setting-type joint compound
- Plaster washers and screws (for securing loose sections)
- Fine-grit sanding sponge (120 grit)
- PVA primer or drywall primer
- Paint to match ceiling
A bag of Durabond 90 setting-type compound is ideal for the base coat on deep cracks because it hardens chemically and will not shrink or re-crack. For finish coats, a ready-mixed lightweight joint compound sands easily to a smooth surface.
Step 1: Stabilize Loose Plaster
If any plaster around the crack feels loose but is not yet falling, drive plaster washers through it into the wood lath behind. Space washers every 4 to 6 inches on either side of the crack. This re-anchors the plaster and prevents further movement. Countersink the washer heads slightly so they sit flush.
Step 2: Clean Out the Crack
Use a putty knife or can opener to widen the crack slightly into a V-shape. This gives the compound something to grip. Brush out loose debris and dust the area with a damp cloth. Let it dry completely before proceeding.
Step 3: Apply Fiberglass Mesh Tape
Press self-adhesive fiberglass mesh tape over the entire length of the crack. The mesh bridges the gap and dramatically reduces the chance of the crack telegraphing back through the finished patch. For cracks wider than 1/4 inch, apply a thin base coat of setting compound first, let it firm up, then embed the tape.
Step 4: Apply the First Compound Coat
Mix setting compound to a peanut butter consistency and apply a thin coat over the tape with your 6-inch knife, pressing firmly to fill the mesh. Feather the edges 2 to 3 inches out from the tape. Let this coat harden fully.
Step 5: Apply Finish Coats
Apply two to three thin coats of lightweight joint compound, feathering each coat progressively wider (4 to 6 inches, then 8 inches). Thin each coat with a splash of water for easier spreading. Allow 24 hours of drying between coats.
Step 6: Sand Smooth
Once the final coat is completely dry, sand with a 120-grit sanding sponge using light circular strokes. Wipe down with a barely damp cloth to remove dust. Hold a work light at a low angle to spot any ridges or low spots — add a skim coat if needed.
Step 7: Prime and Paint
Apply one coat of PVA primer over the patched area and let it dry. Then paint the entire ceiling rather than just the patch to avoid visible sheen differences. Two coats of flat ceiling paint will blend the repair seamlessly.
A drywall sanding pole kit makes overhead sanding far more comfortable and gives you better control than hand-sanding alone.
Tips for a Lasting Repair
Control humidity in the room where possible. Plaster cracks often recur in rooms with extreme seasonal swings. A dehumidifier in summer and a humidifier in winter helps keep the structure stable and extends the life of your repair.
With the right prep and a little patience between coats, a cracked plaster ceiling can look factory-smooth again — no contractor required.
- Stabilize Loose Plaster
If any plaster around the crack feels loose but is not yet falling, drive plaster washers through it into the wood lath behind. Space washers every 4 to 6 inches on either side of the crack. This re-anchors the plaster and prevents further movement.
- Clean Out the Crack
Use a putty knife or can opener to widen the crack slightly into a V-shape. This gives the compound something to grip. Brush out loose debris and dust the area with a damp cloth. Let it dry completely before proceeding.
- Apply Fiberglass Mesh Tape
Press self-adhesive fiberglass mesh tape over the entire length of the crack. The mesh bridges the gap and dramatically reduces the chance of the crack telegraphing back through the finished patch.
- Apply the First Compound Coat
Mix setting compound to a peanut butter consistency and apply a thin coat over the tape with your 6-inch knife, pressing firmly to fill the mesh. Feather the edges 2 to 3 inches out from the tape. Let this coat harden fully.
- Apply Finish Coats
Apply two to three thin coats of lightweight joint compound, feathering each coat progressively wider (4 to 6 inches, then 8 inches). Thin each coat with a splash of water for easier spreading. Allow 24 hours of drying between coats.
- Sand Smooth
Once the final coat is completely dry, sand with a 120-grit sanding sponge using light circular strokes. Wipe down with a barely damp cloth to remove dust. Hold a work light at a low angle to spot any ridges or low spots — add a skim coat if needed.
Free: 10-Point Home Maintenance Checklist
Prevent costly repairs with this seasonal checklist. Save hundreds every year by catching problems early.
Your checklist is ready!
Open Checklist →Something went wrong. View the checklist here.