How to Fix a Cracked Basement Pipe Wrap
Learn how to repair or replace cracked pipe insulation in your basement to prevent freezing, condensation, and energy loss.
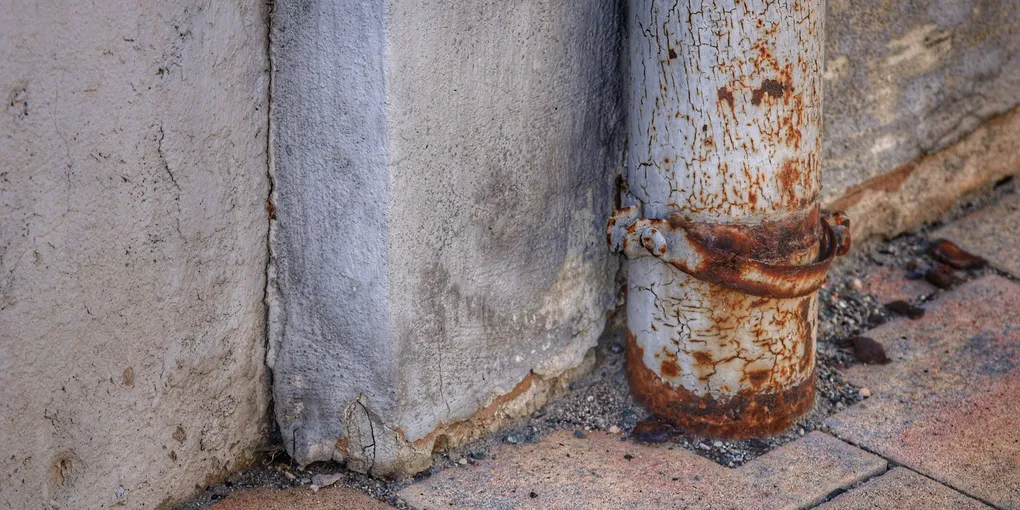
Pipe insulation in the basement does two important jobs: it keeps cold-water pipes from freezing in winter and prevents hot-water pipes from losing heat on the way to your faucets. When the foam cracks or splits, both protections disappear.
Pipe insulation in the basement does two important jobs: it keeps cold-water pipes from freezing in winter and prevents hot-water pipes from losing heat on the way to your faucets. When the foam cracks or splits, both protections disappear. Replacing damaged pipe wrap is one of the easiest and most cost-effective home maintenance tasks you can do, taking less than an hour for most basements.
Why Pipe Insulation Fails
Foam pipe insulation is made from polyethylene or neoprene, and it breaks down gradually. Common culprits include age, contact with chemicals, repeated bumping from stored items, and heat cycling near furnaces or water heaters. Once the slit that runs the length of the tube loses its grip, the tube falls open and the pipe is exposed.
Tools and Materials You Will Need
- Measuring tape
- Utility knife or scissors
- Replacement foam pipe insulation tubes (match the pipe diameter)
- Foil-faced HVAC tape
- Work gloves
- Marker
Foam pipe insulation is inexpensive and sold in 6-foot sections at any hardware store. The Frost King Self-Sealing Pipe Insulation comes with a peel-and-stick slit that stays closed without extra tape, which makes installation faster. For larger basement projects or a full pipe run, the Thermwell Foam Pipe Insulation Bundle gives you multiple sizes at a better per-foot cost.
Step 1: Assess the Damage
Walk the length of every exposed pipe in your basement with a flashlight. Note every section of insulation that is cracked, split open, compressed flat, or missing entirely. Use a marker to mark the start and end of each damaged section. Measure the total linear footage so you know how much replacement material to buy.
Also note the diameter of each pipe. Standard residential supply lines are 1/2-inch or 3/4-inch copper or PVC. Drain pipes are typically 1-1/2 inch or 2 inch. Insulation tubes are labeled by the pipe size they fit, so matching is simple once you know your pipe diameter.
Step 2: Remove the Old Insulation
Peel away the damaged sections. If the old foam is held with tape, cut the tape with your utility knife before pulling. Remove any adhesive residue from the pipe with your fingers or a rag — the pipe surface does not need to be spotless, but removing clumps of old tape adhesive helps the new insulation sit flat.
Step 3: Cut the New Insulation
Measure each pipe segment between fittings, valves, and elbows. Cut straight sections to length with scissors or a utility knife. For 90-degree elbows, cut two 45-degree mitered pieces and join them at the bend. A simple way to make the miter cut: hold the insulation against the elbow, mark the center of the bend, and cut at 45 degrees from that mark on each piece.
For T-fittings, cut a notch in one piece to fit around the branch line and wrap the branch separately, butting the ends tightly together at the junction.
Step 4: Install the New Insulation
Open the slit along the length of the insulation and press the tube over the pipe, snapping it closed. On self-sealing foam, peel the adhesive strip and press the slit firmly closed along its full length. On standard foam without adhesive, wrap the slit with foil HVAC tape in 6-inch strips every foot, then tape all end-to-end joints between sections.
At elbows and T-fittings, tape the mitered joints tightly so no bare pipe is visible. A small gap at a bend is enough to allow freezing air to reach the pipe on the coldest nights.
Step 5: Seal Penetrations and Gaps
Check where pipes pass through the rim joist — the horizontal framing member at the top of the foundation wall. Cold air infiltrates heavily through these gaps. Use expanding foam sealant to fill any gaps around pipe penetrations at the rim joist, then cover with pipe insulation right up to the wall.
Step 6: Inspect Your Work
Walk the pipe run one more time and look for any sections of bare pipe, loose tape, or open slits. Press all seams firmly. On pipes in unheated spaces near exterior walls, add a second layer of insulation for extra protection if temperatures in your area regularly drop below 10 degrees Fahrenheit.
When to Call a Plumber
Pipe wrap repairs are purely cosmetic and insulating — they do not involve the plumbing system itself. However, while you are inspecting your pipes, watch for corrosion, pinhole leaks, or joints that look wet. Those issues require a licensed plumber and should not be ignored.
Fresh pipe insulation takes under an hour to install and can prevent a frozen pipe burst that costs thousands in water damage repairs. It is one of the best returns on time you will find in home maintenance.
- Assess the Damage
Walk the length of every exposed pipe in your basement with a flashlight. Note every section of insulation that is cracked, split open, compressed flat, or missing entirely. Use a marker to mark the start and end of each damaged section.
- Remove the Old Insulation
Peel away the damaged sections. If the old foam is held with tape, cut the tape with your utility knife before pulling.
- Cut the New Insulation
Measure each pipe segment between fittings, valves, and elbows. Cut straight sections to length with scissors or a utility knife. For 90-degree elbows, cut two 45-degree mitered pieces and join them at the bend.
- Install the New Insulation
Open the slit along the length of the insulation and press the tube over the pipe, snapping it closed. On self-sealing foam, peel the adhesive strip and press the slit firmly closed along its full length.
- Seal Penetrations and Gaps
Check where pipes pass through the rim joist — the horizontal framing member at the top of the foundation wall. Cold air infiltrates heavily through these gaps.
- Inspect Your Work
Walk the pipe run one more time and look for any sections of bare pipe, loose tape, or open slits. Press all seams firmly.
Free: 10-Point Home Maintenance Checklist
Prevent costly repairs with this seasonal checklist. Save hundreds every year by catching problems early.
Your checklist is ready!
Open Checklist →Something went wrong. View the checklist here.