How to Fix a Corroded Copper Pipe
Learn how to identify copper pipe corrosion, cut out the damaged section, and repair it with a push-fit fitting or sweat solder without calling a plumber.
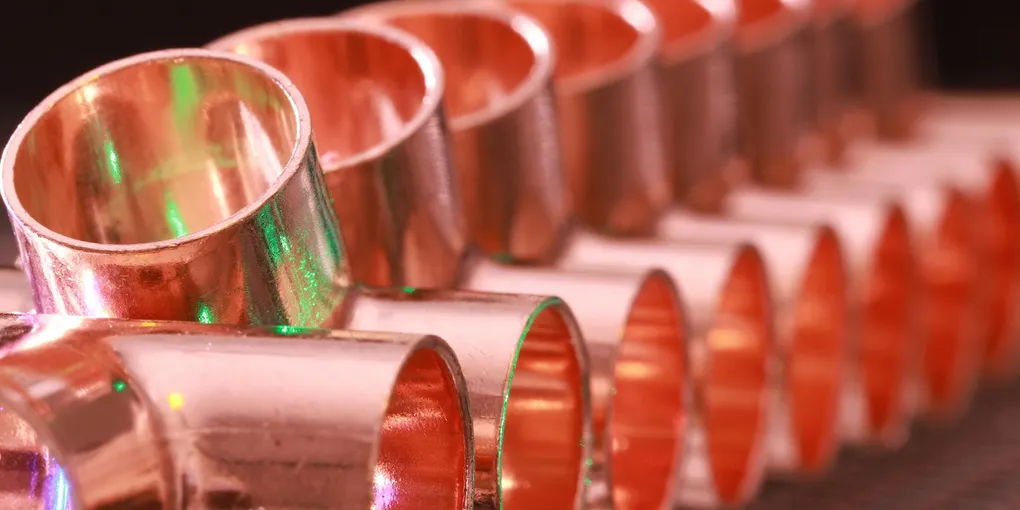
Corroded copper pipe is a plumbing problem that ranges from a minor annoyance — a small patch of blue-green staining on the outside of a fitting — to a serious structural failure where pinhole leaks are forming in multiple locations throughout the house.
Corroded copper pipe is a plumbing problem that ranges from a minor annoyance — a small patch of blue-green staining on the outside of a fitting — to a serious structural failure where pinhole leaks are forming in multiple locations throughout the house. Knowing how to spot the difference, understand the cause, and make the repair yourself saves you both money and the water damage that follows from ignored corrosion.
This guide covers diagnosing copper pipe corrosion, choosing between push-fit and sweat solder repairs, and making the repair correctly so it holds for decades.
Understanding Copper Pipe Corrosion
Copper is naturally corrosion-resistant but not immune. Two main types of corrosion affect residential copper plumbing:
External corrosion: Blue-green verdigris staining on the outside of pipes and fittings. This is largely cosmetic and does not indicate pipe failure. It forms when copper reacts with air, moisture, and mild acids in building materials. Wipe it off with a damp cloth. No repair needed unless the staining is accompanied by moisture, which indicates a slow leak at the fitting.
Internal pitting corrosion (Type I, II, and III): This is the serious form. Aggressive water chemistry attacks the pipe wall from the inside, creating pits that eventually penetrate all the way through and create pinhole leaks. Type I pitting is associated with cold, hard water with high sulfate content. Type II occurs in hot water systems with soft, slightly acidic water. Type III (copper corrosion) produces blue water and is linked to aggressive flux residue or contaminated water.
Pinhole leaks from internal corrosion are identifiable by the characteristic white or light blue mineral crust that forms at the leak point as mineral-laden water seeps out and evaporates.
What You Need
- SharkBite Push-Fit Copper Slip Coupling — a slip coupling that slides completely onto the pipe for cutting out a damaged section without needing to cut at fitting locations
- SharkBite Push-Fit Straight Coupling — for joining two sections of pipe when adequate pipe movement is available to insert both ends
- Ridgid 2-inch Copper Pipe Cutter — a clean, square cut is essential for push-fit fittings; a pipe cutter produces a better edge than a hacksaw
- Oatey Pipe Deburring Tool — removes the sharp internal burr left by a pipe cutter that prevents push-fit fittings from seating fully
- SharkBite Disconnect Tongs — allows removal and reinstallation of push-fit fittings if you need to reposition a repair
- Oatey Safe-Flo Silver Lead-Free Solder — for sweat solder repairs; lead-free formulation required by code for potable water systems in the US
Step 1 — Shut Off Water and Locate the Damage
Shut off water at the closest isolation valve upstream of the corroded section. If no isolation valve exists, shut off the main water supply. Open a faucet downstream of the repair to relieve pressure and drain residual water from the pipe.
Dry the outside of the pipe with a clean cloth and examine the corroded area closely. Look for:
- Active pinhole drips or wet spots
- White or blue mineral crust indicating leak points
- Visible pitting on the pipe exterior (rare — pitting usually starts from the inside)
- Green verdigris concentrated at a specific spot rather than spread evenly along the pipe length
Mark all leak points with a marker before cutting. If you find multiple pinhole leaks within a short run of pipe, plan to remove and replace the entire section rather than making multiple spot repairs.
Step 2 — Cut Out the Corroded Section
Using a pipe cutter, score and rotate around the pipe at a point at least 1 inch beyond the visible damage on each side. Tighten the pipe cutter one quarter turn per revolution as you rotate it around the pipe. The cutter wheel will progressively score deeper until it cuts through the copper wall. This takes 3 to 5 full rotations for most residential copper.
After cutting, use the reaming blade on the pipe cutter (or a separate deburring tool) to remove the internal burr from each cut end. Run the reamer inside the cut end and rotate until the interior feels smooth. This step is critical for push-fit fittings — a burr catches the O-ring seal and causes leaks.
Wipe the cut pipe ends with a clean dry cloth. The ends must be clean and dry for both push-fit and solder repairs.
Step 3A — Repair with Push-Fit Fittings (No Torch Method)
Push-fit fittings are the fastest and most beginner-friendly repair method. SharkBite-style fittings include a stainless steel grab ring and O-ring that create a watertight, mechanically locked joint on copper, CPVC, and PEX pipe.
For a single leak point: Use a slip coupling. A slip coupling has no internal stop, so it can be slid fully onto one pipe end, then repositioned to straddle the joint. Slide it completely onto one pipe end first, insert the other pipe end into the fitting, then slide the coupling back to center over the joint. Both ends lock automatically when pushed in about 1 inch past the fitting face.
For a removed section: Use two straight couplings and a piece of new copper pipe cut to fit the gap. Push one coupling onto each existing pipe end, insert the new section, and push the couplings over the joints.
Push both fittings firmly until they stop — you will feel them click as the grab ring engages. Pull on the pipe to verify it is locked.
Step 3B — Repair with Sweat Solder (Traditional Method)
Sweat soldering produces the most durable joint and is the professional standard for copper pipe. It requires a torch, flux, and solder but is achievable for a DIYer comfortable with open-flame work.
- Prepare the pipe ends by polishing the outside of each pipe end with emery cloth and the inside of each fitting with a fitting brush. The copper must shine bright — any oxidation or contamination causes a cold joint.
- Apply lead-free plumbing flux to the outside of each pipe end and the inside of each fitting socket. Use a flux brush and coat evenly.
- Assemble the fitting onto the pipe. Rotate slightly to distribute the flux.
- Heat the joint with a propane or MAPP torch, moving the flame around the circumference of the fitting. Heat the fitting body, not the pipe directly. Touch the solder wire to the joint — when the copper is hot enough, the solder will melt and wick into the joint by capillary action. You will see it flow all the way around the joint.
- Remove heat and allow the joint to cool undisturbed for 60 seconds before touching.
- Wipe the joint with a damp cloth to remove flux residue — flux left inside the joint accelerates corrosion over time.
Step 4 — Restore Water and Test
Open the isolation valve or main supply slowly. Watch the repaired fittings for 60 seconds. Dry each fitting completely with a cloth and wait 5 minutes, then re-examine for any seeping moisture.
For push-fit fittings: if either end drips, the pipe may not have been pushed in far enough, or the burr was not fully removed. Shut off water, disconnect the fitting using the disconnect tongs, re-examine the pipe end, and reconnect.
For sweat solder: if a joint drips, you likely have a cold solder joint with incomplete fill. Shut off water, drain the pipe, heat the joint to liquefy the existing solder, add additional flux and solder, and allow it to wick into the unfilled area.
Addressing the Root Cause
Fixing the pipe section stops the immediate leak, but if water chemistry is the underlying cause, new pinhole leaks will develop in other sections over time. Address aggressive water chemistry with:
- A whole-house pH neutralizer (calcite filter) if your water is acidic (pH below 7)
- A whole-house sediment filter if particulate in the water is causing erosion corrosion
- A phosphate feeder that coats pipe walls with a thin protective layer
Have your water tested by a certified lab for pH, hardness, dissolved oxygen, and chloramines if you are seeing widespread corrosion. A $50 water test can save thousands in repeated plumbing repairs.
- Step 1 — Shut Off Water and Locate the Damage
Shut off water at the closest isolation valve upstream of the corroded section. If no isolation valve exists, shut off the main water supply. Open a faucet downstream of the repair to relieve pressure and drain residual water from the pipe.
- Step 2 — Cut Out the Corroded Section
Using a pipe cutter, score and rotate around the pipe at a point at least 1 inch beyond the visible damage on each side. Tighten the pipe cutter one quarter turn per revolution as you rotate it around the pipe.
- Step 3A — Repair with Push-Fit Fittings (No Torch Method)
Push-fit fittings are the fastest and most beginner-friendly repair method. SharkBite-style fittings include a stainless steel grab ring and O-ring that create a watertight, mechanically locked joint on copper, CPVC, and PEX pipe.
- Step 3B — Repair with Sweat Solder (Traditional Method)
Sweat soldering produces the most durable joint and is the professional standard for copper pipe. It requires a torch, flux, and solder but is achievable for a DIYer comfortable with open-flame work.
- Step 4 — Restore Water and Test
Open the isolation valve or main supply slowly. Watch the repaired fittings for 60 seconds. Dry each fitting completely with a cloth and wait 5 minutes, then re-examine for any seeping moisture.
Free: 10-Point Home Maintenance Checklist
Prevent costly repairs with this seasonal checklist. Save hundreds every year by catching problems early.
Your checklist is ready!
Open Checklist →Something went wrong. View the checklist here.