How to Fix a Clogged AC Condensate Drain
Clear a clogged air conditioner condensate drain line yourself to stop water leaks, prevent mold, and keep your AC running efficiently all summer.
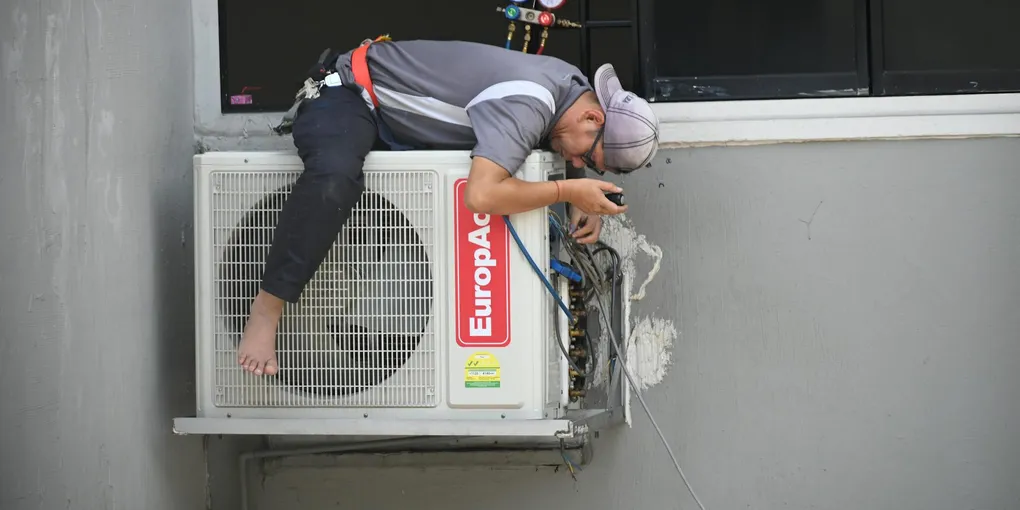
A clogged AC condensate drain is one of the most common — and most preventable — air conditioner problems homeowners face. When algae, bacteria, and debris block the drain line, water backs up into the drain pan and eventually overflows, causing ceiling stains, floor damage, and potential mold growth.
A clogged AC condensate drain is one of the most common — and most preventable — air conditioner problems homeowners face. When algae, bacteria, and debris block the drain line, water backs up into the drain pan and eventually overflows, causing ceiling stains, floor damage, and potential mold growth. The good news is that clearing the drain is a straightforward DIY job that takes less than an hour and costs almost nothing in materials. This guide covers everything from finding the drain to preventing future clogs.
How the Condensate Drain System Works
When your air conditioner cools your home, it also removes humidity from the air. That moisture condenses on the evaporator coil (the cold coil inside your air handler) and drips into a drain pan below the coil. A drain line carries that water from the pan to the outside of your home — typically draining near the outdoor unit or into a floor drain.
The drain line is usually a 3/4-inch PVC pipe. Many systems have a primary drain line and a secondary (emergency) drain line. The secondary drain is your warning system: if it starts dripping water outside or into a visible pan, your primary drain is already clogged. Some systems also have a float switch that shuts off the AC when water levels rise too high in the primary drain pan.
What You Need
- Wet/Dry Vacuum — for sucking out the clog from the exterior drain exit point
- Distilled White Vinegar — for flushing and killing algae in the drain line
- Household Bleach — diluted bleach is an alternative to vinegar for stubborn biological clogs
- Funnel — for pouring vinegar or water into the clean-out port without spilling
- Drain Snake or Flexible Brush — for mechanically breaking up stubborn blockages in the line
- HVAC Condensate Drain Tablets — slow-dissolving tablets dropped in the drain pan to prevent future algae growth
Step 1: Turn Off the AC
Go to your thermostat and turn the cooling system off. Then go to your electrical panel and turn off the breaker for the air handler. You are going to be working around water and electrical components — never skip this step.
Step 2: Find the Drain Pan and Drain Line
Locate your indoor air handler. In most homes it is in a closet, attic, crawl space, or utility room. Open the access panel (usually secured by a single screw or just a friction-fit cover) and look at the bottom of the unit. The drain pan sits directly beneath the evaporator coil.
Inspect the drain pan. If it has standing water, the drain is clogged. If the water is dark or slimy, you have an algae or bacteria problem. Note the depth of water — if it is close to the pan rim, you need to clear the clog before the system overflows.
Follow the drain line from the pan. It runs horizontally and then exits through the wall or floor. Trace it to where it exits the house — this is typically near the outdoor unit or through a wall near a floor drain.
Step 3: Vacuum Out the Clog From the Exterior End
The fastest and most effective method for clearing a condensate drain clog is to create suction from the outside drain exit point.
- Take your wet/dry vacuum to the exterior drain exit — usually a PVC pipe stub coming out of the house near ground level.
- Hold the vacuum hose firmly against the opening of the drain pipe. You can wrap a rag around the connection point to create a better seal if the hose is smaller than the pipe.
- Run the vacuum for 2 to 3 minutes. The suction pulls the clog back toward you rather than pushing it deeper into the system.
- Empty the vacuum canister — you will likely see slime, debris, or a clump of algae.
- Repeat until no more debris comes out.
Step 4: Flush the Drain Line With Vinegar
After vacuuming, flush the line to kill any remaining biological growth and wash out loose debris.
- Locate the clean-out port on the drain line. This is a capped T-fitting or Y-fitting, usually located where the drain exits the air handler and transitions to horizontal run. Not all systems have a clean-out, but most modern installations do.
- Remove the cap. Insert a funnel.
- Pour 1 cup of distilled white vinegar into the line. Vinegar is mildly acidic and kills algae and bacteria without harming PVC.
- Let the vinegar sit in the line for 30 minutes.
- Follow with 2 cups of plain water to flush the vinegar and loosened debris through the system.
- Replace the clean-out cap.
If you do not have a clean-out port, pour the vinegar directly into the drain pan. It will drain naturally through the line if the clog is cleared.
Step 5: Clear Stubborn Clogs With a Drain Snake
If vacuuming and flushing did not restore flow, the clog is either very dense or located at a low point or fitting in the line.
- Remove the clean-out cap.
- Insert a flexible drain brush or drain snake into the clean-out port. Standard AC condensate lines are 3/4-inch PVC, so use a brush sized for that diameter.
- Push the brush through the line with a rotating motion. You will feel resistance when you hit the clog.
- Work the brush back and forth to break up the clog. Do not force it — if you meet solid resistance, back off and try approaching from the exterior end.
- After breaking up the clog, vacuum from the exterior again, then flush with vinegar as in Step 4.
Step 6: Drain the Drain Pan
If there is standing water in the drain pan, remove it to prevent overflow and to inspect the pan for mold or damage.
Use a wet/dry vacuum to suck the water out of the pan directly. Once empty, wipe the pan with a cloth dampened with a 10:1 water-to-bleach solution. This kills any mold or bacteria growing in the pan. Let it dry before closing the access panel.
Inspect the pan for cracks. Even a hairline crack in the drain pan can allow water to drip onto ceilings and insulation over time. A cracked pan needs to be replaced or sealed with waterproof HVAC drain pan repair sealant.
Step 7: Restore Power and Test
Turn the air handler breaker back on. Set the thermostat to cooling and run the system. After 15 to 20 minutes, check the drain pan — it should be empty or have only a small amount of water that is actively draining. Go to the exterior drain exit point and confirm water is dripping out, which confirms flow is restored.
Preventing Future Clogs
Prevention is far easier than cure with condensate drains.
Monthly vinegar flush. Every month during cooling season, pour a quarter cup of white vinegar into the clean-out port or drain pan. This kills biological growth before it can form a blockage.
Condensate pan tablets. Drop one or two HVAC condensate drain pan tablets into the drain pan. These dissolve slowly over several months and continuously release a biocide that prevents algae and bacteria growth.
Change the air filter regularly. A dirty air filter allows dust and debris to reach the evaporator coil and drain pan. Keep the filter on a regular change schedule — typically every 60 to 90 days for standard 1-inch filters.
Annual professional coil cleaning. Once a year, have an HVAC technician clean the evaporator coil. A clean coil drains better and produces less debris that could enter the drain system.
Related Reading
- How to Fix a Frozen AC Evaporator Coil
- How to Install a Smart Thermostat
- Spring Home Maintenance Checklist
- Turn Off the AC
Go to your thermostat and turn the cooling system off. Then go to your electrical panel and turn off the breaker for the air handler. You are going to be working around water and electrical components — never skip this step.
- Find the Drain Pan and Drain Line
Locate your indoor air handler. In most homes it is in a closet, attic, crawl space, or utility room. Open the access panel (usually secured by a single screw or just a friction-fit cover) and look at the bottom of the unit.
- Vacuum Out the Clog From the Exterior End
The fastest and most effective method for clearing a condensate drain clog is to create suction from the outside drain exit point.
- Flush the Drain Line With Vinegar
After vacuuming, flush the line to kill any remaining biological growth and wash out loose debris.
- Clear Stubborn Clogs With a Drain Snake
If vacuuming and flushing did not restore flow, the clog is either very dense or located at a low point or fitting in the line.
- Drain the Drain Pan
If there is standing water in the drain pan, remove it to prevent overflow and to inspect the pan for mold or damage.
Free: 10-Point Home Maintenance Checklist
Prevent costly repairs with this seasonal checklist. Save hundreds every year by catching problems early.
Your checklist is ready!
Open Checklist →Something went wrong. View the checklist here.