How to Fix a Bubbling Paint Wall
Repair blistering or bubbling paint on interior walls by finding the moisture or adhesion cause, removing loose paint, priming, and repainting for a smooth lasting finish.
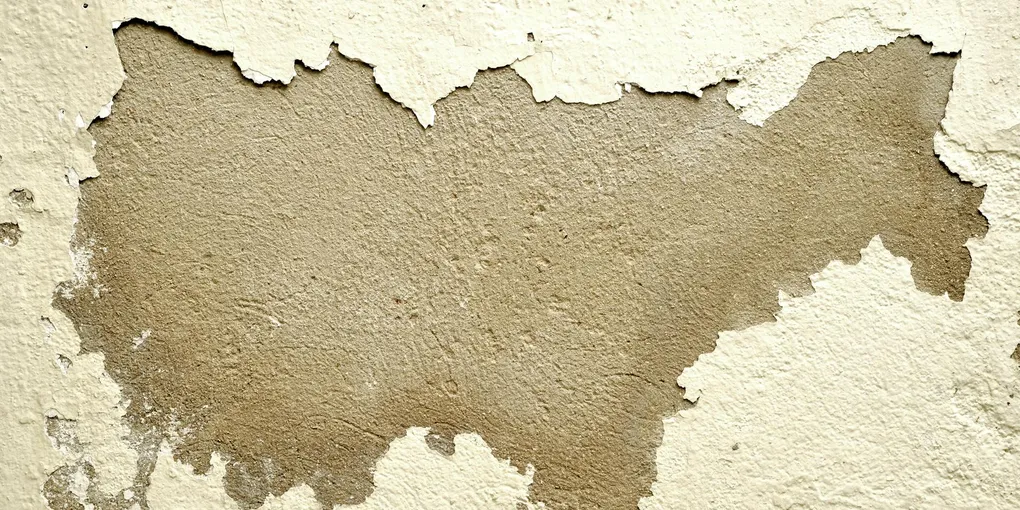
Bubbling paint is the wall telling you something went wrong — usually moisture, sometimes just bad prep from the last paint job.
Bubbling paint is the wall telling you something went wrong — usually moisture, sometimes just bad prep from the last paint job. Fix it right once and it stays fixed.
What You Need
- Putty knife — 3-inch and 6-inch
- 100-grit and 150-grit sandpaper or sanding block
- Moisture meter — to confirm wall is dry before repainting
- Shellac-based primer — Zinsser BIN
- Lightweight spackling compound or joint compound
- Interior latex paint — eggshell or satin
- Paint roller, brush, and tray
- Painter’s tape, drop cloth
Step 1: Find and Fix the Cause
Painting over bubbles without fixing the cause is wasted effort. The bubbles will return — often within days.
Press each bubble gently:
- If the bubble is firm and the drywall beneath is solid: the cause was a one-time adhesion failure (painting over a glossy or damp surface) or a past moisture event that has since resolved. Proceed to repair.
- If the bubble is soft or the wall behind it feels spongy: active moisture is present. Find and stop the source before doing any painting.
Common moisture sources:
- Roof leak or ice dam channeling water down inside the wall
- Plumbing leak in the wall cavity — check adjacent pipe locations on the building plans or by listening for drips
- Exterior wall: windows or exterior caulk failing (see our window frame caulking guide)
- Bathroom: insufficient exhaust ventilation — steam condenses on the wall surface
Confirm moisture is gone using a moisture meter. A reading below 12 percent means the wall is dry enough to repaint. A reading above 17 percent means moisture is still present — stop, fix the source, and wait.
Step 2: Remove All Loose and Bubbled Paint
You need to get back to a firmly adhered paint edge or bare drywall before repainting.
- Use a 3-inch flexible putty knife to pop and scrape the bubbles. Work outward from the bubble, pushing the knife under the edge of the loose paint.
- Keep scraping until you reach paint that is firmly bonded — the paint should not lift when you drag the knife edge across it.
- Feather the scraped edge: hold the knife at a low angle and scrape the edge of the remaining paint to taper it thin. A sharp edge between old paint and bare drywall will show as a visible ridge through the new paint.
- Collect and discard all paint chips.
In large-scale bubbling areas (more than 12 inches across), strip the entire section rather than trying to preserve the old paint — a clean surface gives better results than a patched one.
Step 3: Sand the Repair Area
- Sand the scraped area with 100-grit sandpaper to smooth the edges and remove any remaining bonding agent or paint texture.
- Follow with 150-grit to smooth further.
- Extend the sanding 2 to 3 inches beyond the scraped edge into the existing paint to feather the transition zone.
- Wipe the entire area with a damp cloth to remove sanding dust. Allow to dry completely.
If you sanded down to bare drywall face paper, be gentle — the paper tears easily and a torn paper face requires a skim coat of joint compound to repair.
Step 4: Skim Coat Any Depressions or Gouges
Scraping often leaves slight depressions where the bubble was. These will show through paint as shadows.
- Apply a thin coat of lightweight spackling compound or all-purpose joint compound to any low spots with a flexible putty knife.
- Feather the edges thin — the goal is a seamless transition, not a visible patch.
- Allow to dry fully (white throughout, no gray wet spots) — 2 to 4 hours for spackling, up to 24 hours for joint compound.
- Sand smooth with 150-grit, wipe dust.
For large areas of bubbling (more than 2 square feet), skim coat the entire section rather than spot-patching. Run the knife flat across the surface using a 6-inch knife, then a 10-inch knife for the second coat. Two thin coats are better than one thick coat.
Step 5: Apply Shellac-Based Primer
Standard latex primer is not enough on a repair area — especially where moisture was involved. Shellac-based primer seals any residual staining, blocks water-soluble tannins from the old drywall, and gives the new paint a far better grip than painting directly over patched drywall.
- Stir the shellac primer well. It separates in the can.
- Apply with a brush or short-nap roller to the repair area, extending 3 to 4 inches into the surrounding painted wall.
- Allow to dry fully — shellac primer dries in 30 to 45 minutes.
- Lightly sand with 150-grit once dry, wipe dust. The primer should feel smooth with no grain or bumps.
In bathrooms or areas with recurring moisture, prime the entire wall surface, not just the repair area.
Step 6: Apply Two Coats of Paint
- Apply the first coat of interior paint with a roller, using the same sheen as the surrounding wall.
- Feather the edges of the first coat into the surrounding painted wall with a brush to blend the repair.
- Allow to dry fully — at least 2 hours for latex paint, 4 hours in humid conditions.
- Apply a second coat. The second coat covers any primer showing through and provides full color depth.
Matching paint color: If you do not have the original paint can, take a paint chip from a hidden area (inside a closet or behind a door trim) to a paint store for a color match. Big-box hardware stores can match most colors with a spectrophotometer.
Step 7: Confirm the Repair
After the paint cures (48 hours for full hardness):
- Shine a flashlight held at a low angle across the wall. This raking light reveals any ridges, depressions, or texture mismatches you can sand and touch up before they become permanent.
- In bathrooms, run the shower with the door closed for 10 minutes. Check the repaired area for any new bubble formation. If a bubble appears, the moisture source is still active.
When to Call a Professional
DIY is the right call for most bubbling paint situations. Get a professional if:
- The moisture meter reads above 17 percent after two weeks with the leak repaired — hidden rot or mold may require drywall removal and framing inspection
- Bubbling covers an entire wall or ceiling and returns after repeated repainting — this points to a systemic moisture or vapor barrier issue in the wall assembly
- You see dark staining in the bubbled area — test with a mold test kit before repainting
Related Reading
- How to Paint a Room — complete interior painting process from prep to finish
- How to Fix a Drywall Hole — larger wall repairs before painting
- How to Fix a Leaking Window Frame — stop moisture at the source before it damages interior walls
- Find and Fix the Cause
Painting over bubbles without fixing the cause is wasted effort. The bubbles will return — often within days.
- Remove All Loose and Bubbled Paint
You need to get back to a firmly adhered paint edge or bare drywall before repainting.
- Sand the Repair Area
Sand the scraped area with 100-grit sandpaper to smooth the edges and remove any remaining bonding agent or paint texture.
- Skim Coat Any Depressions or Gouges
Scraping often leaves slight depressions where the bubble was. These will show through paint as shadows.
- Apply Shellac-Based Primer
Standard latex primer is not enough on a repair area — especially where moisture was involved. Shellac-based primer seals any residual staining, blocks water-soluble tannins from the old drywall, and gives the new paint a far better grip than paintin...
- Apply Two Coats of Paint
Apply the first coat of interior paint with a roller, using the same sheen as the surrounding wall.
Free: 10-Point Home Maintenance Checklist
Prevent costly repairs with this seasonal checklist. Save hundreds every year by catching problems early.
Your checklist is ready!
Open Checklist →Something went wrong. View the checklist here.