How to Fix a Broken Wall Thermostat
Learn how to troubleshoot and replace a wall thermostat by checking wiring, replacing batteries, and installing a new unit without calling an HVAC tech.
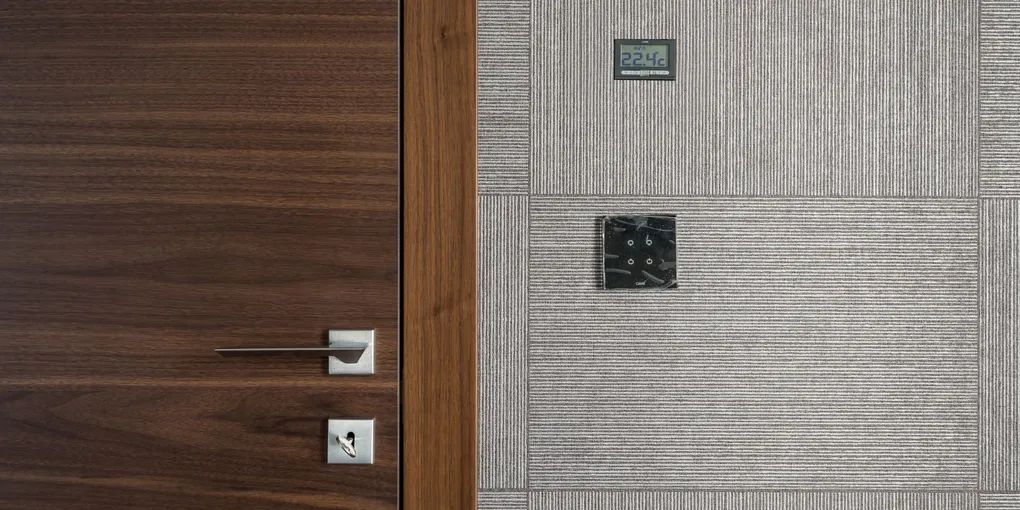
A broken thermostat means a house that is too hot, too cold, or burning energy around the clock. Before calling an HVAC technician, it is worth knowing that thermostat repairs and replacements are one of the most beginner-friendly DIY fixes in the home.
A broken thermostat means a house that is too hot, too cold, or burning energy around the clock. Before calling an HVAC technician, it is worth knowing that thermostat repairs and replacements are one of the most beginner-friendly DIY fixes in the home. Low-voltage wiring, a handful of labeled terminals, and a screwdriver are all you need.
What You Will Need
- Screwdriver (Phillips and flat-head)
- Fresh AA or AAA batteries
- Multimeter (optional but helpful)
- Replacement thermostat (if replacing)
- Masking tape and marker
- Smartphone or camera (to photograph existing wiring)
Step 1: Try the Simple Fixes First
Before touching any wires, run through these checks:
- Replace the batteries. Many digital thermostats run on AA or AAA batteries. If the display is dim, blank, or unresponsive, this is your first move.
- Check the circuit breaker. Find the breaker labeled “air handler,” “furnace,” or “HVAC” and confirm it has not tripped.
- Confirm the mode switch. Make sure the thermostat is set to HEAT in winter and COOL in summer, not OFF or EMERGENCY HEAT.
- Check the set temperature. Make sure the set point is actually higher than room temp (for heat) or lower than room temp (for cooling).
If these checks do not restore function, move to the wiring.
Step 2: Remove the Thermostat from the Wall
Turn the HVAC breaker off at the panel before touching any wiring. The thermostat face typically snaps off the base by pulling it straight out or pressing a release tab at the bottom. With the face removed, the wiring connections on the base plate are exposed.
Take a clear photograph of every wire and its terminal label before removing anything. This is the single most important step — a good photo lets you reconnect everything correctly on the new unit.
Step 3: Check the Wiring
Look at each wire connection. Common wiring problems include:
- A wire that has slipped out of its terminal and is no longer making contact
- Loose terminal screws that need to be tightened
- Corroded or broken wire ends
Loosen each terminal screw, pull the wire out, trim about a quarter inch of insulation to expose fresh copper, and re-seat the wire before tightening. Often the thermostat will work normally once a poor connection is cleaned up.
Step 4: Test Without the Thermostat
If the wiring looks fine but the system still does not run, you can test whether the thermostat or the HVAC system is at fault in 30 seconds.
Turn the breaker back on. With a short piece of wire, touch one end to the R terminal and the other to the W terminal (for heat) or Y terminal (for cooling) on the thermostat base. If the furnace or air handler kicks on, your HVAC system is working and the thermostat needs replacement. If nothing happens, the problem is elsewhere in the system.
Step 5: Install a Replacement Thermostat
A new thermostat is often the most practical fix when an older unit has a failing temperature sensor or a cracked display. A programmable or smart thermostat costs as little as $25 and can cut energy bills by 10 to 15 percent on a programmable schedule.
To install:
- Turn off the HVAC breaker.
- Label each wire with masking tape as you remove it from the old thermostat base (R, W, Y, G, C).
- Remove the old base from the wall and mount the new base in its place, using the included screws and anchors.
- Connect each labeled wire to the matching terminal on the new base. Follow the wiring diagram in the new thermostat’s manual — wire labels may differ slightly.
- Snap the new thermostat face onto the base, turn the breaker back on, and run the setup wizard.
If your home does not have a C-wire and you are installing a smart thermostat, a C-wire adapter kit lets you use the existing wiring without pulling new cable. These install in about 20 minutes at both the thermostat and the air handler.
Step 6: Verify Operation
After installation, set the thermostat a few degrees above or below room temperature and listen for the system to kick on within a minute or two. Confirm that:
- Heat or cool air is actually coming from the vents
- The fan turns off when the system reaches the set temperature
- The display reads a temperature close to what an independent thermometer shows
A non-contact infrared thermometer is a handy tool for confirming the thermostat is reading your room accurately.
When to Call a Professional
Call an HVAC technician if the wiring test (Step 4) shows that jumping R to W or Y does not activate the system. That points to a fault in the air handler, furnace control board, or field wiring that is beyond a thermostat swap. Thermostat replacement is a clear DIY win — anything past it is best left to a licensed technician.
- Try the Simple Fixes First
Before touching any wires, run through these checks:
- Remove the Thermostat from the Wall
Turn the HVAC breaker off at the panel before touching any wiring. The thermostat face typically snaps off the base by pulling it straight out or pressing a release tab at the bottom.
- Check the Wiring
Look at each wire connection. Common wiring problems include:
- Test Without the Thermostat
If the wiring looks fine but the system still does not run, you can test whether the thermostat or the HVAC system is at fault in 30 seconds.
- Install a Replacement Thermostat
A new thermostat is often the most practical fix when an older unit has a failing temperature sensor or a cracked display.
- Verify Operation
After installation, set the thermostat a few degrees above or below room temperature and listen for the system to kick on within a minute or two. Confirm that:
Free: 10-Point Home Maintenance Checklist
Prevent costly repairs with this seasonal checklist. Save hundreds every year by catching problems early.
Your checklist is ready!
Open Checklist →Something went wrong. View the checklist here.