How to Fix a Broken Under-Sink Cabinet
Learn how to repair a water-damaged or sagging under-sink cabinet bottom with new plywood, wood hardener, and basic tools — no full replacement needed.
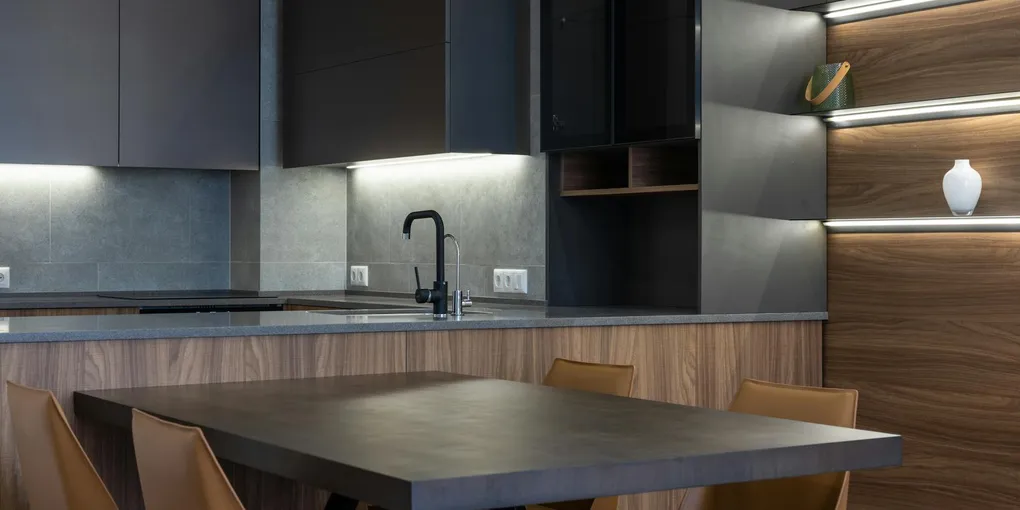
The cabinet under your kitchen sink takes more abuse than almost any other cabinet in your home. Slow drips from the drain, condensation on cold supply pipes, and occasional spills accumulate over time, turning the particleboard or MDF floor into a soggy, crumbling mess.
The cabinet under your kitchen sink takes more abuse than almost any other cabinet in your home. Slow drips from the drain, condensation on cold supply pipes, and occasional spills accumulate over time, turning the particleboard or MDF floor into a soggy, crumbling mess. The fix does not require a new cabinet — just a new floor panel and a few hours of work.
Assess the Damage First
Empty the cabinet completely. Press the floor with your hand and check for soft spots, swelling, or visible mold. If the floor gives easily or shows white fuzzy growth, the panel needs to come out entirely. Check the cabinet sides, back, and toe kick as well. Particleboard that is dark-stained but still firm can be treated with wood hardener and left in place.
If the sides are also compromised, the cabinet may need full replacement, but in the vast majority of cases the sides remain structurally sound even when the floor has collapsed.
What You Will Need
- Pry bar or stiff putty knife
- Jigsaw or circular saw
- Drill with screwdriver bits
- Three-quarter-inch plywood (a small piece from a home center is enough)
- Measuring tape and pencil
- Wood hardener (for soft but intact framing)
- Mold-killing primer or bleach solution
- Construction adhesive (liquid nails)
- Two-inch wood screws
- Self-adhesive shelf liner or peel-and-stick vinyl tile (optional finish)
A bottle of Minwax High-Performance Wood Hardener is invaluable for stabilizing any soft wood remaining in the cabinet frame before you install the new panel.
Step 1: Fix the Leak First
This step is non-negotiable. Installing a new floor before stopping the source of moisture means you will be doing this repair again in two years. Check every connection under the sink: supply valve stems, compression fittings, the P-trap drain connections, and the garbage disposal collar. Tighten or replace any fittings that show mineral staining or moisture.
Step 2: Remove the Damaged Floor
Use a stiff putty knife or small pry bar to work the old floor panel loose from the cabinet frame. Most under-sink cabinet floors are stapled or glued down, not screwed, so they pry up relatively easily once you get a corner started. Wear gloves — wet particleboard breaks apart in chunks and can have sharp staples.
Remove all the old material, including any wet shelf liner or contact paper stuck to the frame. Use a putty knife to scrape the frame ledges clean.
Step 3: Clean and Treat the Interior
Mix a 10:1 solution of water and household bleach and apply it liberally to all interior surfaces with a sponge or spray bottle. Let it sit for 10 minutes, then wipe down and allow the cabinet to dry completely — ideally with a fan running for several hours or overnight.
Once dry, apply Minwax Wood Hardener or a similar penetrating consolidant to any soft spots on the frame ledges. Brush it on generously and allow it to cure for the full recommended time before proceeding.
Step 4: Cut and Fit the New Panel
Measure the interior cabinet opening carefully, noting the location of any pipes or the garbage disposal drain stub. Transfer measurements to your three-quarter-inch plywood and cut the panel with a jigsaw. Test-fit the panel dry first, marking and cutting notches for any pipes or fittings until it drops into place cleanly.
For a cleaner look, a piece of peel-and-stick vinyl tile cut to size and applied to the top face of the new plywood before installation creates a waterproof, easy-to-clean surface that looks finished and protects the wood from future moisture.
Step 5: Install the New Floor Panel
Apply a bead of construction adhesive to the frame ledges where the panel will rest. Lower the panel into place and press it firmly. Drill pilot holes at the edges every 8 to 10 inches and drive two-inch screws into the frame to secure it. Wipe away any squeeze-out adhesive immediately with a damp cloth.
Step 6: Seal the Edges
Run a bead of clear silicone caulk around the perimeter where the new panel meets the cabinet sides and back. Smooth it with a wet finger. This edge seal is the most important moisture barrier you can add — it keeps any future drips from wicking under the panel edges.
Step 7: Reconnect Plumbing and Test
Reinstall the P-trap and reconnect supply lines if you loosened them for access. Turn the water back on slowly and run the faucet for several minutes. Check every connection visually, then dry the area under the sink with a towel and leave a piece of paper towel flat on the new floor overnight. Check it in the morning — a dry paper towel confirms no active leaks before you reload the cabinet.
Adding a water leak detector alarm inside the cabinet costs under $20 and gives you an audible alert the moment moisture appears — catching the next slow drip before it has a chance to damage your new floor.
- Fix the Leak First
This step is non-negotiable. Installing a new floor before stopping the source of moisture means you will be doing this repair again in two years.
- Remove the Damaged Floor
Use a stiff putty knife or small pry bar to work the old floor panel loose from the cabinet frame. Most under-sink cabinet floors are stapled or glued down, not screwed, so they pry up relatively easily once you get a corner started.
- Clean and Treat the Interior
Mix a 10:1 solution of water and household bleach and apply it liberally to all interior surfaces with a sponge or spray bottle.
- Cut and Fit the New Panel
Measure the interior cabinet opening carefully, noting the location of any pipes or the garbage disposal drain stub. Transfer measurements to your three-quarter-inch plywood and cut the panel with a jigsaw.
- Install the New Floor Panel
Apply a bead of construction adhesive to the frame ledges where the panel will rest. Lower the panel into place and press it firmly. Drill pilot holes at the edges every 8 to 10 inches and drive two-inch screws into the frame to secure it.
- Seal the Edges
Run a bead of clear silicone caulk around the perimeter where the new panel meets the cabinet sides and back. Smooth it with a wet finger.
Free: 10-Point Home Maintenance Checklist
Prevent costly repairs with this seasonal checklist. Save hundreds every year by catching problems early.
Your checklist is ready!
Open Checklist →Something went wrong. View the checklist here.