How to Fix a Broken Towel Bar That Fell Off the Wall
Reattach a towel bar securely using toggle bolt anchors or studs, repair the drywall damage left behind, and ensure a lasting installation.
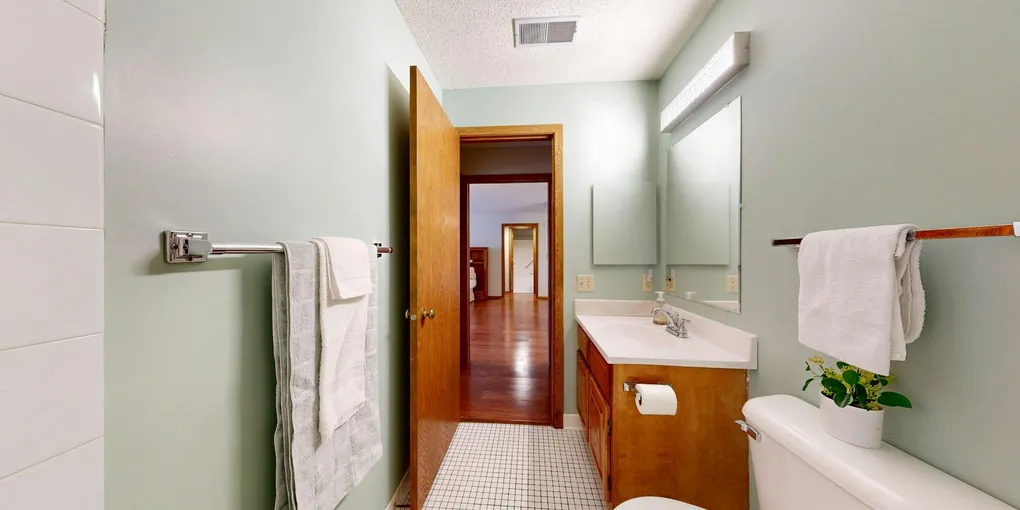
A towel bar that has ripped out of the wall is one of those bathroom repairs that looks messy but is completely fixable in under two hours. The real problem with most towel bar failures is not the bar itself — it is the original installation.
A towel bar that has ripped out of the wall is one of those bathroom repairs that looks messy but is completely fixable in under two hours. The real problem with most towel bar failures is not the bar itself — it is the original installation. Builders and installers routinely use undersized plastic wall anchors in drywall, and these simply are not up to the job once a full-size bath towel is draped over the bar and a child yanks on it. This guide shows you how to do the repair right, whether you can find a stud to anchor into or need to use heavy-duty toggle bolts in open drywall.
What You Need
- Toggle Bolt Anchor Set (Snaptoggle or WingIt style) — These are vastly stronger than plastic expansion anchors and are the correct anchor for towel bars in drywall cavities.
- Electronic Stud Finder — Lets you quickly check whether studs are accessible at the towel bar location so you can use direct screw mounting instead of anchors.
- Lightweight Spackle or Drywall Compound — For filling old anchor holes and any crumbled drywall around the failed installation point.
- Matching Paint or Touch-Up Paint Pen — To cover spackle patches on the wall after the repair is complete.
- Drill and Drill Bit Set — A cordless drill with standard twist bits and a masonry bit (if you hit tile or cement board).
- Level (4-inch or 8-inch) — Absolutely necessary unless you want a visibly crooked towel bar.
Step 1: Remove the Old Towel Bar Hardware
Start by fully removing the towel bar and its mounting brackets. Most towel bars attach to wall-mount brackets (called posts or escutcheons) using a set screw. Look for a small hole on the underside of where the bar meets the post — insert a small Allen wrench and turn counterclockwise to loosen.
Once the bar is free, each post typically has a mounting plate behind it with two or three screws going into the wall. Remove those screws and pull the mounting plate off. You will be left with exposed wall anchor holes and likely some drywall damage — torn paper, crumbled gypsum, or elongated holes where the anchors failed.
If the bar has been in place for many years, you may find caulk or paint has been applied around the base of the posts. Score around the perimeter with a utility knife before pulling the mounting plates free to avoid tearing the wall surface.
Step 2: Assess the Wall Damage
Look carefully at the holes left behind. You are evaluating two things: how much drywall damage exists, and whether there are studs nearby to use for the new installation.
Small round holes (under 1/2 inch): Can be filled directly with lightweight spackle.
Large torn holes or crumbled sections: The drywall around the anchor has failed. These larger voids need to be filled with spackle pressed firmly into the hole in layers — not all at once, which leads to shrinkage and cracking.
Elongated or irregular damage: Often caused by anchors rocking under load before final failure. Fill carefully, building up the surface in two or three thin layers, allowing each to dry.
Use your stud finder to check for studs at the current towel bar location. Run the finder across the wall at the height of the bar holes. If a stud is within 2 inches of an existing hole, you may be able to slightly reposition the mounting bracket to catch the stud with a longer screw.
Step 3: Repair the Drywall
Whether you are reinstalling in the same location or moving the bar to hit a stud, fix the existing damage before proceeding.
Fill all old holes with lightweight spackle, slightly overfilling each hole. Allow to dry for the time specified on the package — typically 2 to 4 hours for small holes. Lightly sand flush with 150-grit sandpaper. For large holes, you may need two applications.
Prime the repaired spots with a small brush before painting, especially if the damage broke through the drywall paper layer. Primer prevents the gypsum from “flashing” (looking different from the surrounding wall) through the topcoat.
Touch up the paint. If you have matching paint, this is straightforward. If you do not have the exact color, bring a chip scraped from an inconspicuous area to the hardware store for a color match.
If you are moving the towel bar to a new location, paint the entire repaired area and allow it to dry fully before marking the new mounting positions. Trying to match paint on a small spot in a bathroom with years of steam aging rarely produces an invisible result — painting the whole wall between corners looks much cleaner.
Step 4: Locate Studs or Plan Your Anchor Positions
Hold the towel bar up to the wall at the desired height and width. The standard towel bar height is 48 inches from the floor. Mark the left and right mounting plate center points with a pencil.
If studs are available: Confirm the stud location with your stud finder, then mark the center. The mounting plate screws should hit close enough to the stud center to get solid wood purchase. Use 2.5-inch or 3-inch coarse-thread wood screws for the best holding power.
If no studs are present: You will use toggle bolt anchors at both mounting positions. Mark the locations carefully, using a level and tape measure to ensure both marks are at the same height. A 1/16-inch height difference looks minor on paper but is quite noticeable on a horizontal bar.
Step 5: Install Toggle Bolt Anchors
Toggle bolt anchors require a specific hole size — check the packaging for the recommended drill bit diameter, usually 1/2 inch for standard toggle bolts.
Drill the holes at each marked position. Drill straight into the wall — any angle will make the toggle harder to insert and may prevent it from expanding properly behind the drywall.
Insert the toggle. Snap toggle anchors work by pushing a metal bar through the hole on a plastic strap, then pulling back on the strap until the bar is flush against the back of the drywall. With the bar locked flat against the back of the wall, the bolt cannot pull through. Follow the specific instructions for your anchor brand — mechanisms vary slightly.
Test the anchors by trying to wiggle the bolt. It should feel completely solid. If there is any play, the toggle did not seat correctly — remove it and reinstall.
Step 6: Mount the Towel Bar
With anchors or stud screws in place, hold the mounting plate for one end of the bar against the wall over its anchor bolt. Thread the bolt finger-tight to hold it in place. Then position the other mounting plate, using your level on the bar itself (or between the two plate positions) to confirm horizontal alignment before tightening anything.
Once both plates are level, tighten all screws or bolts snugly. Do not over-torque toggle bolts — tighten until firm, then stop. Over-tightening can pull the mounting plate through the drywall or deform the toggle behind the wall.
Attach the towel bar: Slide the bar into the mounting posts and tighten the set screws. Grasp the bar with both hands and apply firm downward and outward pressure — similar to how a bath towel in use would load the bar. It should feel completely rigid with no movement at either mounting point.
If one end has any give, re-examine the anchor installation. A properly installed snap toggle or WingIt anchor should hold 50 to 100 pounds without budging.
Step 7: Long-Term Durability Tips
A few habits extend the life of any bathroom wall hardware:
Avoid hanging too much weight. A towel bar is rated for a towel or two — not wet robes, multiple towels, and a gym bag looped over one end simultaneously. Installing a second bar nearby distributes the load.
Re-tighten set screws annually. The vibration of door opening and closing gradually loosens small set screws. A 60-second check with an Allen wrench prevents the bar from wiggling loose over time.
Caulk the base plates if needed. In a shower-adjacent location, a thin bead of clear silicone caulk around the base plate perimeter prevents water from working its way behind the plate and softening the drywall underneath.
Related Reading
- Remove the Old Towel Bar Hardware
Start by fully removing the towel bar and its mounting brackets. Most towel bars attach to wall-mount brackets (called posts or escutcheons) using a set screw.
- Assess the Wall Damage
Look carefully at the holes left behind. You are evaluating two things: how much drywall damage exists, and whether there are studs nearby to use for the new installation.
- Repair the Drywall
Whether you are reinstalling in the same location or moving the bar to hit a stud, fix the existing damage before proceeding.
- Locate Studs or Plan Your Anchor Positions
Hold the towel bar up to the wall at the desired height and width. The standard towel bar height is 48 inches from the floor. Mark the left and right mounting plate center points with a pencil.
- Install Toggle Bolt Anchors
Toggle bolt anchors require a specific hole size — check the packaging for the recommended drill bit diameter, usually 1/2 inch for standard toggle bolts.
- Mount the Towel Bar
With anchors or stud screws in place, hold the mounting plate for one end of the bar against the wall over its anchor bolt. Thread the bolt finger-tight to hold it in place.
Free: 10-Point Home Maintenance Checklist
Prevent costly repairs with this seasonal checklist. Save hundreds every year by catching problems early.
Your checklist is ready!
Open Checklist →Something went wrong. View the checklist here.