How to Fix a Broken Toilet Wax Ring
Replace a failed toilet wax ring yourself in under two hours to stop leaks and sewer odors at the toilet base.
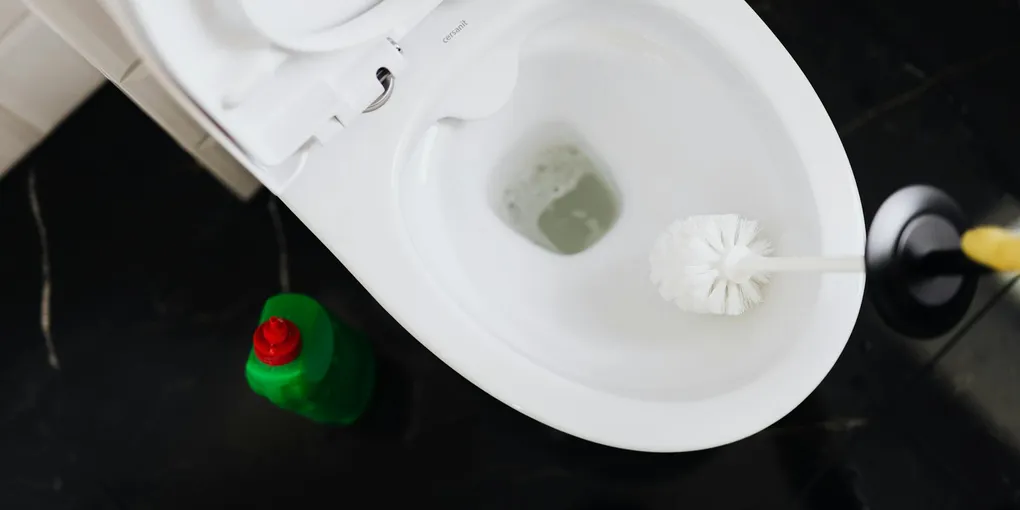
A failing toilet wax ring is responsible for a surprising amount of bathroom water damage every year.
A failing toilet wax ring is responsible for a surprising amount of bathroom water damage every year. The ring is a simple donut-shaped seal that sits between the toilet horn and the drain flange, but when it fails — whether from a rocking toilet, a shifting floor, or just age — you get sewer odors, slow leaks, and eventually a soft, rotting subfloor. The good news is that replacing a wax ring is a true DIY plumbing job. You do not need a plumber and you do not need specialty tools. Budget about 90 minutes and you will have a sealed, solid toilet.
Signs You Need a New Wax Ring
Do not wait until the floor feels spongy to act. Watch for these warning signs:
- Water at the base after flushing. Even a small puddle is a red flag. The toilet base should always be dry.
- Sewer smell in the bathroom. A properly sealed wax ring blocks sewer gas. If you smell sewage and the toilet is clean, the ring is likely compromised.
- Rocking or loose toilet. A toilet that shifts when you sit on it is working the wax ring with every use, and will eventually fail the seal.
- Soft or stained flooring. Brown staining or softness around the toilet base indicates water has been seeping for some time.
Tools and Materials
Gather everything before you start so you are not running to the hardware store mid-job with the toilet off the floor.
Tools:
- Adjustable wrench or channel-lock pliers
- Putty knife or stiff scraper
- Bucket and large sponge
- Utility knife
- Level
- Disposable gloves
- Old towels or rags
Materials:
- Replacement wax ring — choose a standard ring, a thick ring for low flanges, or a wax-free alternative
- New closet bolts (optional but recommended)
- Braided stainless steel supply line (replace if yours is old or rigid chrome)
- Composite shims (if the floor is uneven)
- Silicone caulk
Step 1: Turn Off the Water and Empty the Toilet
Locate the shut-off valve on the wall behind the toilet and turn it clockwise until it stops. Flush the toilet and hold the handle down to drain as much water as possible from the tank and bowl. Use your sponge and bucket to soak up what remains in the bowl. Stuff an old towel into the tank opening to absorb the last bit of water in there.
Disconnect the water supply line from the bottom of the tank. Keep your bucket underneath — water will come out. If the supply line is old rigid chrome tubing, plan to replace it.
Step 2: Remove the Toilet
Pop off the plastic caps covering the closet bolts at the base of the toilet. Remove the nuts with your adjustable wrench. If the bolts spin, grip them with pliers while you turn the nut.
Rock the toilet gently from side to side to break the old wax seal, then lift the bowl straight up. Toilets weigh 50 to 70 pounds — lift with your legs and have a helper if needed. Set the toilet on its side on old cardboard or towels.
Immediately plug the drain opening with a rag or old towel to block sewer gas. Do not skip this step.
Step 3: Remove the Old Wax Ring and Prep the Flange
Scrape every trace of old wax off the drain flange using your putty knife. Also scrape any wax from the bottom of the toilet horn. Both surfaces need to be clean for the new ring to seal properly.
Inspect the flange:
- Flush with or slightly above the finished floor: Ideal. Use a standard wax ring.
- Below the finished floor: Use a thick wax ring or one with an extended horn, or add a plastic flange extender.
- Cracked or broken: Stop here. A broken flange needs to be repaired or replaced before you continue, or you will have the same leak problem within months.
If you are replacing the closet bolts, slide the new ones into the flange slots and rotate them 90 degrees to lock in place. Confirm they are evenly spaced and plumb.
Step 4: Install the New Wax Ring
Turn the toilet on its side and press the new wax ring firmly onto the toilet horn, tapered side facing away from the toilet. Some installers prefer to set the ring on the flange — either method works, but placing it on the toilet gives you better control during lowering.
Remove the rag from the drain opening. Carefully lower the toilet over the closet bolts, using the bolts as guides to center the bowl. When the bolt tips appear through the holes at the base, press the toilet straight down firmly. Sit on the toilet seat to apply body weight — this compresses the wax ring into a full seal.
Do not lift and reposition. A disturbed wax ring must be replaced.
Step 5: Secure and Test
Place washers and nuts on the closet bolts and tighten them by alternating sides — a few turns left, a few turns right — until the toilet does not rock. Stop before you crack the porcelain. If the floor is uneven, slide composite shims under the base to stabilize it before fully tightening.
Cut the bolts to about a half-inch above the nut with a hacksaw and snap the decorative caps in place.
Reconnect the supply line (use a new braided line if the old one is rigid or corroded). Turn on the shut-off valve and let the tank fill. Flush three times and watch the base carefully. Dry the floor with paper towels beforehand so even a small drip is visible.
Once you confirm no leaks, run a bead of silicone caulk around the base, leaving a small gap at the back as a weep hole to alert you to any future failure.
Cost Breakdown
| DIY | Plumber | |
|---|---|---|
| Wax ring and hardware | $10-25 | Included in labor |
| Labor | $0 | $150-300 |
| Total | $10-25 | $150-325 |
Replacing a wax ring is one of the highest return-on-time plumbing repairs you can do yourself. The parts cost less than dinner, and the skill transfers directly to any future toilet installation or removal you might need to do for flooring or renovation work.
When to Call a Pro
Call a licensed plumber if the drain flange is cracked or broken at the pipe collar, if the subfloor around the toilet feels soft or spongy (indicating significant water damage), or if the drain pipe itself appears corroded or offset. These are structural issues that go beyond a simple ring swap.
For a rocking toilet with an intact flange and a solid floor, though, this is your job. Take your time, use a fresh wax ring, and do not overtighten the bolts. You will have a leak-free, odor-free toilet that will serve you reliably for decades.
- Turn Off the Water and Empty the Toilet
Locate the shut-off valve on the wall behind the toilet and turn it clockwise until it stops. Flush the toilet and hold the handle down to drain as much water as possible from the tank and bowl.
- Remove the Toilet
Pop off the plastic caps covering the closet bolts at the base of the toilet. Remove the nuts with your adjustable wrench. If the bolts spin, grip them with pliers while you turn the nut.
- Remove the Old Wax Ring and Prep the Flange
Scrape every trace of old wax off the drain flange using your putty knife. Also scrape any wax from the bottom of the toilet horn. Both surfaces need to be clean for the new ring to seal properly.
- Install the New Wax Ring
Turn the toilet on its side and press the new wax ring firmly onto the toilet horn, tapered side facing away from the toilet.
- Secure and Test
Place washers and nuts on the closet bolts and tighten them by alternating sides — a few turns left, a few turns right — until the toilet does not rock. Stop before you crack the porcelain.
Free: 10-Point Home Maintenance Checklist
Prevent costly repairs with this seasonal checklist. Save hundreds every year by catching problems early.
Your checklist is ready!
Open Checklist →Something went wrong. View the checklist here.