How to Fix a Broken Toilet Paper Holder
Learn how to re-anchor a loose or broken toilet paper holder in drywall or tile so it stays put and looks clean again.
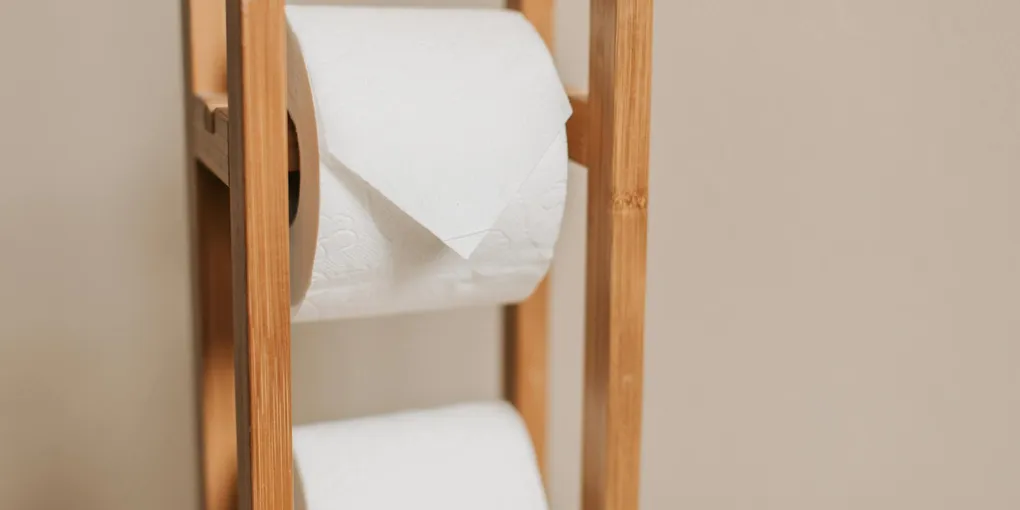
A toilet paper holder that wobbles, tilts, or has pulled completely out of the wall is a simple fix — but only if you address the root cause, which is almost always a bad anchor.
A toilet paper holder that wobbles, tilts, or has pulled completely out of the wall is a simple fix — but only if you address the root cause, which is almost always a bad anchor. Here is how to diagnose the failure and put the holder back in place so it actually stays.
Diagnose the Problem First
Pull the holder gently away from the wall and look at the back of the bracket and the wall surface. Three common failure modes each need a different fix:
- Screw holes stripped in drywall — the drywall crumbled around the anchor, leaving loose threads.
- Anchor pulled through — a cheap plastic anchor worked its way out of the wall material entirely.
- No stud, wrong anchor size — the installer used a lightweight anchor in a hollow wall section that could not handle repeated lateral stress.
Tools and Materials
Gather a stud finder, drill with bits, a level, a pencil, and the appropriate fasteners. For most drywall re-anchoring jobs, self-drilling toggle anchors or molly bolts are far stronger than the plastic expansion anchors typically included with the holder.
Step 1 — Remove the Old Hardware
Unscrew the mounting bracket and set the holder aside. If the old screws spin freely, the anchor has already failed. Use needle-nose pliers to grab the anchor collar and pull it out, or push it into the wall cavity with a screwdriver. Fill each hole with spackling compound or wood filler and let it dry completely — typically one to two hours for spackling, longer for wood filler.
Step 2 — Choose the New Mounting Location
Use a stud finder to check directly behind the old mounting points. If a stud is within an inch or two, shift the bracket to land a screw in the stud — that connection will never pull out. Mark the new hole positions in pencil and hold the bracket against the wall with a level to confirm it is plumb before drilling.
If no stud is reachable, use toggle anchors rated for at least 50 pounds per fastener. These fold behind the drywall and clamp as the screw is tightened, distributing the load over a wide area.
Step 3 — Drill Pilot Holes
For drywall toggle anchors, drill the pilot hole to the diameter specified on the anchor package — usually 1/2 inch for a 1/4-20 toggle. For tile walls, use a carbide-tipped tile bit at low speed with light pressure to avoid cracking the tile surface. Place a piece of painter tape over the drill point to prevent the bit from walking across the glaze.
Step 4 — Set the Anchors and Mount the Bracket
Insert the toggle anchors through the bracket holes before folding the wings. Push the anchor through the pilot hole until the wings snap open behind the drywall. Pull the screw back gently while tightening — this draws the wings against the back of the drywall and locks the anchor in place. Drive each screw until the bracket is snug against the wall with no movement.
For stud mounting, drive a 2.5-inch coarse-thread screw directly into the wood until the bracket sits flat.
Step 5 — Reinstall the Holder and Test
Snap or screw the toilet paper holder bar back onto the mounted bracket. Apply firm lateral and downward pressure to simulate real use. A properly anchored holder should feel completely rigid with no flex. Tighten the set screw on the post arm if the roller bar still spins.
Finishing Touches
If the filled screw holes are visible next to the new bracket position, touch them up with matching paint after the filler dries. In a tiled bathroom, a small bead of white or clear paintable caulk around the bracket base gives a clean, professional look and prevents moisture from getting behind the bracket face.
- Step 1 — Remove the Old Hardware
Unscrew the mounting bracket and set the holder aside. If the old screws spin freely, the anchor has already failed. Use needle-nose pliers to grab the anchor collar and pull it out, or push it into the wall cavity with a screwdriver.
- Step 2 — Choose the New Mounting Location
Use a stud finder to check directly behind the old mounting points. If a stud is within an inch or two, shift the bracket to land a screw in the stud — that connection will never pull out.
- Step 3 — Drill Pilot Holes
For drywall toggle anchors, drill the pilot hole to the diameter specified on the anchor package — usually 1/2 inch for a 1/4-20 toggle.
- Step 4 — Set the Anchors and Mount the Bracket
Insert the toggle anchors through the bracket holes before folding the wings. Push the anchor through the pilot hole until the wings snap open behind the drywall.
- Step 5 — Reinstall the Holder and Test
Snap or screw the toilet paper holder bar back onto the mounted bracket. Apply firm lateral and downward pressure to simulate real use. A properly anchored holder should feel completely rigid with no flex.
Free: 10-Point Home Maintenance Checklist
Prevent costly repairs with this seasonal checklist. Save hundreds every year by catching problems early.
Your checklist is ready!
Open Checklist →Something went wrong. View the checklist here.