How to Fix a Broken Tile Shower Niche
Learn how to repair cracked or loose tiles in your shower niche, regrout properly, and reseal the area to stop water damage for good.
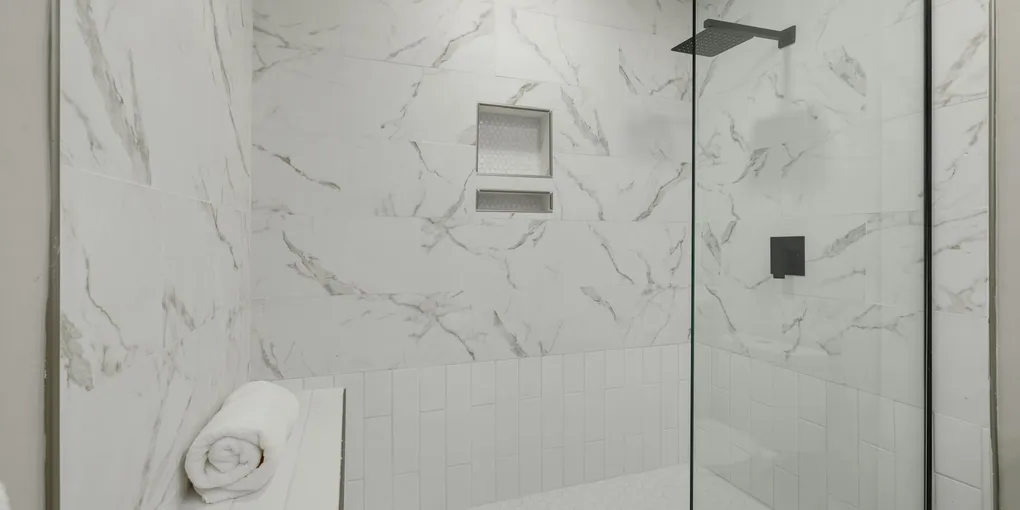
A shower niche is one of the hardest-working spots in your bathroom. It holds soap, shampoo bottles, and everything else you need in the shower — and it takes constant water exposure.
A shower niche is one of the hardest-working spots in your bathroom. It holds soap, shampoo bottles, and everything else you need in the shower — and it takes constant water exposure. When tiles crack, grout crumbles, or water starts seeping behind the wall, the damage spreads fast. The good news is that shower niche tile repair is a manageable weekend project with the right materials and a little patience.
What You Will Need
Before you start, gather your supplies:
- Grout saw or oscillating multi-tool with grout removal blade
- Replacement tile (same size and thickness as existing)
- Tile adhesive or thinset mortar
- Unsanded or sanded grout (matched to existing color)
- Notched trowel and grout float
- Sponge and bucket
- Silicone caulk rated for wet areas
- Safety glasses and gloves
- Liquid waterproofing membrane (if replacing tile)
Step 1: Assess the Damage
Start by pressing gently on each tile in the niche. A hollow thud instead of a solid knock means the tile has lost its bond to the wall. Check the grout lines for cracks, gaps, or dark staining that indicates water penetration. Mark any problem tiles with painter’s tape so you know exactly what needs to come out.
Step 2: Remove Damaged Grout
Put on your safety glasses. Use a grout saw or an oscillating tool fitted with a carbide grout blade to remove all the grout around the damaged tiles. Work carefully along each joint. You want to clear the grout completely without chipping the surrounding tiles. On a niche, you are typically working in tight quarters, so a small handheld grout saw gives you better control than a large tool.
Step 3: Remove and Replace Broken Tiles
Slip a stiff putty knife or chisel under the edge of a loose tile and pry it away from the wall. If tiles are firmly bonded but cracked, score them with a grout saw and then use a chisel to break them into pieces that are easier to remove. Clean the backer board surface of all old adhesive and debris. If the backer board is damaged or wet, cut out that section and install new cement backer board before proceeding.
Apply a liquid waterproofing membrane to the exposed backer board and let it dry. Then spread thinset mortar on the back of each replacement tile using a notched trowel and press it firmly into place. Use tile spacers to keep joints consistent. Let the thinset cure for 24 hours before grouting.
Step 4: Regrout the Niche
Mix your grout according to the package directions. It should have the consistency of peanut butter — not too runny, not too stiff. Use a grout float held at a 45-degree angle to work the grout diagonally across the joints, pressing it in firmly. Remove excess grout from the tile faces with the edge of the float.
After 15 to 20 minutes, use a damp sponge to clean the tile surface. Rinse the sponge frequently and use as little water as possible — excess water weakens grout. After the grout hazes over (usually 30 to 60 minutes), buff the tile clean with a dry cloth.
Step 5: Caulk the Corners
Never grout the inside corners of a shower niche. Grout is rigid and will crack as the wall flexes. Instead, fill every inside corner and the joint where the niche meets the main shower wall with 100% silicone caulk in a color that matches your grout. Smooth it with a wet finger and let it cure for a full 24 hours before the shower is used.
Step 6: Seal the Grout
Once the grout has cured for at least 72 hours, apply a penetrating grout sealer to all the grout lines in the niche. This step is especially important in a shower niche because water sits on the shelf surface. Reapply the sealer once a year to keep moisture from working its way into the joints.
Pro Tips
- Keep a fan running in the bathroom while the grout and caulk cure to improve ventilation.
- If your niche does not have a slight pitch toward the drain, consider using a tile adhesive to shim the back tiles so water runs toward the front edge rather than pooling.
- Grout pens are handy for touching up minor discoloration without a full regrout job.
A well-repaired shower niche not only looks great but also protects the wall structure behind it from the kind of slow water damage that turns a simple tile fix into a full bathroom renovation.
- Assess the Damage
Start by pressing gently on each tile in the niche. A hollow thud instead of a solid knock means the tile has lost its bond to the wall. Check the grout lines for cracks, gaps, or dark staining that indicates water penetration.
- Remove Damaged Grout
Put on your safety glasses. Use a grout saw or an oscillating tool fitted with a carbide grout blade to remove all the grout around the damaged tiles. Work carefully along each joint.
- Remove and Replace Broken Tiles
Slip a stiff putty knife or chisel under the edge of a loose tile and pry it away from the wall. If tiles are firmly bonded but cracked, score them with a grout saw and then use a chisel to break them into pieces that are easier to remove.
- Regrout the Niche
Mix your grout according to the package directions. It should have the consistency of peanut butter — not too runny, not too stiff. Use a grout float held at a 45-degree angle to work the grout diagonally across the joints, pressing it in firmly.
- Caulk the Corners
Never grout the inside corners of a shower niche. Grout is rigid and will crack as the wall flexes. Instead, fill every inside corner and the joint where the niche meets the main shower wall with 100% silicone caulk in a color that matches your grout...
- Seal the Grout
Once the grout has cured for at least 72 hours, apply a penetrating grout sealer to all the grout lines in the niche. This step is especially important in a shower niche because water sits on the shelf surface.
Free: 10-Point Home Maintenance Checklist
Prevent costly repairs with this seasonal checklist. Save hundreds every year by catching problems early.
Your checklist is ready!
Open Checklist →Something went wrong. View the checklist here.