How to Fix a Broken Storm Door Glass
Learn how to safely remove and replace a cracked or shattered storm door glass panel with the right tools and techniques.
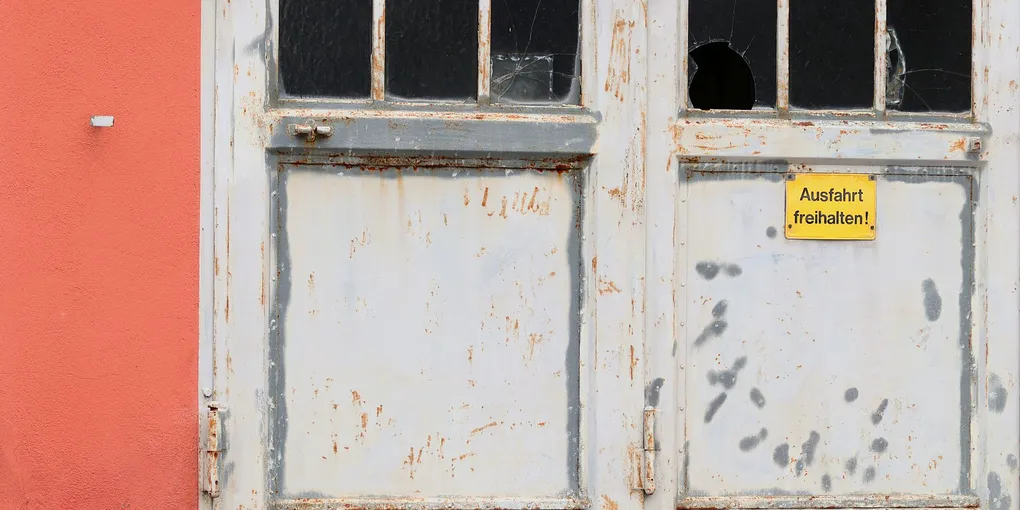
A cracked or shattered storm door glass panel is both a safety hazard and a weatherproofing problem. The good news is that storm door manufacturers design their glass inserts for homeowner replacement.
A cracked or shattered storm door glass panel is both a safety hazard and a weatherproofing problem. The good news is that storm door manufacturers design their glass inserts for homeowner replacement. With a few basic tools and a correctly sized panel, you can complete this repair in an afternoon without calling a glazier.
What You Will Need
- Replacement glass panel (tempered or laminated, matched to original size)
- Flathead and Phillips screwdrivers
- Utility knife
- Rubber mallet
- Work gloves and safety glasses
- Painter’s tape (for containing cracked glass)
- Safety glasses rated for impact protection
- Heavy-duty work gloves for glass handling
Step 1: Tape the Broken Glass Before Removal
If the glass is cracked but still in place, apply painter’s tape in a crisscross pattern across the entire panel. This holds fragments together and greatly reduces the risk of injury during removal. Put on your gloves and safety glasses before touching anything.
Step 2: Identify Your Door System
Storm doors use one of two panel systems. The first is a full-view insert where the glass panel slides into an aluminum retainer frame secured by screws. The second is a traditional divided-light door where each pane sits in a glazing channel. Check the edges of your glass for visible screws or a snap-in vinyl bead to identify which type you have.
Step 3: Remove the Retainer or Glazing Bead
For screw-in retainer systems: Remove all screws from the perimeter of the frame, then lift the retainer away. The glass panel should slide out from one side.
For snap-in vinyl bead systems: Work a flathead screwdriver gently into the corner of the bead and pry it out. Work around the perimeter slowly to avoid bending the channel. Once the bead is removed, the glass can be pulled free.
Step 4: Remove the Old Glass
Slide or lift the broken panel out carefully. Keep it flat as you move it and set it immediately into a heavy cardboard box or trash bag for safe disposal. Never put broken glass loose into a trash can.
Step 5: Clean the Channel or Frame
Use a utility knife or stiff brush to remove any old glazing compound, dried caulk, or glass fragments from the retainer channel. Wipe it clean and dry before installing the new panel.
Step 6: Measure and Order Your Replacement Panel
If you have not already ordered glass, measure the channel opening — the space where the glass actually sits — in both width and height. Order a panel 1/8 inch smaller than the channel measurement in each direction. Note whether the original glass was tinted or had a low-E coating, and match those specifications if possible.
Step 7: Install the New Glass
Slide the new panel into the channel, starting at the bottom. Press it gently into place and make sure it seats evenly on all sides. For vinyl bead systems, press the bead back in firmly by hand, starting at the corners and working toward the middle. For screw-in frames, replace the retainer and reinstall all screws, tightening evenly.
Step 8: Inspect for Gaps and Test the Door
Look around the perimeter for any gaps between the glass and the channel. If the door has a sweep or compression seal, make sure it still contacts the glass properly. Open and close the storm door several times to confirm the panel is secure and the latch operates normally.
A replacement storm door glass kit from brands like Larson or Andersen often includes the glass, new retainer hardware, and instructions specific to your door model — making this repair even more straightforward if you can identify your brand.
Shop storm door replacement glass panels on Amazon
With the right panel in hand, replacing storm door glass is a clean, satisfying repair that restores both the look and the weatherproofing of your entryway in a single afternoon.
- Tape the Broken Glass Before Removal
If the glass is cracked but still in place, apply painter's tape in a crisscross pattern across the entire panel. This holds fragments together and greatly reduces the risk of injury during removal.
- Identify Your Door System
Storm doors use one of two panel systems. The first is a full-view insert where the glass panel slides into an aluminum retainer frame secured by screws. The second is a traditional divided-light door where each pane sits in a glazing channel.
- Remove the Retainer or Glazing Bead
For screw-in retainer systems: Remove all screws from the perimeter of the frame, then lift the retainer away. The glass panel should slide out from one side.
- Remove the Old Glass
Slide or lift the broken panel out carefully. Keep it flat as you move it and set it immediately into a heavy cardboard box or trash bag for safe disposal. Never put broken glass loose into a trash can.
- Clean the Channel or Frame
Use a utility knife or stiff brush to remove any old glazing compound, dried caulk, or glass fragments from the retainer channel. Wipe it clean and dry before installing the new panel.
- Measure and Order Your Replacement Panel
If you have not already ordered glass, measure the channel opening — the space where the glass actually sits — in both width and height. Order a panel 1/8 inch smaller than the channel measurement in each direction.
Free: 10-Point Home Maintenance Checklist
Prevent costly repairs with this seasonal checklist. Save hundreds every year by catching problems early.
Your checklist is ready!
Open Checklist →Something went wrong. View the checklist here.