How to Fix a Broken Solar Panel Mounting Clamp
Replace a failed solar panel mid-clamp or end-clamp on a standard rail mounting system to keep your array secure against wind and weather loads.
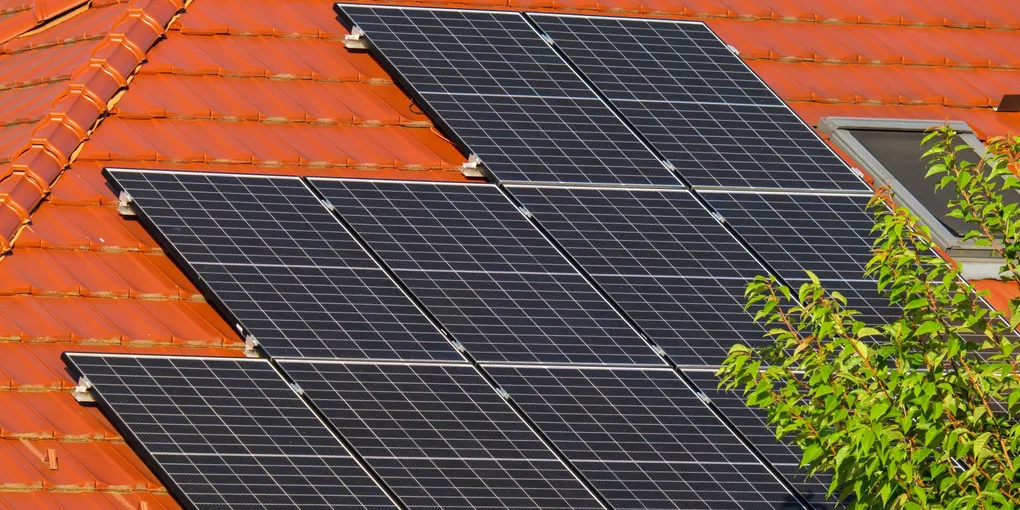
A broken or missing solar panel mounting clamp leaves a panel unsecured against wind uplift — potentially dangerous on a pitched roof and a violation of most installation warranties. Replacing a single mid-clamp or end-clamp is a manageable DIY repair for anyone comfortable working at roof height.
A broken or missing solar panel mounting clamp leaves a panel unsecured against wind uplift — potentially dangerous on a pitched roof and a violation of most installation warranties. Replacing a single mid-clamp or end-clamp is a manageable DIY repair for anyone comfortable working at roof height. The hardware costs $5 to $15 per clamp and the swap takes about 20 minutes per clamp once you are set up on the roof.
This guide covers clamp identification, safe roof access, clamp removal and replacement, and proper torque application for a code-compliant repair.
What You Need
- Solar panel mid-clamp set (compatible with your rail width) — The clamp that sits between two adjacent panels. Available in heights to match common frame thicknesses (30mm, 35mm, 40mm frame height).
- Solar panel end-clamp set — For the outermost panel position in each row. Usually sold with T-bolts and flange nuts included.
- Torque wrench with 10mm socket — Required for applying the manufacturer-specified torque to clamp bolts. A regular wrench risks undertorquing (panel shifts in wind) or overtorquing (panel frame cracks).
- Roof safety harness and rope anchor, rubber-soled shoes, 10mm socket wrench, T-10 or T-25 Torx bit (varies by brand), insulated gloves
Step 1: Identify the Clamp Type and Rail Dimensions
Before ordering replacement hardware, identify:
Clamp position:
- Mid-clamp: Located between two panels in the same row. The clamp bridges both panel frames and uses one center bolt.
- End-clamp: Located at the start or end of a row. It grips one panel frame and hooks over the outer edge of the rail.
Rail channel size: The T-bolt that holds the clamp slides into the channel slot on top of the mounting rail. Common sizes are 40mm, 35mm, and 32mm channel widths. If your rail is from IronRidge, Unirac, or a major brand, look for the brand name stamped on the rail and download the compatibility guide from the manufacturer website.
Panel frame height: Mid-clamps come in different heights to match the frame thickness of the panel. Measure the panel frame from the glass surface down to the bottom of the frame lip. Common heights are 30mm and 35mm.
If the clamp body is broken but the T-bolt and nut are intact, you may only need to replace the clamp body — not the entire hardware set.
Step 2: De-Energize the Array and Prepare for Roof Access
Solar panels generate electricity any time light strikes them. You cannot eliminate all voltage, but you can disconnect the system from the load:
- Turn the solar inverter to OFF using the inverter power switch or the disconnect switch on the inverter itself.
- Open the main AC disconnect box (usually mounted near the inverter or utility meter) and flip the disconnect to OFF.
- Flip the DC disconnect switch if your system has one between the array and the inverter.
- Do not touch any wiring or connectors on the roof or in the conduit runs. You are replacing a mechanical clamp only.
- Put on insulated electrical gloves as a precaution before touching the panel frames.
Set up your ladder at the eave nearest the damaged clamp. Secure your fall arrest harness to an anchor point rated for rooftop work before stepping onto the roof surface.
Step 3: Remove the Broken Clamp
- Locate the broken clamp and visually inspect how it is attached. The clamp body sits over the panel frame edge(s), held by a single center bolt that threads into a T-bolt inside the rail channel.
- Place a non-slip mat or kneeling pad on the roof surface before positioning yourself near the panel.
- Loosen the center bolt using a 10mm socket wrench or the Torx bit (depending on your hardware). Turn counterclockwise. If the bolt is stripped, you may need to use a bolt extractor.
- Lift the clamp body off the panel frame. On a mid-clamp, both adjacent panels will be free to shift slightly — be aware of this before removing so you can stabilize both panels with one hand.
- Slide the T-bolt out of the rail channel through the nearest open end or the slot left by the broken clamp. Do not drop hardware onto the roof or into the gap between panel and roof.
- Inspect the panel frames at the contact points for cracks or deformation caused by the failed clamp.
Step 4: Install the Replacement Clamp
- Slide the new T-bolt into the rail channel through the open end of the rail or by pressing it down into the channel slot. Position it approximately where the old clamp was located.
- Position the new clamp body over the panel frame edge(s). For a mid-clamp, ensure both panel frame edges are seated inside the clamp shoulders before tightening.
- Thread the center bolt through the clamp body and into the T-bolt by hand. Do not tighten yet.
- Adjust the clamp position so it is centered on the panel frame edge, with equal bearing on both panels (for a mid-clamp) and the clamp body flush against the top of the panel frame.
- Torque the center bolt to the manufacturer specification — typically 15 to 20 foot-pounds. Use your torque wrench and tighten until it clicks. Do not exceed the spec.
- Check that the panel(s) no longer shift when you apply moderate pressure with your palm. If there is any movement, re-tighten.
Step 5: Inspect Neighboring Clamps
While you are on the roof, spend five minutes checking the clamps on either side of the repair. Look for:
- Clamp bodies that are cracked, visibly corroded, or leaning at an angle
- Bolts that have backed out and are visibly loose
- Panel frames that have shifted out of alignment with the rail
Catching a second failing clamp now is far easier than making a second roof trip. Tighten any loose clamps to spec while you have the torque wrench in hand.
When to Call a Solar Installer
Contact a licensed solar installer rather than attempting the repair yourself if:
- The panel has shifted more than a few inches and the wiring harness below may be stressed
- Multiple clamps are broken across the array
- The roof pitch is greater than 4:12 (moderate slope) or the home is two or more stories
- Any wiring connectors or conduit near the repair area are visibly damaged
Related Reading
- How Much Does Solar Installation Cost?
- Signs You Need a New Roof
- Annual Home Maintenance Schedule
- Identify the Clamp Type and Rail Dimensions
Before ordering replacement hardware, identify:
- De-Energize the Array and Prepare for Roof Access
Solar panels generate electricity any time light strikes them. You cannot eliminate all voltage, but you can disconnect the system from the load:
- Remove the Broken Clamp
Locate the broken clamp and visually inspect how it is attached. The clamp body sits over the panel frame edge(s), held by a single center bolt that threads into a T-bolt inside the rail channel.
- Install the Replacement Clamp
Slide the new T-bolt into the rail channel through the open end of the rail or by pressing it down into the channel slot. Position it approximately where the old clamp was located.
- Inspect Neighboring Clamps
While you are on the roof, spend five minutes checking the clamps on either side of the repair. Look for:
Free: 10-Point Home Maintenance Checklist
Prevent costly repairs with this seasonal checklist. Save hundreds every year by catching problems early.
Your checklist is ready!
Open Checklist →Something went wrong. View the checklist here.