How to Fix a Broken Smoke Detector
Learn how to troubleshoot, repair, and replace a broken smoke detector to keep your home safe.
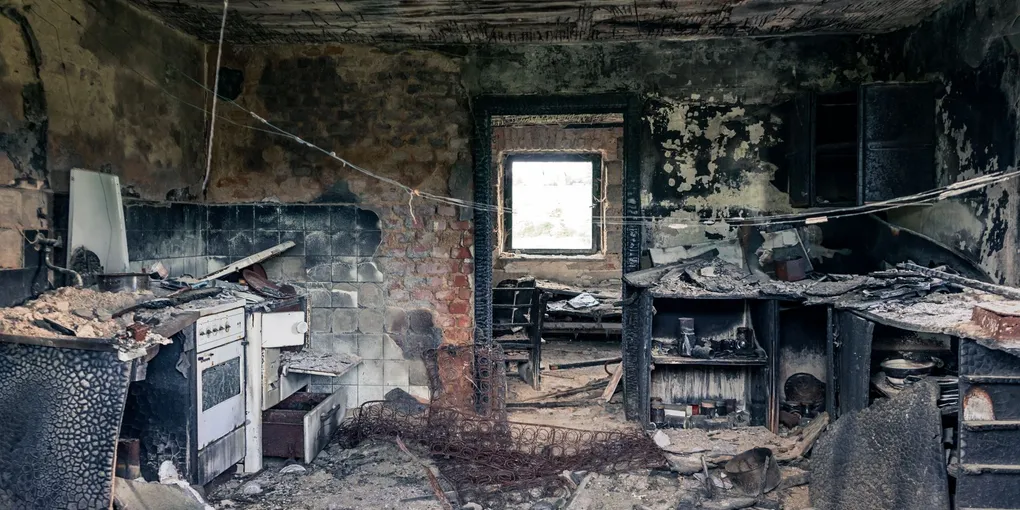
A smoke detector that chirps relentlessly, fails its self-test, or simply never alarms is a genuine safety hazard. Most issues trace back to three causes: a dead or dying battery, a contaminated sensor, or an expired unit.
A smoke detector that chirps relentlessly, fails its self-test, or simply never alarms is a genuine safety hazard. Most issues trace back to three causes: a dead or dying battery, a contaminated sensor, or an expired unit. This guide walks you through diagnosing and fixing each problem in under an hour.
Tools and Materials You Will Need
- Fresh 9V or AA batteries (check your model)
- Compressed air canister
- Soft brush or microfiber cloth
- Flathead and Phillips screwdrivers
- Voltage tester (for hardwired units)
- Replacement smoke detector (if needed)
A reliable combo detector like the Kidde Combination Smoke and Carbon Monoxide Detector handles both threats and costs under $35.
Step 1: Identify the Problem
Press the test button on the detector and hold it for 5 seconds. Listen for the response:
- Full alarm tone: The horn and sensor are working. The issue is likely a bad battery or dust build-up.
- Weak or absent tone: The battery is dead, or the horn is failed.
- No response at all: Power is not reaching the unit (hardwired) or the battery is completely dead.
- Constant chirp every 30-60 seconds: Low battery warning — replace battery first.
Step 2: Replace the Battery
Twist or slide the detector off its mounting bracket. Open the battery compartment and remove the old battery. Insert a fresh battery and snap the cover shut. Reattach the detector to the bracket and press the test button. If the alarm sounds strong and clear, you are done.
For hardwired detectors with battery backup, the process is identical — just make sure to reattach the wiring harness before snapping the detector back onto the bracket.
Step 3: Clean the Sensor Chamber
Dust, grease, and insects can lodge in the sensor chamber and cause false alarms or sensor failure. With the detector off its bracket, use a can of compressed air to blow out the sensing chamber vents around the perimeter of the detector. Follow with a soft brush to dislodge any remaining debris. Never use water or cleaning sprays inside the detector.
Reinstall and test again. Clean sensors resolve nuisance tripping in most cases.
Step 4: Check Wiring on Hardwired Units
If cleaning and a new battery do not help a hardwired detector, the issue may be a loose wire connection. Turn off the breaker for that circuit and confirm power is off with a voltage tester. Unplug the wiring harness from the back of the detector. Inspect each wire terminal in the harness for corrosion or looseness. Reconnect the harness firmly, restore power, and retest.
Step 5: Replace the Detector
If the unit is more than 10 years old (check the manufacture date on the back), no amount of cleaning or battery swapping will fix it — the sensor simply degrades over time. Replacement is the only safe option.
To replace a battery-only detector: untwist the old unit from the bracket, align the new detector with the bracket, and twist to lock. For hardwired units, match the wiring harness connector to the new detector’s port before mounting.
The First Alert Photoelectric Smoke Detector is a top-rated option that resists nuisance alarms from cooking steam.
Placement and Ongoing Maintenance
- Mount detectors on the ceiling or high on a wall, at least 4 inches from any corner.
- Install one on every level, inside each bedroom, and outside sleeping areas.
- Test every detector monthly using the test button.
- Vacuum the vents lightly every 6 months to prevent dust accumulation.
- Replace all detectors every 10 years without exception.
When to Call an Electrician
If a hardwired detector repeatedly trips the circuit breaker, or if you discover unfamiliar wiring configurations in the junction box, stop and call a licensed electrician. Smoke detector wiring itself is simple, but underlying electrical problems need professional diagnosis.
A working smoke detector is the cheapest insurance policy in your home. Ten minutes of troubleshooting today could be life-saving tomorrow.
- Identify the Problem
Press the test button on the detector and hold it for 5 seconds. Listen for the response:
- Replace the Battery
Twist or slide the detector off its mounting bracket. Open the battery compartment and remove the old battery. Insert a fresh battery and snap the cover shut. Reattach the detector to the bracket and press the test button.
- Clean the Sensor Chamber
Dust, grease, and insects can lodge in the sensor chamber and cause false alarms or sensor failure. With the detector off its bracket, use a can of compressed air to blow out the sensing chamber vents around the perimeter of the detector.
- Check Wiring on Hardwired Units
If cleaning and a new battery do not help a hardwired detector, the issue may be a loose wire connection. Turn off the breaker for that circuit and confirm power is off with a voltage tester. Unplug the wiring harness from the back of the detector.
- Replace the Detector
If the unit is more than 10 years old (check the manufacture date on the back), no amount of cleaning or battery swapping will fix it — the sensor simply degrades over time. Replacement is the only safe option.
Free: 10-Point Home Maintenance Checklist
Prevent costly repairs with this seasonal checklist. Save hundreds every year by catching problems early.
Your checklist is ready!
Open Checklist →Something went wrong. View the checklist here.