How to Fix a Broken Skylight Seal
Learn how to repair failed skylight flashing and sealant to stop leaks and prevent water damage to your home.
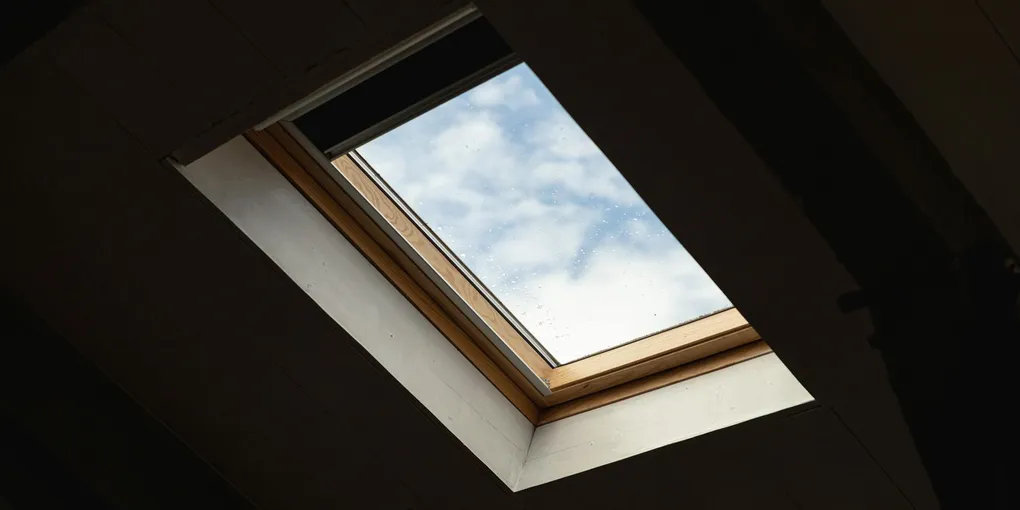
A leaking skylight can ruin drywall, spawn mold, and drive up heating and cooling bills all at once. The good news is that most skylight leaks trace back to failed sealant or damaged flashing rather than a broken unit — and both are straightforward DIY fixes.
A leaking skylight can ruin drywall, spawn mold, and drive up heating and cooling bills all at once. The good news is that most skylight leaks trace back to failed sealant or damaged flashing rather than a broken unit — and both are straightforward DIY fixes. This guide walks you through diagnosing the problem and making a lasting repair.
Safety First
Working on a roof demands caution. Choose a dry, windless day and wear rubber-soled shoes with good grip. Set up a sturdy ladder rated for your weight and secure it to the house. If your roof pitch is steeper than 6:12, strongly consider roping yourself to a ridge anchor. Never work on a wet or frost-covered roof.
Tools and Materials You Will Need
- Utility knife and pry bar
- Wire brush or stiff nylon brush
- Roofing caulk gun
- Self-leveling polyurethane roof sealant
- Butyl flashing tape (4-inch width recommended)
- Roofing nails and hammer (if reflashing)
- Clean rags and mineral spirits
- Ladder and non-slip shoes
A quality sealant gun makes a real difference on vertical surfaces. The Newborn 930-GTD Drip-Free Caulk Gun provides steady pressure control that prevents over-application. For the sealant itself, Sashco Through the Roof Sealant is a highly rated polyurethane formula that bonds to shingles, metal, and wood.
Step 1: Locate the Leak
Go into your attic on a sunny day with a flashlight. Look for water stains, wet insulation, or daylight visible around the skylight curb — the raised frame the skylight sits on. Once you know which side is leaking, mark it so you can target the same area from the roof.
Step 2: Clean the Work Area
On the roof, remove any loose granules, old sealant, or debris from around the skylight frame using the wire brush. Use the utility knife to cut away cracked or peeling caulk. Wipe the surface with mineral spirits on a rag to remove grease and residue. The repair will only bond well to a clean, dry surface.
Step 3: Inspect the Flashing
Lift the edges of the shingles adjacent to the skylight and examine the step flashing and counter-flashing. Step flashing pieces should alternate between the shingles and the skylight curb, each overlapping the one below it. Counter-flashing caps the top of the step flashing. Look for:
- Missing or bent flashing pieces
- Nail holes that have opened up
- Rust or corrosion that has eaten through the metal
- Gaps where flashing has pulled away from the curb
If flashing is simply lifted or bent, press it back and secure with roofing nails, then seal the nail heads. If pieces are missing or badly corroded, replace them before applying sealant.
Step 4: Apply Flashing Tape
Lay butyl flashing tape along any joints between the skylight curb and the roof deck. Press firmly from the center outward to eliminate air bubbles. Overlap seams by at least 2 inches. Run the tape up the sides of the curb and fold it over the top edge for full coverage.
Step 5: Seal All Joints
Load your caulk gun with the polyurethane sealant and apply a continuous bead along every edge where the flashing meets the skylight frame, and where shingles meet the curb. Tool the bead with a wet finger or caulk tool to press it into the joint. Pay special attention to the corners — leaks most often start there.
Step 6: Test the Repair
After the sealant has cured for 24 hours (check product specs), have a helper run water from a garden hose along the uphill side of the skylight while you watch from inside the attic. If no water appears, the repair is solid. If you still see drips, go back and look for gaps you missed.
Step 7: Monitor Going Forward
Check your skylight seals every spring and fall. A quick visual inspection from the ground using binoculars can catch early cracking before it becomes a full leak. Keeping gutters clear also reduces water backup that can aggravate skylight leaks along the eave.
When to Call a Professional
If your inspection reveals that the skylight curb itself is rotted, that the roof deck around the opening has water damage, or that the glazing is cracked, a roofing contractor should handle the repair. Structural damage around a skylight goes beyond a sealant job and needs a professional assessment.
A properly sealed skylight lets in natural light without letting in the weather. With the right materials and a methodical approach, you can make this repair in an afternoon and enjoy a dry, draft-free ceiling for years.
- Locate the Leak
Go into your attic on a sunny day with a flashlight. Look for water stains, wet insulation, or daylight visible around the skylight curb — the raised frame the skylight sits on.
- Clean the Work Area
On the roof, remove any loose granules, old sealant, or debris from around the skylight frame using the wire brush. Use the utility knife to cut away cracked or peeling caulk.
- Inspect the Flashing
Lift the edges of the shingles adjacent to the skylight and examine the step flashing and counter-flashing. Step flashing pieces should alternate between the shingles and the skylight curb, each overlapping the one below it.
- Apply Flashing Tape
Lay butyl flashing tape along any joints between the skylight curb and the roof deck. Press firmly from the center outward to eliminate air bubbles. Overlap seams by at least 2 inches.
- Seal All Joints
Load your caulk gun with the polyurethane sealant and apply a continuous bead along every edge where the flashing meets the skylight frame, and where shingles meet the curb. Tool the bead with a wet finger or caulk tool to press it into the joint.
- Test the Repair
After the sealant has cured for 24 hours (check product specs), have a helper run water from a garden hose along the uphill side of the skylight while you watch from inside the attic. If no water appears, the repair is solid.
Free: 10-Point Home Maintenance Checklist
Prevent costly repairs with this seasonal checklist. Save hundreds every year by catching problems early.
Your checklist is ready!
Open Checklist →Something went wrong. View the checklist here.