How to Fix a Broken Shower Head Arm
Learn how to repair or replace a broken, leaking, or stripped shower head arm in under an hour with basic tools and no plumber needed.
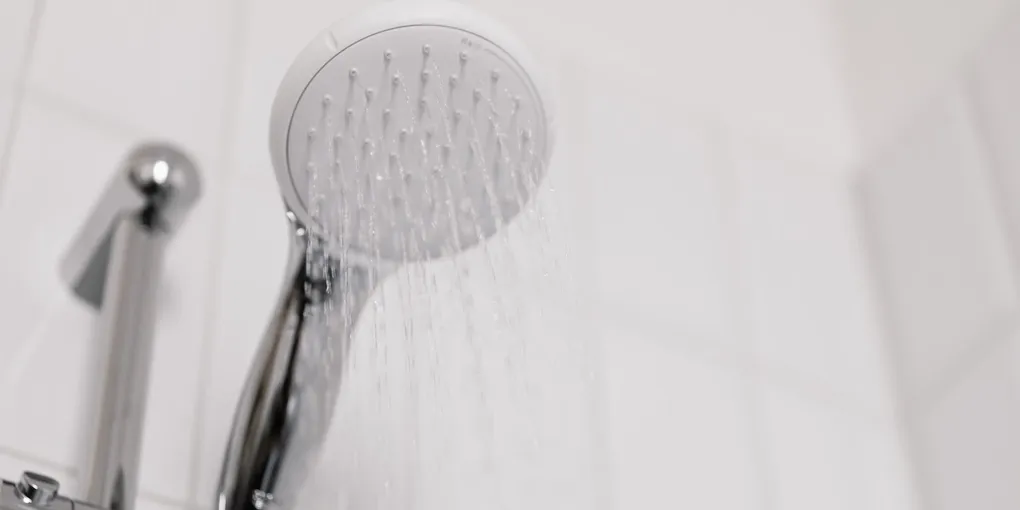
A broken shower arm is one of the most frustrating bathroom problems — water drips down the wall, the shower head hangs at an odd angle, or the whole assembly wobbles every time you adjust the spray.
A broken shower arm is one of the most frustrating bathroom problems — water drips down the wall, the shower head hangs at an odd angle, or the whole assembly wobbles every time you adjust the spray. The good news is that replacing a shower arm is a straightforward DIY repair that costs under $20 in parts and takes about 30 minutes once you have everything together.
What You Will Need
- Replacement shower arm (half-inch NPT, matching your preferred length and finish)
- Plumber’s tape (Teflon tape)
- Adjustable wrench or slip-joint pliers
- Old cloth or rubber jaw pads
- Pipe dope or thread sealant (optional but recommended for older pipes)
- Escutcheon plate (if the wall flange is damaged)
The SharkBite 12-inch Shower Arm and Flange is a reliable, corrosion-resistant choice that fits most standard shower setups and comes with a matching escutcheon plate.
Step 1: Shut Off the Water and Remove the Shower Head
Turn the shower valve to the off position. You do not need to shut off the main supply line for this repair unless the valve itself is faulty. Unscrew the shower head from the arm by turning it counterclockwise. If it is stuck, wrap a cloth around the arm near the wall for grip and use your other hand to twist the head free.
Step 2: Remove the Old Shower Arm
Wrap a cloth around the arm close to the wall escutcheon to protect the finish. Grip firmly with an adjustable wrench and turn counterclockwise. Older arms can be corroded in place — apply penetrating oil and wait five minutes if the arm resists. Pull the arm straight out once the threads disengage. Inspect the threads inside the wall fitting; if they look damaged or have heavy mineral buildup, clean them with a wire brush before proceeding.
Step 3: Prepare the New Arm
Wrap the threaded end of the new shower arm (the end that goes into the wall) with three to four layers of Teflon tape in a clockwise direction. Pull the tape firmly so it seats between the threads. For older galvanized pipe connections, add a thin layer of pipe dope over the tape for added security.
A quality Moen 12-Inch Shower Arm with Flange is a popular upgrade that includes a decorative flange to cover any wall damage left by the old arm.
Step 4: Install the New Arm
Thread the taped end into the wall fitting by hand, turning clockwise. Get it as snug as you can by hand, then use the adjustable wrench to tighten it an additional half to three-quarter turn. Do not overtighten — you only need to compress the Teflon tape enough to create a watertight seal. Position the arm so it slopes very slightly downward toward the shower head; this helps water drain back through the head when the shower is off and prevents drips.
Step 5: Attach the Escutcheon Plate and Shower Head
Slide the escutcheon (wall flange) over the arm before connecting the shower head. Press it flush against the wall and caulk around the edge if needed to keep moisture from getting behind it. Thread the shower head onto the open end of the arm, wrapping those threads with Teflon tape as well. Hand-tighten, then add a quarter-turn with your wrench — no more.
Step 6: Test for Leaks
Turn the shower valve on slowly and let it run for a full minute. Inspect the wall connection and the shower head connection for any drips. A slow drip at the wall fitting usually means the arm needs another quarter-turn of tightening. If leaking persists after tightening, turn off the water, unscrew the arm, add another wrap of Teflon tape, and reinstall.
When to Call a Plumber
If the threaded fitting inside the wall is cracked or the supply pipe has corroded through, the repair becomes a pipe replacement job inside the wall. That is the point where a licensed plumber adds value — but the arm swap itself is always a solid DIY win.
For anyone doing a broader bathroom refresh, picking up a complete shower arm and shower head combo kit can save money and ensure a matched finish throughout the shower.
- Shut Off the Water and Remove the Shower Head
Turn the shower valve to the off position. You do not need to shut off the main supply line for this repair unless the valve itself is faulty. Unscrew the shower head from the arm by turning it counterclockwise.
- Remove the Old Shower Arm
Wrap a cloth around the arm close to the wall escutcheon to protect the finish. Grip firmly with an adjustable wrench and turn counterclockwise. Older arms can be corroded in place — apply penetrating oil and wait five minutes if the arm resists.
- Prepare the New Arm
Wrap the threaded end of the new shower arm (the end that goes into the wall) with three to four layers of Teflon tape in a clockwise direction. Pull the tape firmly so it seats between the threads.
- Install the New Arm
Thread the taped end into the wall fitting by hand, turning clockwise. Get it as snug as you can by hand, then use the adjustable wrench to tighten it an additional half to three-quarter turn.
- Attach the Escutcheon Plate and Shower Head
Slide the escutcheon (wall flange) over the arm before connecting the shower head. Press it flush against the wall and caulk around the edge if needed to keep moisture from getting behind it.
- Test for Leaks
Turn the shower valve on slowly and let it run for a full minute. Inspect the wall connection and the shower head connection for any drips. A slow drip at the wall fitting usually means the arm needs another quarter-turn of tightening.
Free: 10-Point Home Maintenance Checklist
Prevent costly repairs with this seasonal checklist. Save hundreds every year by catching problems early.
Your checklist is ready!
Open Checklist →Something went wrong. View the checklist here.