How to Fix a Broken Shower Glass Door Seal
Learn how to replace a worn or missing frameless shower door sweep and seal to stop leaks, eliminate mold, and restore a watertight barrier.
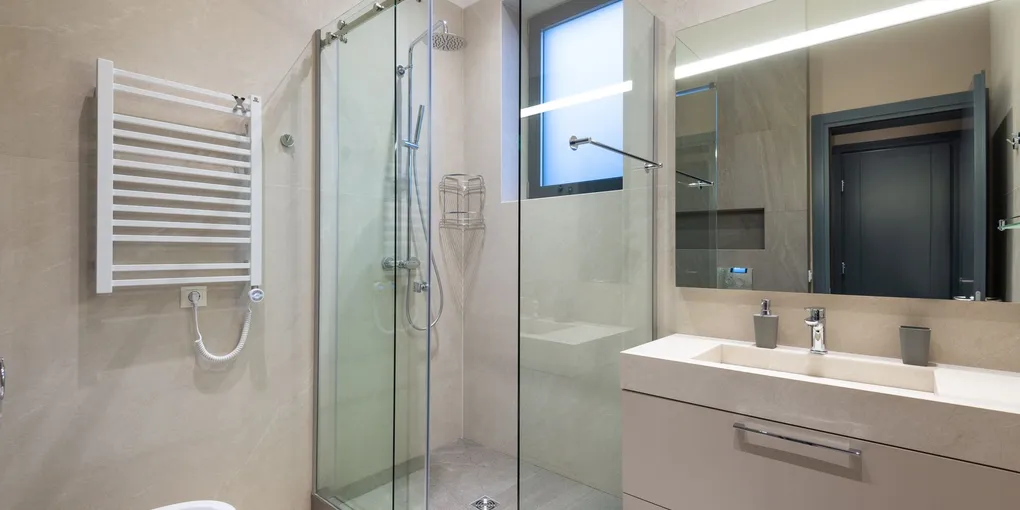
A frameless or semi-frameless shower door looks sleek, but the seals along its edges do the hard work of keeping water inside the shower. When a bottom sweep or a side seal wears out — cracking, stiffening, or pulling away from the glass — water escapes onto the bathroom floor with every shower.
A frameless or semi-frameless shower door looks sleek, but the seals along its edges do the hard work of keeping water inside the shower. When a bottom sweep or a side seal wears out — cracking, stiffening, or pulling away from the glass — water escapes onto the bathroom floor with every shower. The repair is simpler than most homeowners expect and requires no special skills, just the right replacement part and about 30 minutes.
Tools and Materials You Will Need
- Tape measure and marker
- Utility knife or scissors
- Replacement shower door bottom sweep matched to your glass thickness
- Replacement side seal or magnetic seal strip if the vertical seals are also worn
- Mild soap and water
- Isopropyl alcohol and clean cloth
- Hair dryer (optional, to soften stiff old seals)
- Flathead screwdriver or putty knife
Step 1 — Identify Which Seals Need Replacement
Open the shower door and inspect every seal surface:
- Bottom sweep: runs along the bottom edge of the door panel
- Side seals: run vertically on the hinge side and latch side where the door meets the wall channel or adjacent glass panel
- Magnetic seals: on fully frameless doors, the latch-side seal often contains a magnetic strip that holds the door closed
Feel along each seal for stiffness, brittleness, tears, or flat spots where the material has compressed permanently. Discoloration and black mold embedded in the seal are also signs of replacement, not just cleaning.
Step 2 — Remove the Old Bottom Sweep
Most bottom sweeps clip, slide, or tension-fit onto the bottom edge of the glass panel. Look for a channel that wraps around the glass edge and slide the sweep toward one end of the door. It should pull free once it clears the end of the glass. If adhesive was used, heat the sweep with a hair dryer for 30 seconds to soften the bond, then peel it away slowly to avoid leaving chunks behind.
Clean the glass edge thoroughly with isopropyl alcohol and a clean cloth to remove soap scum, adhesive residue, and mold. Let the glass dry completely before installing the new sweep.
Step 3 — Cut the New Sweep to Length
Measure the width of your door panel at the bottom edge. Transfer that measurement to the new sweep and cut it to length with a sharp utility knife or scissors. A clean, square cut ensures the sweep seats fully without gaps at the corners. For sweeps with a built-in drip rail, orient it so the rail faces the interior of the shower.
Step 4 — Install the New Bottom Sweep
Slide the new sweep onto the bottom edge of the glass panel, starting from one end and working toward the other. The channel should grip the glass firmly with no gaps. If the fit is loose, the seal was not matched to your glass thickness — check the packaging. For adhesive-backed sweeps, peel the liner and press firmly for 60 seconds of full contact along the entire length.
Step 5 — Replace the Side Seals
To replace vertical side seals, open the door fully. Most side seals are friction-fit into a metal or plastic channel mounted on the wall or door jamb. Pull the old seal straight out of the channel. Measure the channel height, cut the new seal to match, and press it firmly into the channel from top to bottom until it seats evenly. On frameless doors with no channel, side seals typically have a self-adhesive backing — clean the mounting surface with alcohol, let dry, then press the new seal into place.
Step 6 — Reinstall the Door and Test Alignment
If you removed the door to replace side seals, rehang it on its hinges and check that it swings squarely. A door that sags at the latch side will lift the sweep away from the shower floor, recreating the leak. Tighten any loose hinge screws and use the hinge adjustment screws (if present on frameless hinges) to bring the door back to plumb.
Step 7 — Run a Water Test
Close the door and run the shower at full pressure for two minutes. Check the floor outside the shower door along the entire sweep path. A properly seated sweep will leave the floor completely dry. If you see water escaping at a corner, press the sweep more firmly into its channel and test again.
Replacing shower door seals is one of the highest-value bathroom maintenance tasks you can do — it protects your subfloor from water damage and eliminates the mold-friendly gaps where spores take hold behind a failing seal.
- Step 1 — Identify Which Seals Need Replacement
Open the shower door and inspect every seal surface:
- Step 2 — Remove the Old Bottom Sweep
Most bottom sweeps clip, slide, or tension-fit onto the bottom edge of the glass panel. Look for a channel that wraps around the glass edge and slide the sweep toward one end of the door. It should pull free once it clears the end of the glass.
- Step 3 — Cut the New Sweep to Length
Measure the width of your door panel at the bottom edge. Transfer that measurement to the new sweep and cut it to length with a sharp utility knife or scissors. A clean, square cut ensures the sweep seats fully without gaps at the corners.
- Step 4 — Install the New Bottom Sweep
Slide the new sweep onto the bottom edge of the glass panel, starting from one end and working toward the other. The channel should grip the glass firmly with no gaps.
- Step 5 — Replace the Side Seals
To replace vertical side seals, open the door fully. Most side seals are friction-fit into a metal or plastic channel mounted on the wall or door jamb. Pull the old seal straight out of the channel.
- Step 6 — Reinstall the Door and Test Alignment
If you removed the door to replace side seals, rehang it on its hinges and check that it swings squarely. A door that sags at the latch side will lift the sweep away from the shower floor, recreating the leak.
Free: 10-Point Home Maintenance Checklist
Prevent costly repairs with this seasonal checklist. Save hundreds every year by catching problems early.
Your checklist is ready!
Open Checklist →Something went wrong. View the checklist here.