How to Fix a Broken Outdoor Deck Light
Learn how to diagnose and repair a low-voltage deck light by replacing a burned-out socket, faulty fixture, or damaged wiring connector.
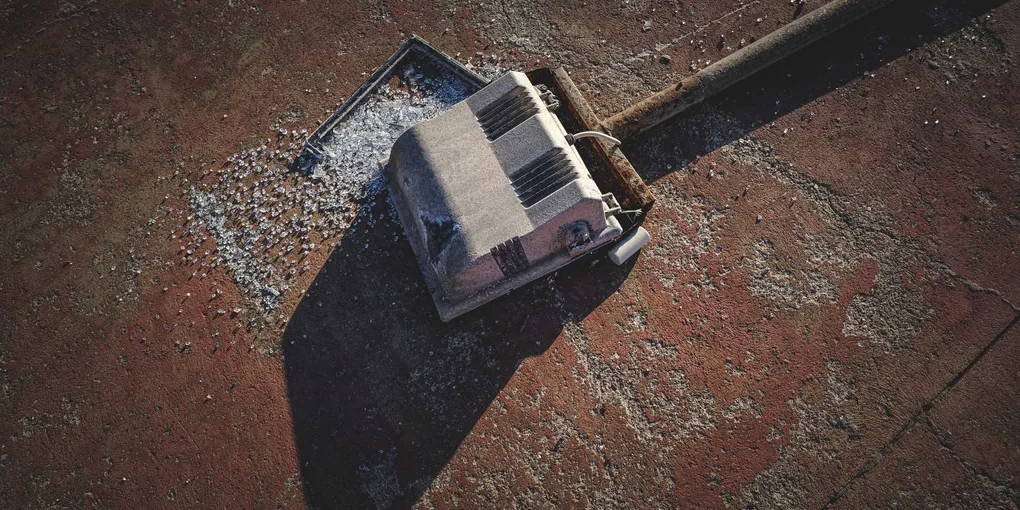
Low-voltage deck lighting creates a welcoming atmosphere for outdoor entertaining and improves safety on steps and railings — but exposure to the elements takes a toll. Corroded sockets, cracked fixtures, and damaged wire connectors are the most common causes of dead deck lights.
Low-voltage deck lighting creates a welcoming atmosphere for outdoor entertaining and improves safety on steps and railings — but exposure to the elements takes a toll. Corroded sockets, cracked fixtures, and damaged wire connectors are the most common causes of dead deck lights. Most repairs take less than an hour and cost only a few dollars in parts.
How Low-Voltage Deck Lighting Works
Most deck light systems consist of three components:
- A plug-in transformer that converts 120V household current to 12V DC
- Runs of low-voltage wire that carry power from the transformer to each fixture
- Individual fixtures with sockets, bulbs, and wire connectors
Because the output voltage is 12V, working on the fixture and wiring side of the system is safe to handle without shutting off power. However, you should always unplug the transformer before working on any wiring connections to avoid accidental shorts.
Tools and Materials You Will Need
- Multimeter
- Non-contact voltage tester (for 120V line-voltage systems)
- Small flathead screwdriver
- Wire strippers
- Replacement bulbs (match the base type and wattage of the originals)
- Replacement wire connectors (outdoor-rated)
- Replacement socket or fixture if needed
- Silicone grease or self-amalgamating tape
A low-voltage landscape lighting wire connector set gives you a supply of weatherproof connectors for fixing broken connections along the wire run. For replacements, a deck light fixture kit often costs less than $10 per fixture.
Step 1: Start With the Simplest Fixes
Before opening any fixture or testing wiring, run through these quick checks:
- Replace the bulb. A burned-out bulb is the single most common cause of a dead deck light. Most low-voltage deck lights use G4 bi-pin halogen or LED bulbs, or wedge-base bulbs. Pull out the old bulb and swap in a matching replacement.
- Check the GFCI. Your transformer should be plugged into a GFCI-protected outdoor outlet. If the GFCI has tripped, the entire system loses power. Press the reset button on the outlet.
- Check the transformer timer or photocell. Some transformers have a built-in timer or light sensor. Verify the timer is set correctly and the photocell (if present) is not blocked or dirty.
Step 2: Test the Transformer Output
If multiple fixtures are out or the system is completely dead, test the transformer. Plug it into a known working outlet and use your multimeter set to DC voltage on the output terminals. A working transformer will read approximately 12V. If you read zero, check whether the transformer has an internal fuse — many do, and a blown fuse is a cheap fix before replacing the whole unit.
Step 3: Trace the Dead Section of Wiring
If some lights work and others do not, the problem is likely in the wiring run feeding the dead section. Unplug the transformer. Follow the wire from the last working fixture toward the first dead fixture and inspect each connector along the way. Pierce-and-clamp connectors (the most common type used in low-voltage systems) are notorious for corroding internally over time, especially in wet climates.
Press on each connector to confirm it is fully seated. Disconnect and inspect the connector interior — if the contacts are green with corrosion, replace the connector with a fresh outdoor-rated one.
Step 4: Replace a Corroded Socket
If one fixture is dead but its neighbors work, and a fresh bulb does not help, the socket is likely corroded. To replace it:
- Unplug the transformer.
- Open the fixture housing — usually by removing one or two small screws on the bottom or back.
- Disconnect the socket wires from the fixture’s wire leads.
- Note the socket type (bi-pin spacing, wedge size, or bayonet type) and order a matching replacement.
- Connect the new socket, close the housing, and test with a new bulb.
Step 5: Replace a Damaged Fixture
If the fixture housing is cracked, water-logged, or the socket cannot be sourced separately, replace the entire fixture. Most low-voltage deck light fixtures use a standard wire connector for attachment to the main run, making swaps fast and tool-free.
When installing the new fixture, apply a small amount of silicone grease inside the wire connector before closing it. This displaces moisture and dramatically extends the life of the connection.
Step 6: Test the Repaired System
Plug the transformer back in and observe the repaired fixture. Let the system run for 10–15 minutes and then re-inspect all connections for warmth or any sign of arcing. A properly functioning low-voltage connection will be cool to the touch.
For a quality multimeter suited for both 12V and 120V testing, a mid-range unit from Klein Tools or Fluke handles all the testing in this guide and will serve you for years of home repairs.
Seasonal Maintenance
At the start and end of each outdoor lighting season, inspect all connectors and fixture housings for signs of moisture intrusion, corrosion, or physical damage. Clean bulb contacts with a small wire brush or fine sandpaper. Replacing worn connectors proactively is far easier than troubleshooting a half-dead system in the middle of summer.
With a methodical approach, most deck light repairs are resolved in under an hour — and you will have the satisfaction of a fully lit deck for the season ahead.
- Start With the Simplest Fixes
Before opening any fixture or testing wiring, run through these quick checks:
- Test the Transformer Output
If multiple fixtures are out or the system is completely dead, test the transformer. Plug it into a known working outlet and use your multimeter set to DC voltage on the output terminals. A working transformer will read approximately 12V.
- Trace the Dead Section of Wiring
If some lights work and others do not, the problem is likely in the wiring run feeding the dead section. Unplug the transformer. Follow the wire from the last working fixture toward the first dead fixture and inspect each connector along the way.
- Replace a Corroded Socket
If one fixture is dead but its neighbors work, and a fresh bulb does not help, the socket is likely corroded. To replace it:
- Replace a Damaged Fixture
If the fixture housing is cracked, water-logged, or the socket cannot be sourced separately, replace the entire fixture.
- Test the Repaired System
Plug the transformer back in and observe the repaired fixture. Let the system run for 10–15 minutes and then re-inspect all connections for warmth or any sign of arcing. A properly functioning low-voltage connection will be cool to the touch.
Free: 10-Point Home Maintenance Checklist
Prevent costly repairs with this seasonal checklist. Save hundreds every year by catching problems early.
Your checklist is ready!
Open Checklist →Something went wrong. View the checklist here.