How to Fix a Broken Medicine Cabinet Hinge
Learn how to repair or replace a broken medicine cabinet hinge so your bathroom cabinet door swings smoothly and stays closed.
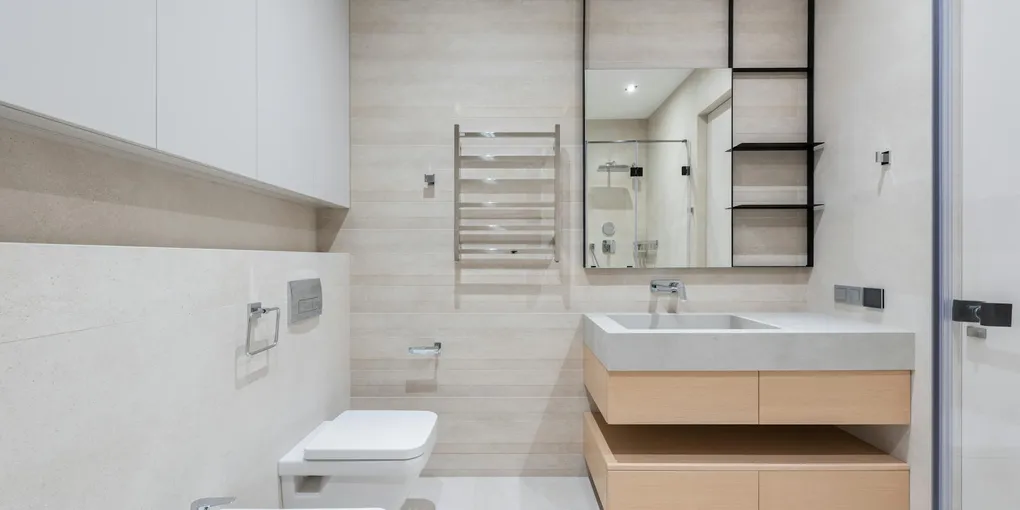
A medicine cabinet door that droops, swings open on its own, or refuses to latch is one of those small bathroom annoyances that gets worse every day you ignore it.
A medicine cabinet door that droops, swings open on its own, or refuses to latch is one of those small bathroom annoyances that gets worse every day you ignore it. The good news is that a broken hinge is a straightforward fix that costs under ten dollars and takes less than an hour — no plumber or carpenter required.
Tools and Materials You Will Need
- Flathead and Phillips screwdrivers
- Needle-nose pliers
- Replacement hinges (match the style and size of the originals)
- Wood glue and toothpicks (for stripped holes)
- Painter’s tape
- Level
A good set of precision screwdrivers makes this job much easier because medicine cabinet screws are often small and recessed. The TEKTON 40-piece screwdriver set covers every size you are likely to encounter in a bathroom cabinet.
Step 1 — Assess the Damage
Open the cabinet door fully and look at every hinge. Determine whether the hinge body itself is cracked, whether a screw hole is stripped, or whether the mounting plate has pulled away from the frame. Sometimes only one screw is loose, and a simple tightening with a screwdriver is all that is needed.
If the hinge is bent or the metal has fatigued, you need a replacement. Note the hinge type (butt, European cup, or pivot), its dimensions, and the number of screw holes so you can buy an exact match.
Step 2 — Remove the Door
Hold the door steady with one hand or prop it with a folded towel on the sink below. Remove the screws from the hinge attached to the door first, then the screws from the cabinet frame side. Set the door on a flat surface.
Step 3 — Deal With Stripped Screw Holes
If the screws spin without gripping, the wood behind the hole has given out. Dab wood glue on three or four toothpicks, push them firmly into the hole, snap off the excess flush with the surface, and let the glue cure for at least two hours. Once hardened, the toothpicks give the screw threads something solid to bite into.
Step 4 — Install the New Hinges
Position the replacement hinge on the door stile, lining up the pre-drilled holes. Drive the screws until they are snug but not fully tightened — you want to be able to make small adjustments. Hang the door back on the cabinet by attaching the frame side of each hinge. Use a level or eyeball the gap around the door edges to confirm it sits evenly before driving everything fully tight.
Step 5 — Test the Swing and Latch
Open and close the door several times. It should swing smoothly without rubbing the frame and should pull shut with a satisfying click if a magnetic catch is present. If the door sticks at the top or bottom, slightly loosen the hinge screws on that side, nudge the door into position, and retighten.
For cabinets with adjustable European hinges, look for a small Phillips screw on the side of the hinge cup that moves the door left or right, and a second screw on the mounting plate that moves it in or out. A few quarter-turns often dial in a perfect fit.
Choosing Replacement Hinges
Standard butt hinges for medicine cabinets are sold at every hardware store. If your cabinet uses European cup hinges, measure the cup diameter (typically 26 mm or 35 mm) before shopping. The Rok Hardware 35 mm concealed cabinet hinges (10-pack) fit most frameless medicine cabinets and include mounting plates and screws.
For older recessed cabinets with pivot hinges, a universal pivot hinge set like the National Hardware N830-208 covers most standard openings and adjusts to compensate for minor frame irregularities.
Preventing Future Hinge Problems
Medicine cabinet doors are opened dozens of times a day, which stresses hinges more than most people expect. Every year or so, tighten all hinge screws and apply a drop of 3-in-1 oil to each pivot point. This five-minute habit will keep the door swinging quietly and reliably for years.
If the cabinet frame itself is rusted through or the mirror backing is delaminating, it may be time for a full replacement — but in most cases a new pair of hinges is all it takes to restore a perfectly functional bathroom cabinet.
- Step 1 — Assess the Damage
Open the cabinet door fully and look at every hinge. Determine whether the hinge body itself is cracked, whether a screw hole is stripped, or whether the mounting plate has pulled away from the frame.
- Step 2 — Remove the Door
Hold the door steady with one hand or prop it with a folded towel on the sink below. Remove the screws from the hinge attached to the door first, then the screws from the cabinet frame side. Set the door on a flat surface.
- Step 3 — Deal With Stripped Screw Holes
If the screws spin without gripping, the wood behind the hole has given out. Dab wood glue on three or four toothpicks, push them firmly into the hole, snap off the excess flush with the surface, and let the glue cure for at least two hours.
- Step 4 — Install the New Hinges
Position the replacement hinge on the door stile, lining up the pre-drilled holes. Drive the screws until they are snug but not fully tightened — you want to be able to make small adjustments.
- Step 5 — Test the Swing and Latch
Open and close the door several times. It should swing smoothly without rubbing the frame and should pull shut with a satisfying click if a magnetic catch is present.
Free: 10-Point Home Maintenance Checklist
Prevent costly repairs with this seasonal checklist. Save hundreds every year by catching problems early.
Your checklist is ready!
Open Checklist →Something went wrong. View the checklist here.