How to Fix a Broken Light Switch Plate
Replace a cracked, broken, or misaligned light switch plate in under 15 minutes with this simple DIY guide.
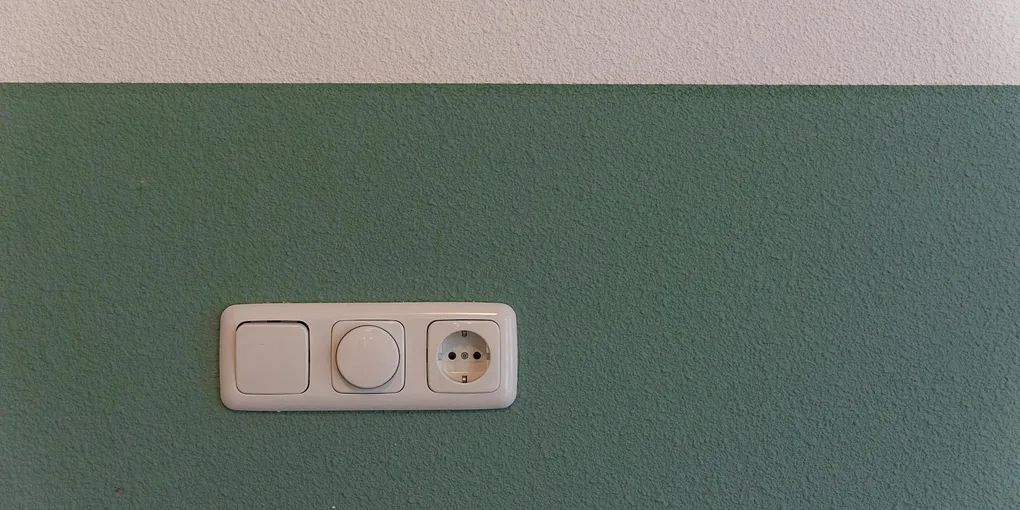
A cracked or broken light switch plate is one of the simplest home repairs you can make — no electrical knowledge required for a basic cover swap. Yet many homeowners leave damaged plates in place for months because they assume it is a bigger job than it is.
A cracked or broken light switch plate is one of the simplest home repairs you can make — no electrical knowledge required for a basic cover swap. Yet many homeowners leave damaged plates in place for months because they assume it is a bigger job than it is. This guide covers everything from a quick plate swap to fixing the deeper problems that cause plates to break or sit crooked.
Tools and Materials You Will Need
- Flathead screwdriver (most plates use a single center screw)
- Phillips screwdriver
- Replacement switch plate
- Sandpaper or spackle (if wall damage exists)
- Painter’s tape
- Non-contact voltage tester (if doing any wiring work)
Switch plate screws are typically slotted (flathead), but some modern plates use Phillips. Have both screwdrivers on hand. Replacement plates cost $1 to $15 depending on material and finish. If you are replacing multiple plates to update a room, the Leviton Decora Screwless Wall Plate offers a clean, modern look with no visible hardware. For a classic style, the Lutron Claro Single-Gang Plate is a reliable, widely available choice.
Step 1: Buy the Correct Replacement Plate
Before removing anything, count the number of switches or outlets the plate covers. Switch plates are sized by “gang”:
- Single-gang — one switch or outlet
- Double-gang — two switches side by side
- Triple-gang or more — three or more openings
Match the gang count, and also note the style. Standard toggle switch plates have a rectangular hole. Rocker or Decora switches need a wider rectangular opening. Outlet-only plates have round or rectangular holes for the plug openings.
Also note the finish — white, ivory, almond, black, stainless steel, or brushed nickel — to match existing plates in the room.
Step 2: Remove the Broken Plate
Locate the center screw on the existing plate. For single-gang plates there is typically one screw in the middle. Multi-gang plates may have two or more screws. Turn the screw counterclockwise until the plate pulls free from the wall. Set the old plate aside.
If the screw is stripped or painted over, use a flathead screwdriver to score through any paint in the slot, then try again. A manual impact driver or a screw extractor can remove a truly stuck screw.
Step 3: Inspect the Switch and Box
With the plate removed, look at the electrical box and the switch mounted inside it. Check for:
- Loose switch: If the switch rocks or the mounting screws are loose, tighten the two mounting screws that hold the switch to the box yoke. If the box itself is loose in the wall, it needs to be re-secured before the plate goes back on.
- Damaged or exposed wiring: If you see bare copper beyond the wire nuts or screw terminals, shut off the breaker and address the wiring before reinstalling the plate.
- Misaligned box: If the electrical box is recessed too far into the wall, the plate will not sit flat. Install a switch plate spacer or box extender ring (available at any hardware store) to bring the box face flush with the drywall.
Step 4: Repair Wall Damage Around the Box (If Needed)
Cracked paint or drywall around a switch is common. For minor cosmetic damage:
- Sand the rough area lightly with 120-grit sandpaper.
- Fill any holes or cracks with lightweight spackle and let it dry fully.
- Sand smooth and touch up with matching paint using a small brush.
If the damage is extensive and an oversized plate will not cover it, you may need to patch the drywall before painting. But in most cases a jumbo-size cover plate — sold in the same switch plate section at hardware stores — will span the damage without any patching.
Step 5: Install the New Plate
Hold the new plate against the wall, centering it over the switch. Thread the center screw by hand first to make sure it is not cross-threaded. Tighten the screw with a screwdriver until the plate is snug against the wall. Do not over-tighten — switch plate screws strip easily, and over-tightening can also crack a plastic plate.
For multi-gang plates, start the top screw first, check that the plate is level, then tighten the bottom screws.
Step 6: Check Alignment and Finish
Stand back and look at the plate. It should sit flush against the wall with no gaps around the edges. If it tilts, loosen the screw slightly and straighten the plate, then re-tighten. Some plates have slight warps from the factory — if the plate bows away from the wall on one side, try a different plate or use a metal plate, which holds its shape better.
Bonus: Replacing the Switch Itself
If the switch is physically broken — the toggle snaps, a lever breaks off, or the switch no longer clicks properly — you can replace just the switch body for $3 to $10.
- Shut off the breaker controlling the switch circuit.
- Verify power is off with a non-contact voltage tester.
- Remove the plate, then unscrew the two mounting screws holding the switch to the box.
- Pull the switch out carefully and photograph the wiring before disconnecting anything.
- Connect the wires to the same terminals on the new switch.
- Fold the wires back into the box, mount the new switch, and reinstall the plate.
Quick Recap
Replacing a switch plate is a 5 to 15 minute job that costs under $5 in most cases. The only complication arises when the box is loose, the wall is damaged, or the switch itself needs replacement. Address those underlying issues and the new plate will sit perfectly flat and last for years without trouble.
- Buy the Correct Replacement Plate
Before removing anything, count the number of switches or outlets the plate covers. Switch plates are sized by "gang":
- Remove the Broken Plate
Locate the center screw on the existing plate. For single-gang plates there is typically one screw in the middle. Multi-gang plates may have two or more screws. Turn the screw counterclockwise until the plate pulls free from the wall.
- Inspect the Switch and Box
With the plate removed, look at the electrical box and the switch mounted inside it. Check for:
- Repair Wall Damage Around the Box (If Needed)
Cracked paint or drywall around a switch is common. For minor cosmetic damage:
- Install the New Plate
Hold the new plate against the wall, centering it over the switch. Thread the center screw by hand first to make sure it is not cross-threaded. Tighten the screw with a screwdriver until the plate is snug against the wall.
- Check Alignment and Finish
Stand back and look at the plate. It should sit flush against the wall with no gaps around the edges. If it tilts, loosen the screw slightly and straighten the plate, then re-tighten.
Free: 10-Point Home Maintenance Checklist
Prevent costly repairs with this seasonal checklist. Save hundreds every year by catching problems early.
Your checklist is ready!
Open Checklist →Something went wrong. View the checklist here.