How to Fix a Broken Light Fixture: Wiring, Sockets, and Flush Mount Swaps
Diagnose and repair common light fixture problems including loose wire connections, failed sockets, broken chandelier chains, and full flush mount replacements.
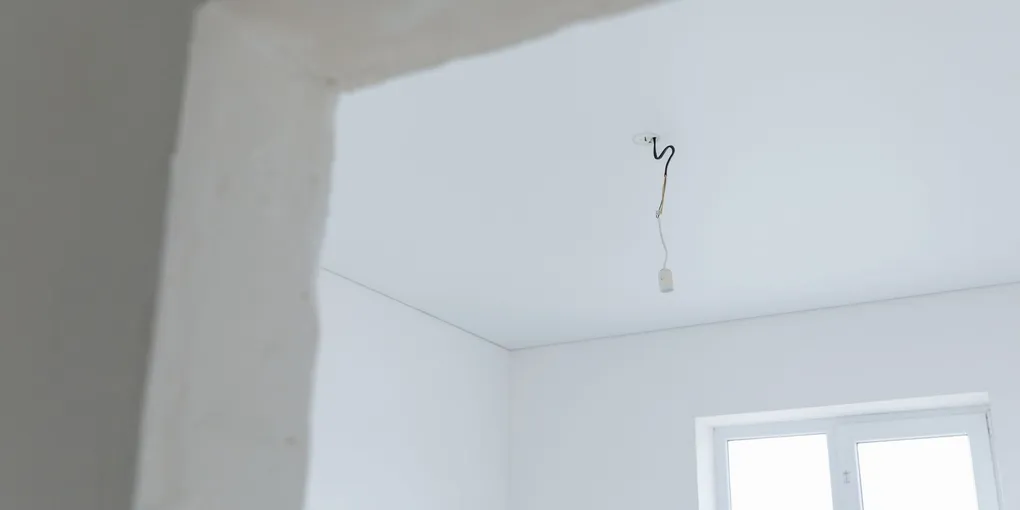
A broken light fixture is one of the most approachable electrical repairs in the house.
A broken light fixture is one of the most approachable electrical repairs in the house. Whether the socket burned out, a wire worked loose, the chain snapped on a chandelier, or you’re swapping an old flush mount for something new, this guide walks through every common scenario with clear steps.
What You Need
Before you start, gather these tools and materials. Having everything on hand before you turn off the breaker saves trips up and down the ladder.
- Non-contact voltage tester ($15–$25) — the single most important safety tool for any electrical job
- Wire stripper and cutter ($10–$20) — needed if any wire ends are damaged
- Assorted wire nuts ($6–$10) — always replace old wire nuts rather than reusing them
- Replacement lamp socket ($8–$18) — for socket-only repairs; match the base size (medium E26 is most common)
- Chandelier chain by the foot ($5–$15) — for broken or incorrectly sized chains
- Electrical tape ($4–$8) — for securing wire connections and insulating any exposed wire
Safety First: Cut the Power
Every single fixture repair begins the same way: turn off the breaker for that circuit at the electrical panel. The wall switch is not enough — switches interrupt only the hot wire, and the neutral remains live. With some wiring configurations, even the hot wire stays live when the switch is off.
After flipping the breaker, test at the fixture location with your non-contact voltage tester before touching any wires. Hold the tester near each wire — if it beeps or lights up, the circuit is still live. If you are not certain which breaker controls the fixture, turn on the light, then flip breakers one at a time until the light goes off.
Place a piece of tape over the breaker switch so no one can turn it back on while you’re working.
Diagnosing the Problem
Before tearing anything apart, narrow down what is actually broken. Run through this quick checklist:
Bulb first. Swap the bulb with a known good bulb before doing anything else. A surprising number of “broken fixtures” are just failed bulbs.
Flickering but not dead. Flickering usually means a loose connection, not a failed component. See the FAQ above.
Completely dead. Check the breaker box — a tripped breaker serving the fixture is the next most common cause. Reset it and test.
One socket dead in a multi-socket fixture. The individual socket has likely failed. This is a socket replacement job, not a full fixture replacement.
Fixture physically broken. Cracked housing, broken chain, or damaged canopy — these are mechanical fixes, not electrical ones.
Fixing Loose Wire Connections
Loose wire connections cause flickering, intermittent outages, and in the worst cases, arc faults that can start fires. This is the most common light fixture problem and the easiest to fix.
Turn off the breaker. Remove the fixture canopy by unscrewing the mounting nut or screws that hold it to the ceiling box. Lower the fixture carefully — most fixtures hang from a mounting bracket that stays attached to the box.
You will see wire connections inside or just above the canopy: typically black-to-black and white-to-white pairs joined with wire nuts, plus a bare copper or green ground wire connected to the fixture and the box.
Tug gently on each wire at the wire nut. Any wire that pulls free was not properly connected. Unscrew the wire nut, inspect the wire ends — if the copper looks dark or pitted, use your wire stripper to expose fresh copper, then re-twist the wires firmly clockwise and reattach a new wire nut. The wire nut should be snug enough that the wires do not pull free with a firm tug.
Reassemble the fixture, restore power, and test.
Replacing a Failed Socket
When a single socket in a fixture stops working (confirmed with a working bulb), the socket itself has likely failed — the contact at the bottom of the socket oxidizes or bends, losing contact with the bulb.
There are two types of socket failure:
Tab/contact failure. Turn off the power. Remove the bulb. Look inside the socket — the small brass tab at the center should be slightly raised (about 1/16 inch). If it is flat, use a small flat-head screwdriver to gently pry it up. Restore power and test before doing anything else — this fixes the problem roughly half the time.
Socket replacement. If the tab fix doesn’t work, replace the socket. Turn off the breaker. Remove the fixture globe or shade to access the socket. Most sockets have a small locking clip or set screw at the side — release it and the socket shell pulls upward off the base. Disconnect the two wires inside (note which is hot and which is neutral — the silver/white wire connects to the silver screw, the brass/black wire to the brass screw). Attach the new socket’s wires to the same terminals, snap or slide the socket back onto the base, and reassemble the fixture.
Repairing or Replacing a Chandelier Chain
Chandelier chains take a lot of stress over years of use, and links can fatigue and open. The fix is straightforward but requires matching the replacement chain carefully.
To repair a broken link: Chandelier chain links are opened with two pairs of pliers. Grip each side of the link and twist in opposite directions — twist sideways like opening a split ring, not spreading the ends apart (spreading weakens the link). Reconnect the chain through the open link, then twist it back closed.
To replace the entire chain: Remove the chandelier canopy from the ceiling box (two or three screws). The chain connects to the canopy with a loop or hook. Disconnect the chain at the canopy and at the chandelier body. The lamp cord runs through the chain — you will need to thread the new cord through the new chain before hanging it. Purchase chain that matches the link size of the original. Cut the new cord to the correct length, leaving 6 inches of slack at both the canopy and the chandelier body for connections. Reconnect the wires at both ends and rehang.
To shorten an existing chain: Count links from the canopy end to your desired length. Open a link at that point, separate the chain, and remove the excess. You’ll also need to cut the lamp cord to match — measure twice.
Swapping a Flush Mount Fixture
Replacing an old flush mount with a new one is the most complete reset for a failing fixture, and it is beginner-friendly. New fixtures come with mounting hardware and instructions — the basic steps are universal.
Step 1: Remove the old fixture. Turn off the breaker. Remove the globe or diffuser (usually a twist-off or screw-off). Unscrew the center mounting nut or the screws holding the canopy to the ceiling. Lower the canopy. Photograph the wire connections before disconnecting them. Remove the wire nuts, separate the wires, and set the old fixture aside.
Step 2: Check the junction box. The ceiling box must be rated for the weight of the new fixture. Most standard boxes are rated for fixtures up to 50 pounds. Heavier fixtures (large flush mounts, heavy semi-flush pendants) require a fan-rated box or a special fixture-weight-rated box.
Step 3: Mount the new bracket. New fixtures include a crossbar or mounting strap that attaches to the junction box’s mounting screws. Attach the crossbar per the fixture instructions — the screws will be 3-inch centers on a standard box.
Step 4: Connect the wires. Black to black, white to white, bare copper to bare copper (or green). Twist each pair clockwise, attach a new wire nut, and tuck the connections up into the box. If the new fixture has a green ground wire and there is no ground in the box, connect the fixture’s green wire to the metal box using the box’s ground screw.
Step 5: Attach the canopy. Fold the wires up into the box, slide the canopy up against the ceiling, and tighten the mounting nut or screws. Install bulbs, restore power, and test.
Troubleshooting After the Repair
Still flickering after new connections. Check the wall switch — the switch contacts themselves can degrade. Replace the wall switch (a $5–$10 part) before assuming a bigger problem.
Breaker trips when you restore power. You have a short circuit — two wires are touching that shouldn’t be. Turn off the breaker, pull the fixture back down, and inspect each wire connection. A wire strand that escaped the wire nut and contacted the metal fixture body is the most common cause.
Fixture hums with dimmer switch. Not all dimmers are compatible with all LED bulbs. Check the dimmer’s rated load list (available on the manufacturer’s website) for your specific bulb model. An LED-rated dimmer with listed bulbs eliminates hum.
Ground wire missing. Older homes may have two-wire circuits without a ground. A new fixture will have a green ground wire with no place to go. Wrap the ground wire back on itself with a wire nut and cap it — do not connect it to the neutral. This is safe but leaves the fixture ungrounded. If grounding matters to you, have an electrician run a new grounded circuit.
Related Reading
- How to Replace a Light Switch — upgrade to a dimmer or smart switch while you have the fixture down
- How to Install a Ceiling Fan — the next step up from a flush mount swap
- Home Electrical Safety Checklist — full guide to inspecting your home’s wiring
- Diagnosing the Problem
Before tearing anything apart, narrow down what is actually broken. Run through this quick checklist:
- Fixing Loose Wire Connections
Loose wire connections cause flickering, intermittent outages, and in the worst cases, arc faults that can start fires. This is the most common light fixture problem and the easiest to fix.
- Replacing a Failed Socket
When a single socket in a fixture stops working (confirmed with a working bulb), the socket itself has likely failed — the contact at the bottom of the socket oxidizes or bends, losing contact with the bulb.
- Repairing or Replacing a Chandelier Chain
Chandelier chains take a lot of stress over years of use, and links can fatigue and open. The fix is straightforward but requires matching the replacement chain carefully.
- Swapping a Flush Mount Fixture
Replacing an old flush mount with a new one is the most complete reset for a failing fixture, and it is beginner-friendly. New fixtures come with mounting hardware and instructions — the basic steps are universal.
Free: 10-Point Home Maintenance Checklist
Prevent costly repairs with this seasonal checklist. Save hundreds every year by catching problems early.
Your checklist is ready!
Open Checklist →Something went wrong. View the checklist here.